Python OpenCV | cv2.imshow() method (original) (raw)
Last Updated : 23 Feb, 2026
The cv2.imshow() function in OpenCV is used to display an image in a window. It creates a window with a specified name and shows the given image. This function is commonly used to view images and verify image processing results.
For this article, a sample image is used name "logo.png", which is displayed below:
![]()
logo.png
**Example: In this example, the sample image is loaded and displayed in a window.
Python `
import cv2
img = cv2.imread("logo.png") cv2.imshow("Image", img) cv2.waitKey(0) cv2.destroyAllWindows()
`
**Output

Output
**Explanation:
- cv2.imread("logo.png") reads the image and stores it in img.
- cv2.imshow("Image", img) displays the image in a window named "Image".
- cv2.waitKey(0) waits until a key is pressed.
- cv2.destroyAllWindows() closes the window.
Syntax
cv2.imshow(window_name, image)
**Parameters:
- **window_name: Name of the window where the image will be displayed.
- **image: The image that needs to be displayed.
Examples
**Example 1: In this example, an image is loaded in grayscale mode and displayed.
Python `
import cv2
img = cv2.imread("logo.png", 0) cv2.imshow("Gray Image", img) cv2.waitKey(0) cv2.destroyAllWindows()
`
**Output: The grayscale image is displayed in a window.

Grayscale Image
**Explanation:
- cv2.imread("logo.png", 0) loads the image in grayscale.
- cv2.imshow("Gray Image", img) displays the grayscale image.
**Example 2: In this example, the image is resized before displaying it.
Python `
import cv2
img = cv2.imread("logo.png") res = cv2.resize(img, (300,300)) cv2.imshow("Resized", res) cv2.waitKey(0) cv2.destroyAllWindows()
`
**Output: resized image (300×300) is displayed.

Resized Image
**Explanation:
- cv2.resize(img, (300,300)) resizes the image.
- cv2.imshow("Resized", res) displays the resized image.
**Example 3: The same image is displayed in two different windows with different window names. This shows how cv2.imshow() can create multiple display windows.
Python `
import cv2
img = cv2.imread("logo.png") cv2.imshow("Window 1", img) cv2.imshow("Window 2", img) cv2.waitKey(0) cv2.destroyAllWindows()
`
**Output: The same image is displayed in two separate windows named "Window 1" and "Window 2".
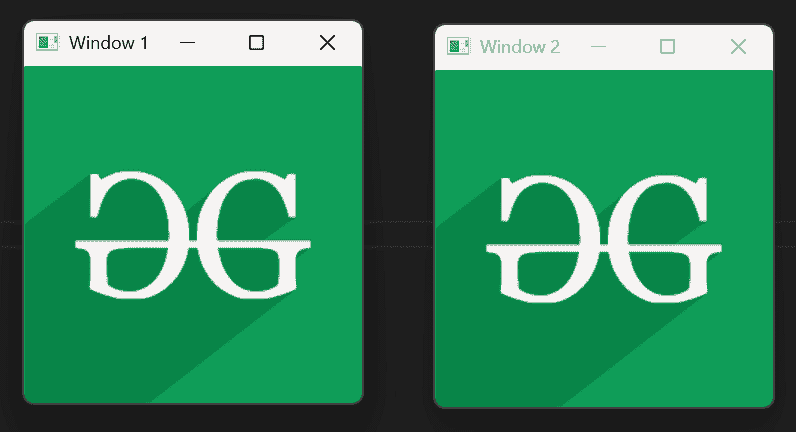
same image is displayed in two different windows
**Explanation:
- cv2.imshow("Window 1", img) displays the image in the first window.
- cv2.imshow("Window 2", img) displays the image in the second window.