Steps to create first React Native App (original) (raw)
Last Updated : 13 Jan, 2026
React Native is an open-source framework by Meta (Facebook) for building native mobile apps using JavaScript and a single codebase.
- Supports iOS, Android, and other platforms.
- Enables faster development and quicker deployment.
- Delivers near-native performance with reusable components.
Prerequisites
Before starting with React Native development using Expo, ensure the following requirements are met:
- Node.js installed.
- npm or Yarn package manager.
- Basic knowledge of JavaScript and React.
- Expo Go app installed on your mobile device (for testing).
Expo
Expo is a framework and platform built on top of React Native that simplifies building, running, and deploying apps across multiple platforms using a single codebase.
- Built around React Native for faster development.
- Supports iOS, Android, and web apps.
- Provides tools and services for development, build, and deployment.
Step-by-Step Implementation
Step 1: Create a React Native Project
Open your terminal and run the command below.
- **Method 1: Using create-expo-app using template
npx create-expo-app app-name --template
_Note: Replace the app-name with your app name for example : react-native-demo-app
Select the blank template to generate a minimal React Native project setup.

- **Method 2: Usingcreate-expo-app
npx create-expo-app@latest project-name
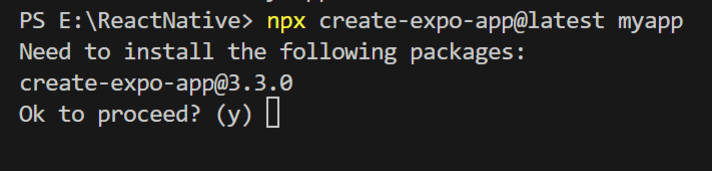
**Result of Method 1 and Method 2:
It completes the project creation and displays a message: "Your Project is ready!" as shown in the image below.
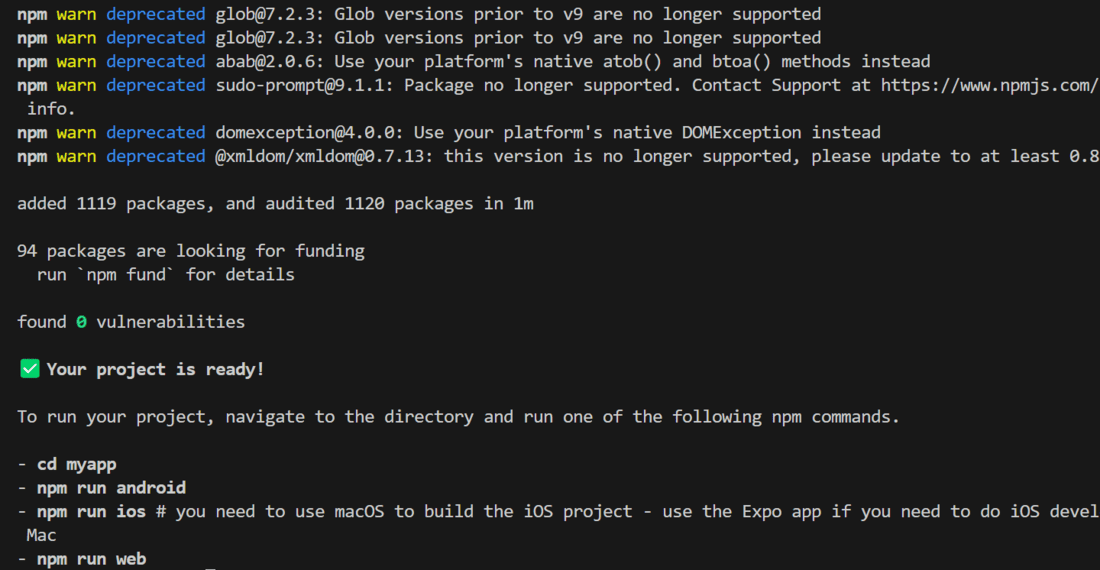
Go into the created folder and start the server by using the following command.
cd "project-name"
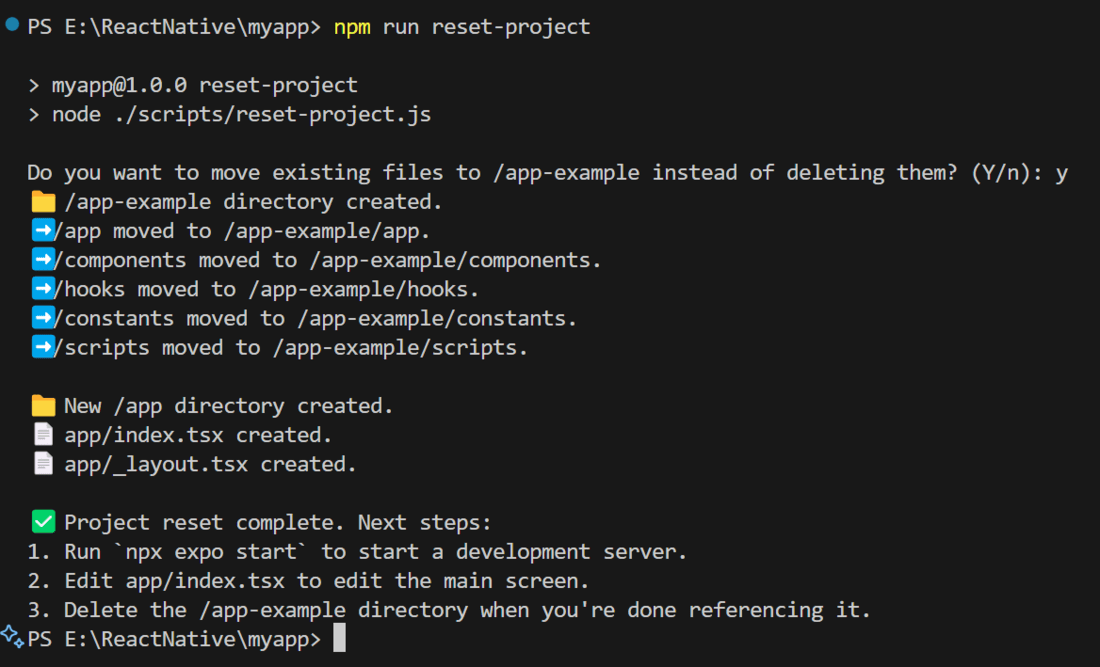
Step 2: Reset-Project (Only for Method 2)
Reset the project to the default boilerplate by running the command below.
npm run reset-project
- The CLI prompts to preserve existing project files.
- Selecting y moves the current boilerplate to the /app-example directory.
- This operation performs a file relocation, not deletion, ensuring code safety.
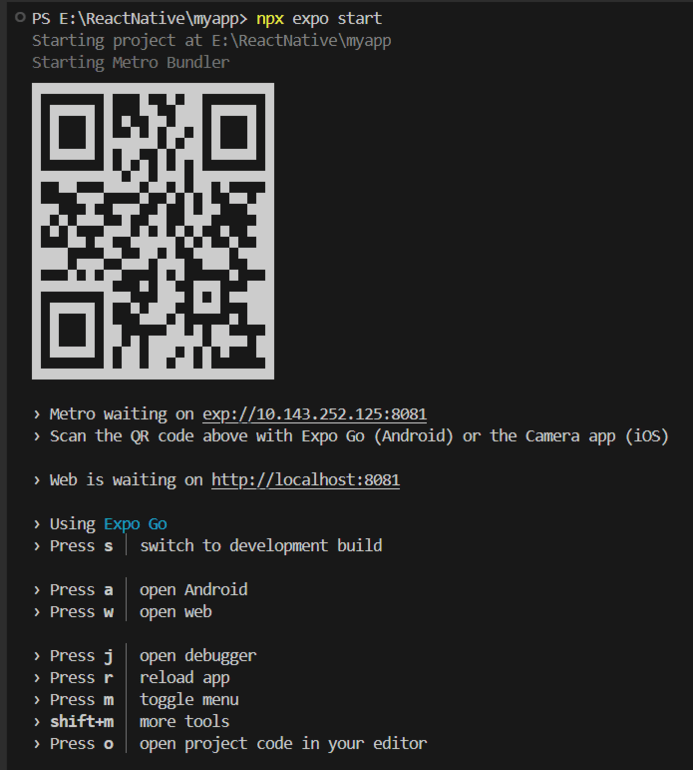
Step 3: Run the app
To start the react-native program, execute this command in the terminal of the project folder.
npx expo start
Then, the application will display a QR code.
- **Android: Install Expo Go from the Play Store, open the app, tap Scan QR Code, and scan the QR to run the app on your device.
- **iOS: Scan the QR code directly using the Camera app to launch the app.
- **Web: A localhost URL is provided to run the app in the browser.
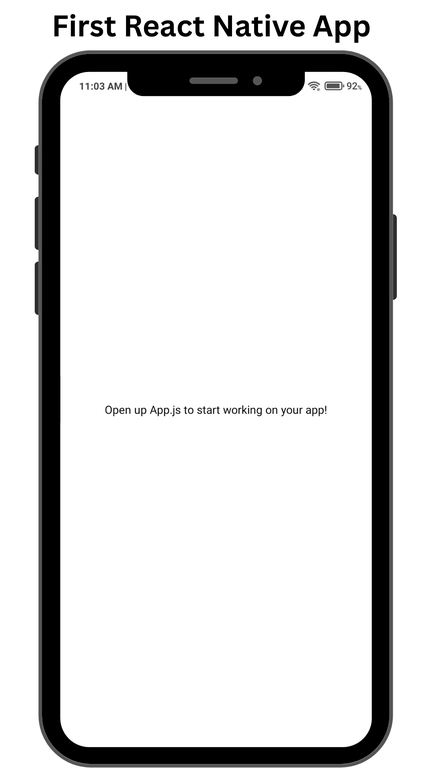
**Output of Method 1:
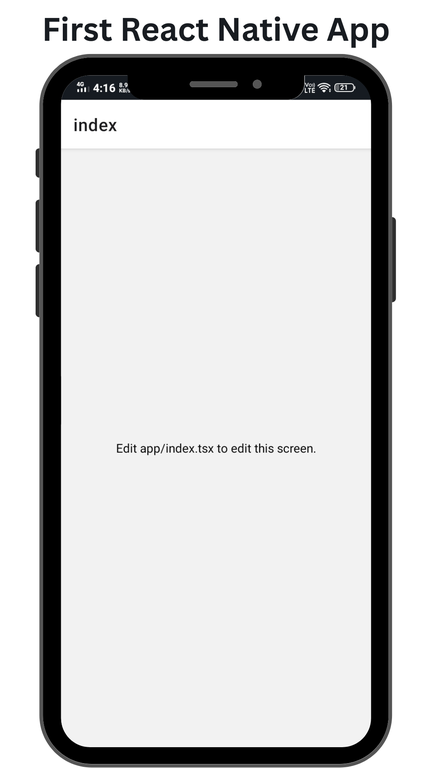
**Output of Method 2:
**Example: We will render a text and put some style on the text, like text color and background color.
**App.js | App/index.tsx:
JavaScript `
import { Text, View, StyleSheet } from "react-native";
export default function Index() { return ( GeeksforGeeks ); }
const styles = StyleSheet.create({ container: { flex: 1, backgroundColor: '#008000', alignItems: 'center', justifyContent: 'center', }, text: { color: '#FFFFFF', }, });
`
**Note: Whether you are using method 1 or method 2, you can use above code.
**Output of Method 1:
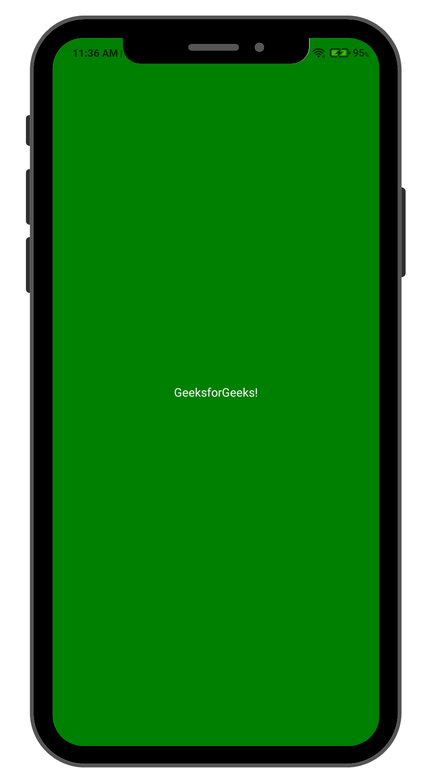
**Output of Method 2:
