Jira Board (original) (raw)
Last Updated : 15 Sep, 2025
Jira is a popular bug-tracking and issue-tracking tool developed by Atlassian for teams. It is widely used in the software industry. Jira has a lot of features that allow the team to customize boards according to their project requirement to make the team comfortable with the interface.
This article focuses on discussing the Jira Board in detail.
What is Jira Board?
The agile board is a tool in Jira that helps teams to plan and manage their work efficiently. It will show tasks in columns that represent different stages of the workflow, from project started to project progress to completed. Each Jira project comes with a different board that gives the team a clear view of all tasks. Jira provides different types of boards that will help the software teams manage and tracking of their work easily.
What types of boards are available in Jira?
**Jira Board are widely classified into types, these are
1. Scrum Boards
- Scrum Board is a visual tool used in Scrum, an agile framework for managing and organizing work.
- It serves as a central hub for the Scrum team to collaborate, track progress, and manage tasks during a specific period known as a sprint.
- The board is typically divided into columns representing different stages of the workflow, and tasks or user stories are represented as cards that move across the board as they progress.
2. Kanban Boards
- Kanban is a popular Agile Software Development Methodology. It is a signaling device that instructs the moving of parts in a ‘pull’ production system, developed as part of the TPS (Toyota Production System).
- Kanban is about envisioning the existing workflow in terms of steps. These steps can be created on the whiteboard.
- These Boards do the major visualization part of the work.
- It has better visualization and ready-made templates that help the team look for better insights. and it also controls the number of tasks that can reside in the different development stages.
Steps of Creating Scrum Boards
**Step 1: Land on the Jira Login Page. If You Don't have an account Click here for the steps to create an account.
**Step 2: Login with your account.
**Step 3: After Login, you will be landed on New Page.
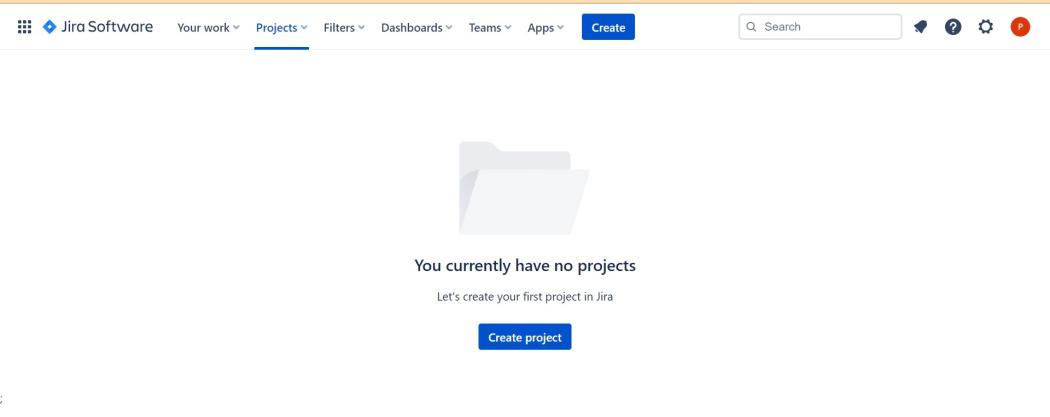
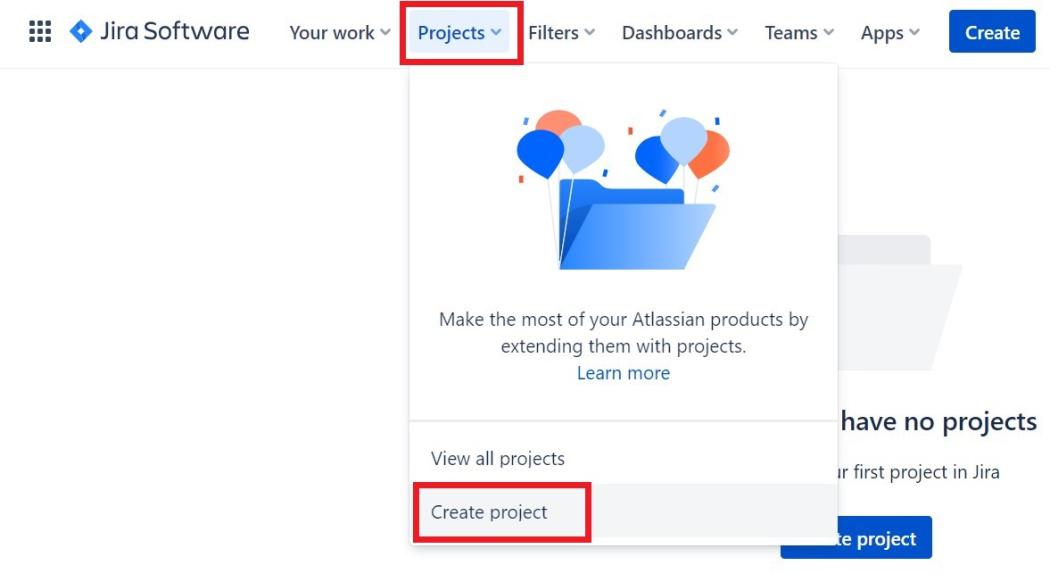
**Step 4: Under the project tab Click on 'Create Project'.
**Step **5: From the options of different templates Select 'Scrum' Template.
.jpg)
**Step **6: Click on 'Use This Template'.
.jpg)
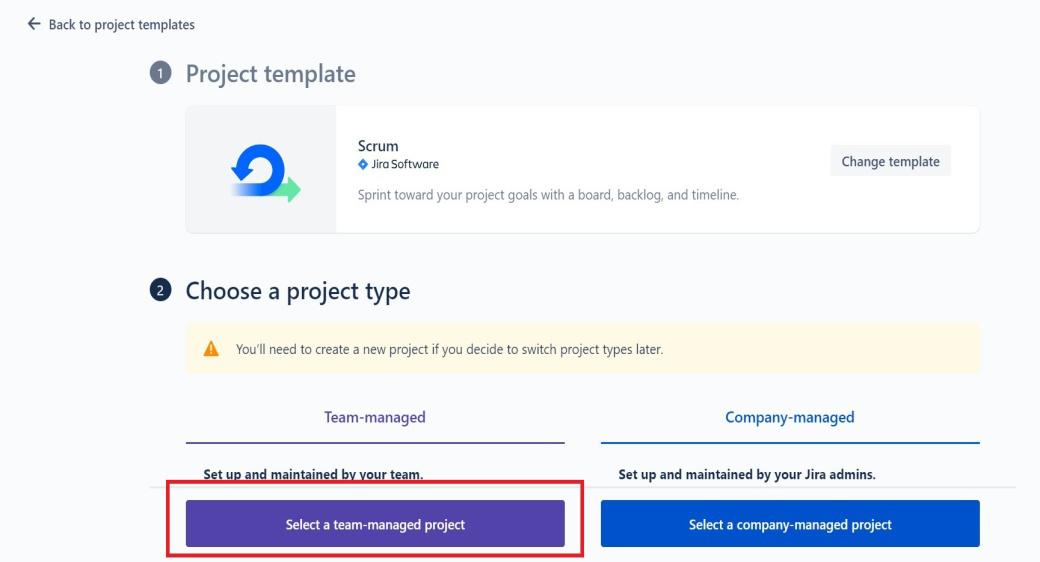
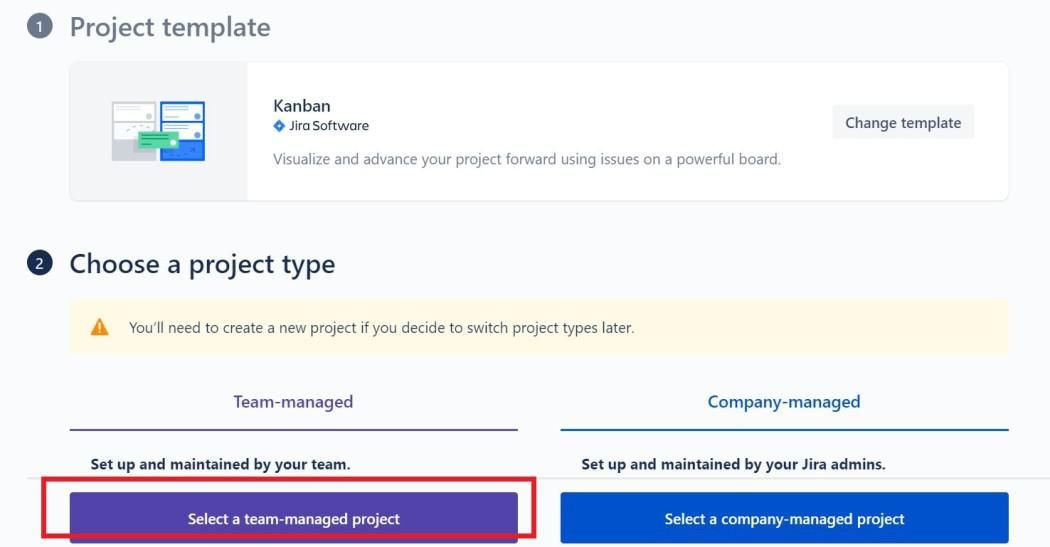
**Step **7: Select 'Team Managed Project' as 'Company managed Project' requires a Premium Account.
**Step **8: Give a Project Name as per Your requirement. and Click on Next.

**Step **9: You have Successfully Created the Jira Scrum Board
.jpg)
Now, you can modify this board as per the requirement and start working on your project.
Steps of Creating Kanban Boards
The initial steps of creating a Kanban board are similar to the Scrum Board.
**Step 1: Log in to your Jira Account.
**Step 2: Under the Project tab. Click on 'Create Project'.
**Step **3: This time instead of the Scrum template, Click on Kanban.
.jpg)
**Step **4: Click on 'Use Template'.
.jpg)
**Step 5: Click on the 'Team Managed Project'.
**Step 6: give a suitable project title and Click on Next.

**Step **7: You have Successfully Created the Kanban Board.
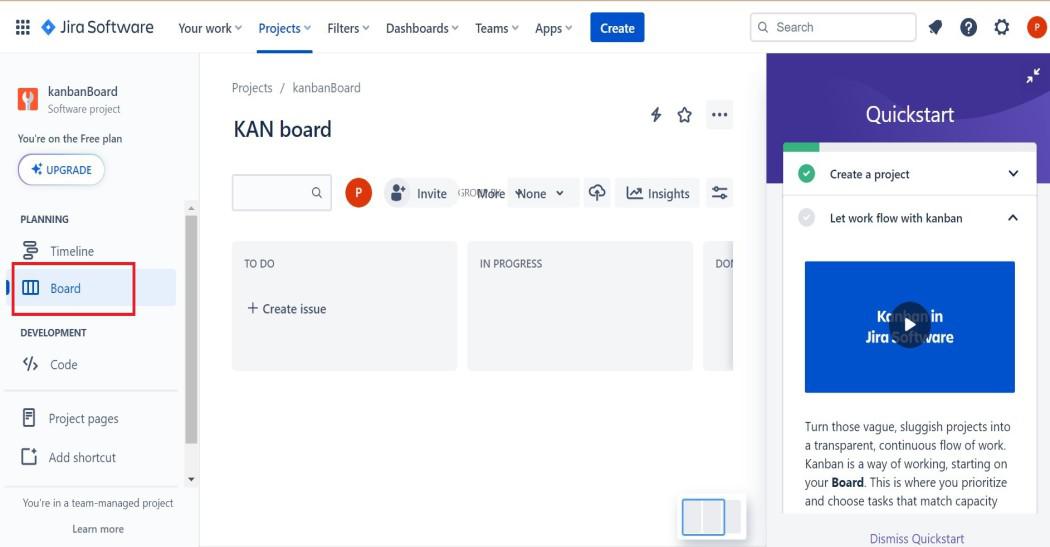
Now, you can modify this board as per the requirement and start working on your project.
Best Practices for Jira Boards
Effective use of Jira Boards is important for high-value project management and issue tracking. here are some points regarding Jira Boards:
1. Plan Your Workflow
- Have a well-defined workflow that clearly shows the task under "To Do," "In Progress," "In Review," and "Done."
- Keep the name of the workflow simple so that everyone can follow it.
2. Customize Your Board
- As per the need of the Project customize the board which matches the need of the project.
- Apply filters to focus on the important part of the project task.
3. Prioritize Work
- Assign priorities to the issue or task that needs to be handled immediately.
- Use custom fields to handle the priority work.
4. Assign Ownership
- Assign tasks to the skilled and specific team members to avoid ambiguity.
- Promote accountability and assign responsibility to the person associated with it.
5. Regularly Update the Board
- Keep the board updated and move the task as per the status. So that other team members can check it.
- Update the task with comments or descriptions. So that everyone can understand.
6. Keep Communication Clear
- Use proper documentation and comments to make efficient communication among the team members.
- Provide a proper explanation for the issue and use understandable manner words with teams.
7. Data and Analytics
- Jira Boards provide better Data and Report insights regularly. Use these reports for better tracking of the project.
- Take data-driven decisions on the project and automate the repetitive tasks if any.
Conclusion
Jira Boards is like a digital helping hand to make every process smooth and to the point ultimately helping the team to complete the project without making extra wastage of time. These boards help us to see which things are done and which things are yet to be done. Irrespective of the board you are using such as Scrum or Kanban they will help in making teamwork easier and work more organized and transparent.