How to Change the Default Port in Spring Boot? (original) (raw)
Last Updated : 31 May, 2024
Spring Boot framework provides a default embedded server i.e. the **Tomcat server for many configuration properties to run the Spring Boot application. The application runs on the **default port which is **8080. As per the application need, we can also change this **default port for the embedded server. In this article, we will discuss **how to change the default port number in the Spring Boot application.
**What is PortNumber?
The port number helps to provide various kinds of services port number 80 always goes to the HTTP services but at a one-time only one service at a time. So, we have to change the default port number. Let's discuss how to change the port number.
We can change the **default port for the embedded server in the following ways:
- **By Adding the configuration in the application properties of the Spring Boot project
- **By Implementing the WebServerFactoryCustomizer interface in the component class
- **Changing the configuration of VM options
First, we need to establish the spring application in our project. Spring Initializr is a web-based tool using which we can easily generate the structure of the Spring Boot project. It also provides various features for the projects expressed in a metadata model. This model allows us to configure the list of dependencies that are supported by JVM. Here, we will create the structure of an application using a spring initializer and then use an IDE to create a sample GET route. Therefore, to do this, the following steps as depicted below media sequentially as follows:
Change the Server's Port Number and Context Path
- We can change the port number in **application.properties file. The change can happen during development.
- Also, we can change the default port number of the server along with the context path using the command line****.** This happens when the application is in a running state or we can say after development.
**Default port number: 8080
**Default Context path: '/'
Interfaces and Properties files:
We can change the default port number for embedded server in Spring Boot application using the below interfaces and properties files:
- application.properties
- application.yml
- Command-Line Interface
- WebServerFactoryCustomizer Interface
- EmbeddedServletContainer Interface
**Step By Step Implementation to change the default port in Spring Boot
- Go to Spring Initializr
- Fill in the details as per the requirements
- Click on Generate which will download the starter project
- Extract the zip file
**Step 1: Go to Spring Initializr
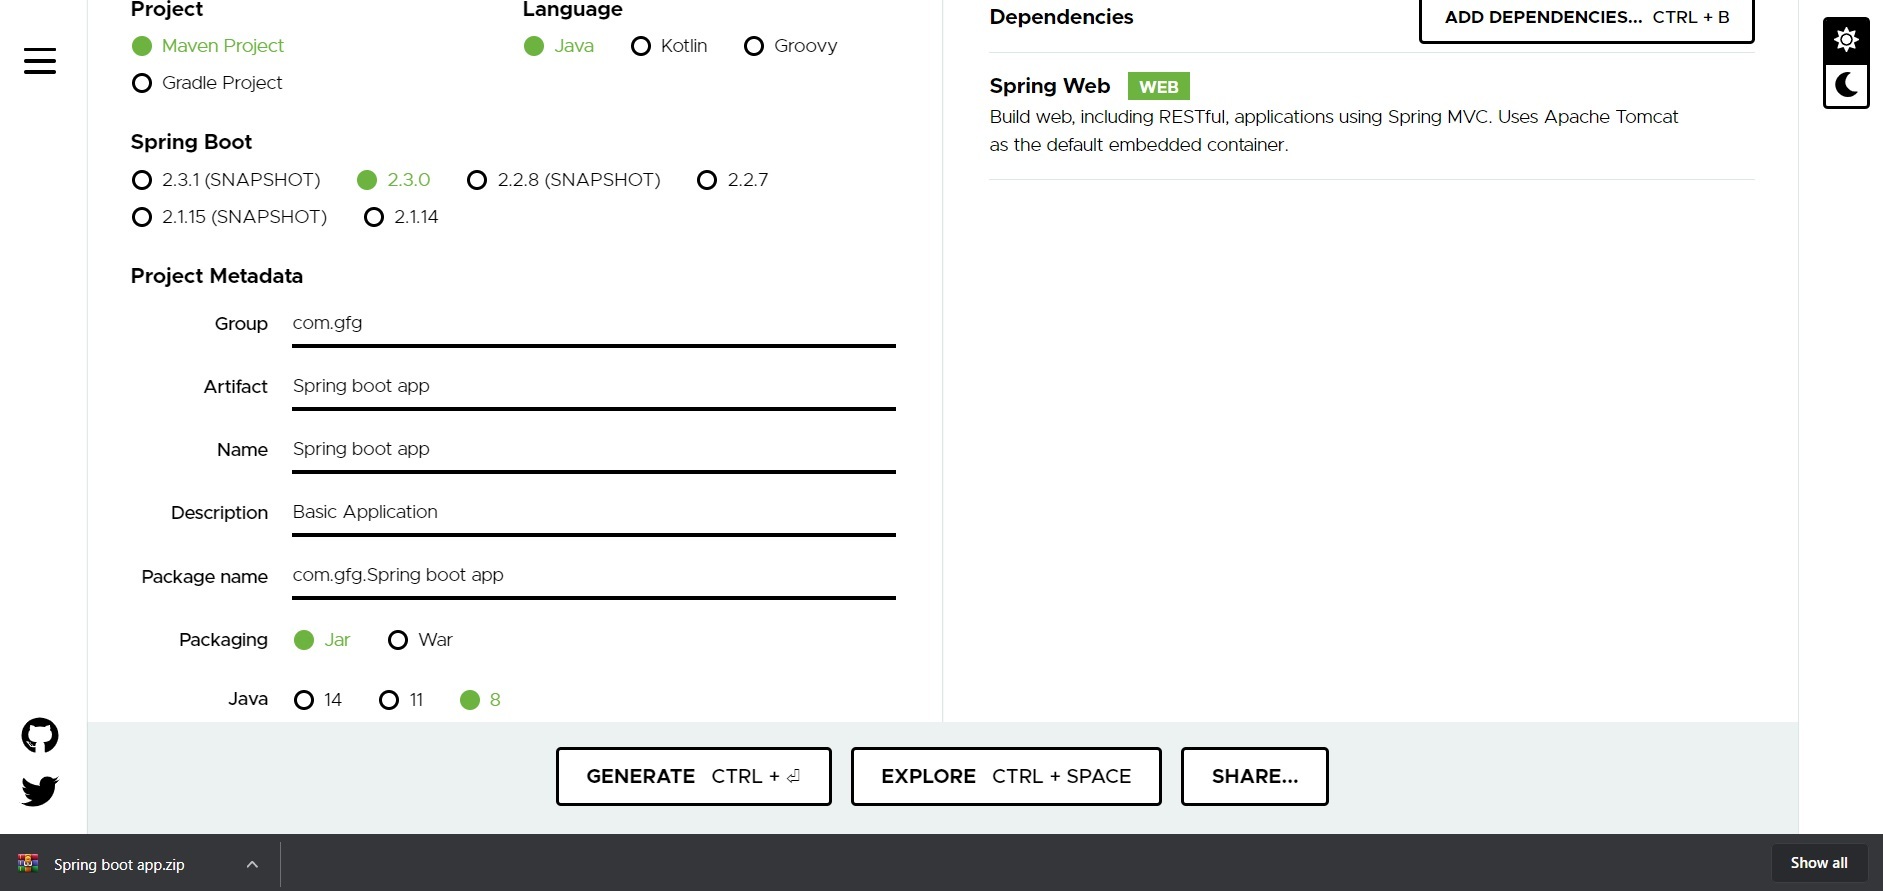
**Step 2: Fill in the details as per the requirements. For this application:
Project: Maven
Language: Java
Spring Boot: 2.2.8
Packaging: JAR
Java: 8
Dependencies: Spring Web
**Step 3: Click on Generate which will download the starter project.
**Step 4: Extract the zip file. Now open a suitable IDE and then go to File->New->Project from existing sources->Spring-boot-app and select pom.xml. Click on import changes on prompt and wait for the project to sync

**Note: In the Import Project for Maven window, make sure you choose the same version of JDK which you selected while creating the project.
**Method 1: By Adding the configuration in the application properties of the Spring Boot project
We need to change the port number using the **application.properties file in the project structure of the spring application.
**application.properties:
server.port=7000
**Note: We can set the port as 0. This uses a new port whenever we restart our spring boot application.
server.port=0
**Step 5: Go to **src -> main -> java -> com.gfg.Spring.boot.app and run the main application.
**Terminal output:

**Method 2: By Implementing the WebServerFactoryCustomizer interface in the component class
Implementing the WebServerFactoryCustomizer interface in the component class. Create a server-class of the component type so that the IOC container will pick it up during the loading time and implement the interface in them. Go to **src -> main -> java -> com.gfg.Spring.boot.app and create a new **server.java class
**server.java:
Java `
@Component public class server implements WebServerFactoryCustomizer { @Override public void customize(ConfigurableWebServerFactory factory) { // Setting the port number factory.setPort(1000); } }
`
Now run the main application.
**Terminal Output:

**Method 3: Changing the VM option of the Spring Project
Go to **Run -> Edit Configurations ->SpringBootAppApplication-> VM options
-Dserver.port=8011

After applying the configuration run the main application.
**Terminal Output:
