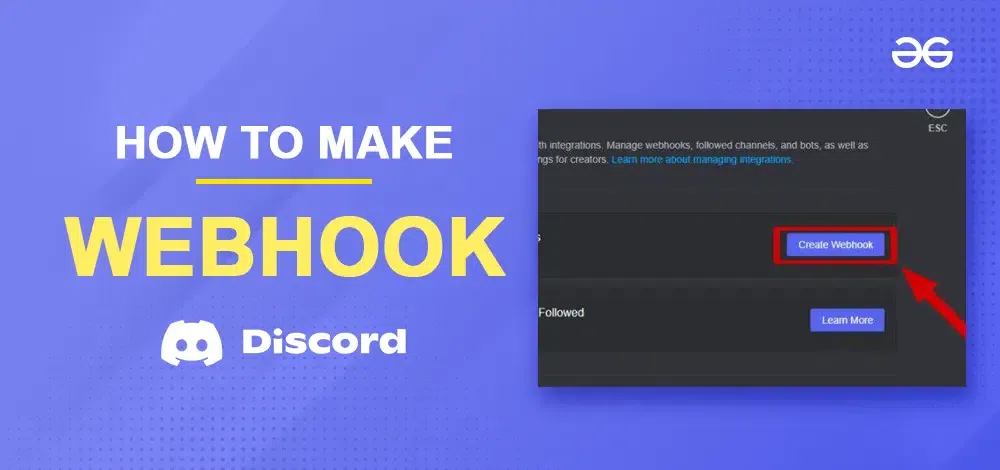
How to Make a Webhook in Discord (original) (raw)
Last Updated : 13 Jun, 2024
Discord is a popular communication platform that allows users to create and manage their servers for text and voice communication. Discord webhooks are the ultimate bridge between your favorite applications and your Discord server. Imagine receiving automatic updates on new GitHub commits, live notifications from website monitoring tools, or even custom alerts straight into your designated channel. That's the magic of webhooks
In this article, we'll walk you through the process of creating a webhook in Discord, providing a step-by-step guide to help you set up your webhook for various purposes. One of the features that make Discord powerful is the ability to integrate webhooks, which enable automated messages and notifications in a server channel.
What is a Webhook in Discord?
It's a Way For An Application To Notify Another Application Of Real Time Information. Webhooks enable various forms of automation, alerts, and integrations with external services. It's essentially a URL provided by Discord that external services or applications can use to push information into a server's chat channel.
How to make a Webhook in Discord
Step 1: Open Discord And Create A Server with a Text Channel
Create Discord Account then create A Server With the text channel.
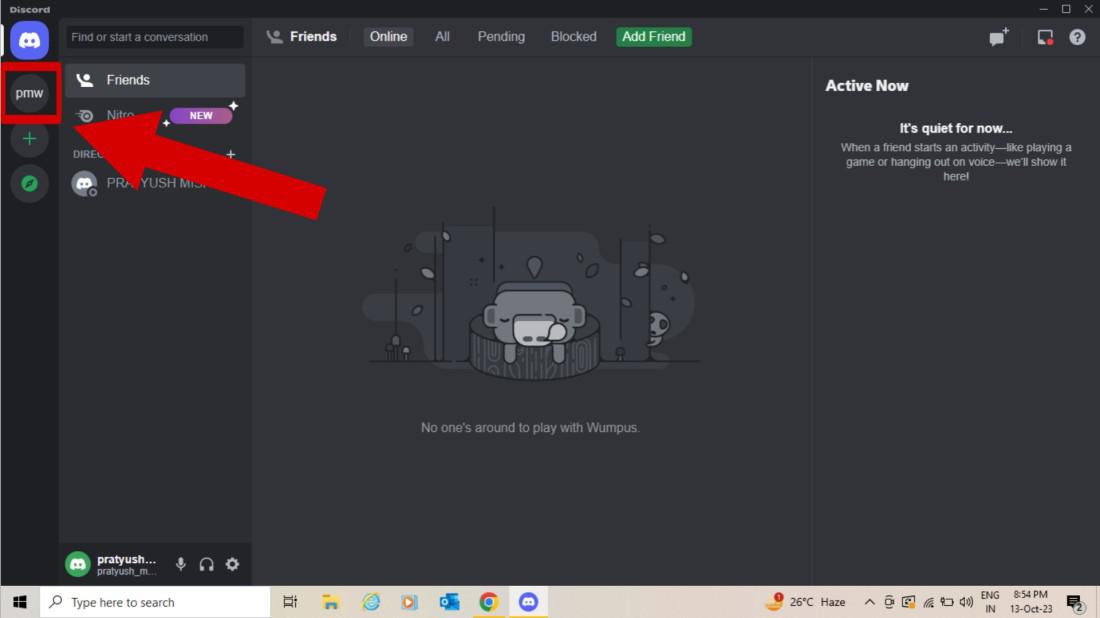
create a server with a text channel
Step 2: Go to Server Settings
To access the server settings, hit the server’s name and choose “Server Settings” from the appeared drop-down menu.
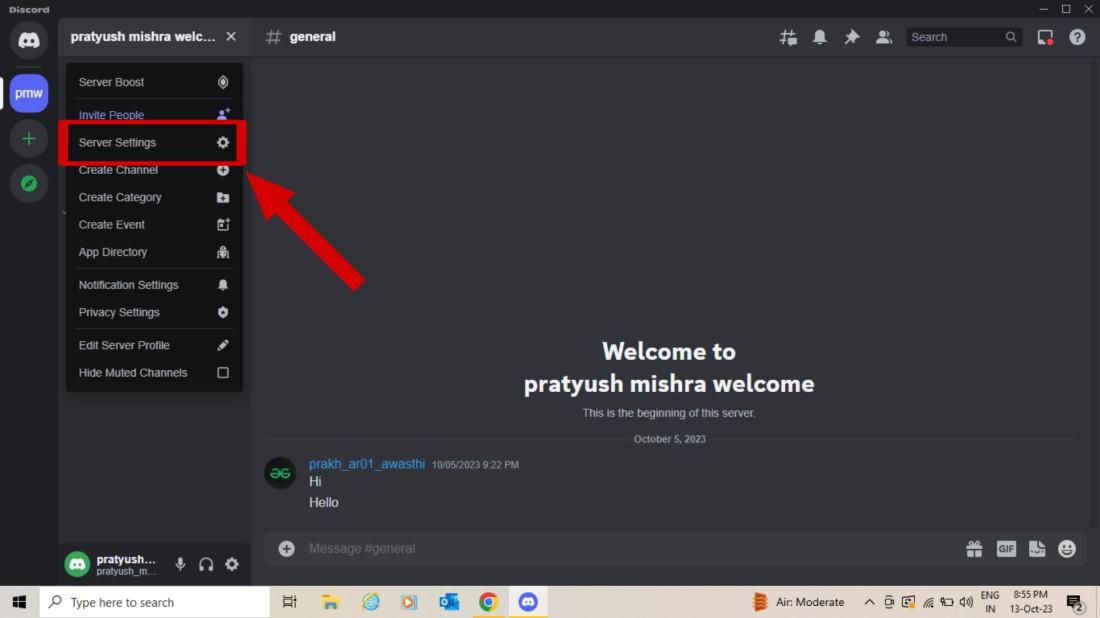
Redirect to "Server Settings"
Step 3: Navigate to the Integrations Tab
Click on the **Integrations tab in Navigate to create a webhook.
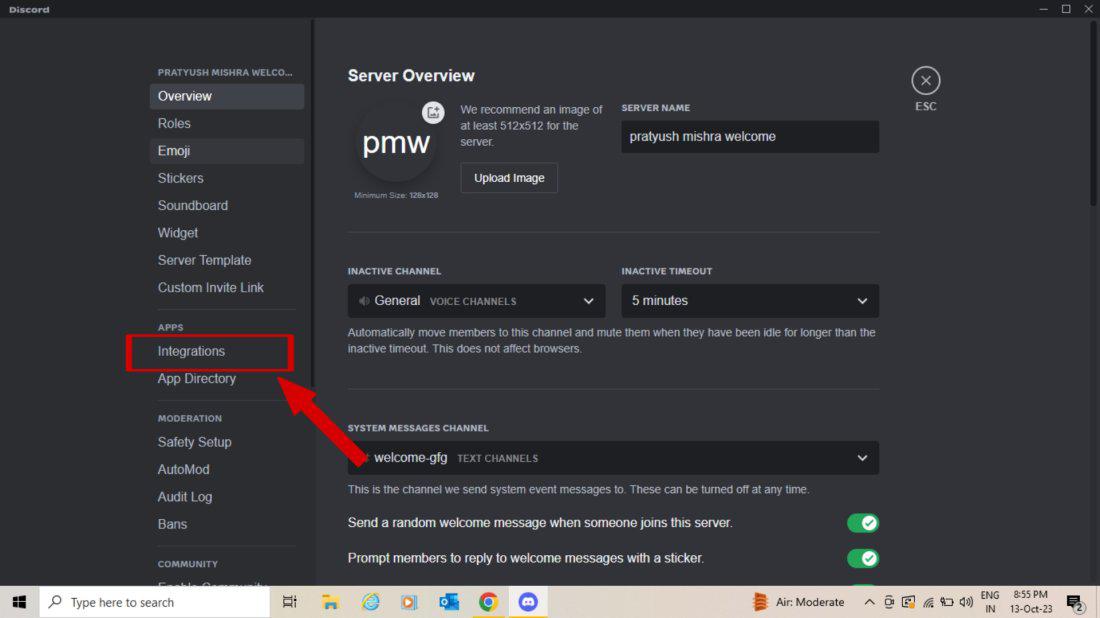
Click integrations.
Step 4: Click the “Create Webhook” button to create a new Webhook
There, you can see your webhooks and create new webhooks by clicking "**Create Webhook."
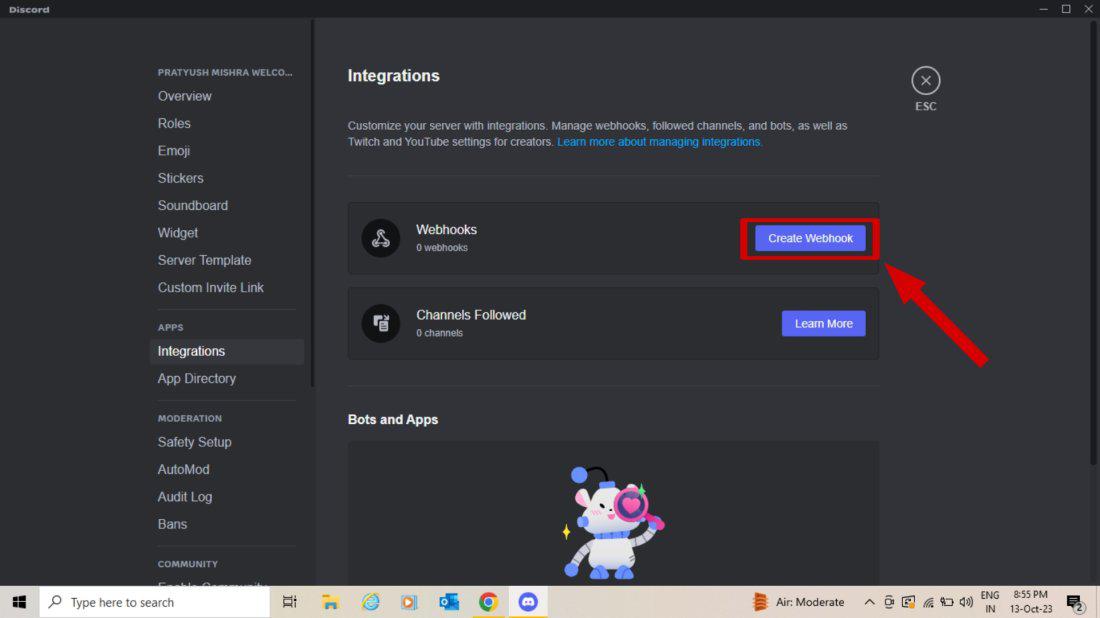
Click Webhook.
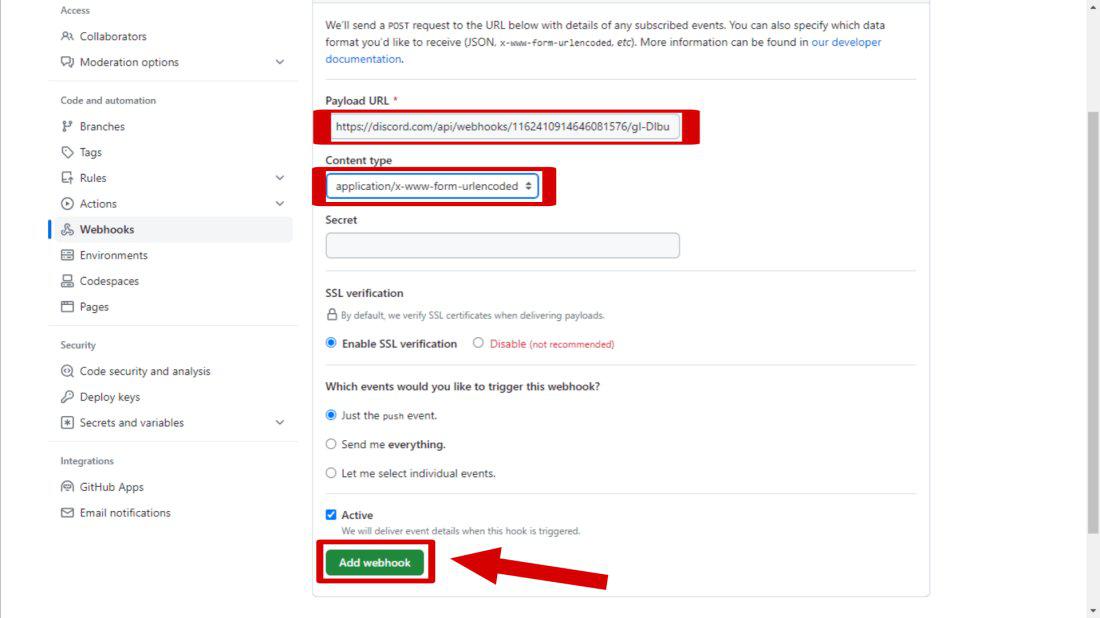
Step 5: Edit Webhook Name And Select Channel Then Copy Webhook Url
Give your webhook a descriptive name and select the channel you want your messages to be sent to Remember to click **Save Changes when you make any change to your webhook configuration.
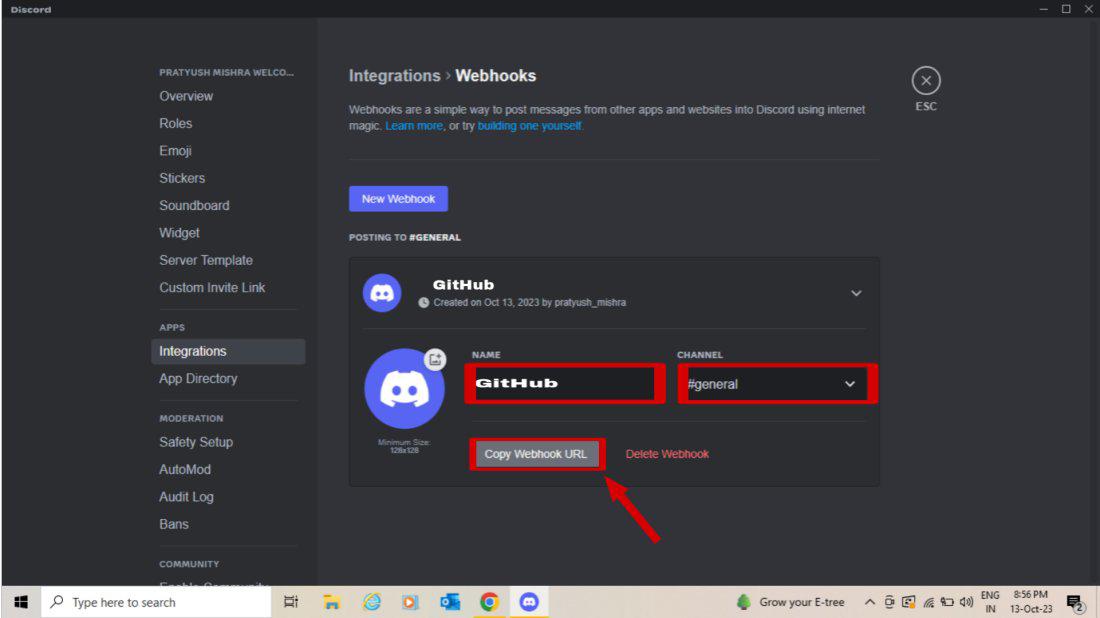
Edit Webhook >Copy Webhook Url
Step 6: Open the GitHub Account and Open Repositories tab > Select a Repository
Here we have taken an example of GitHub so that you can understand well how to create posts in Discord.
.jpg)
select a Repository of our GitHub Account.
Step 7: Click on Settings of the repository interface
Go to the **repository settings to create a Webhook for Discord.
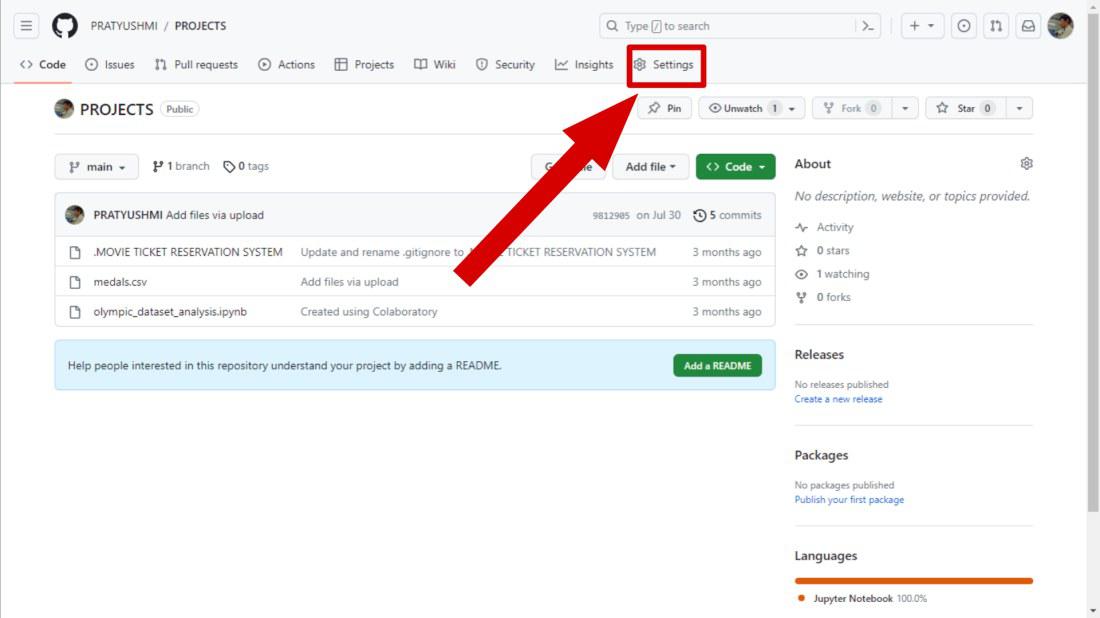
Click on Settings
Step 8: Select Webhook
Click on the option **Webhooks in the sidebar of settings.
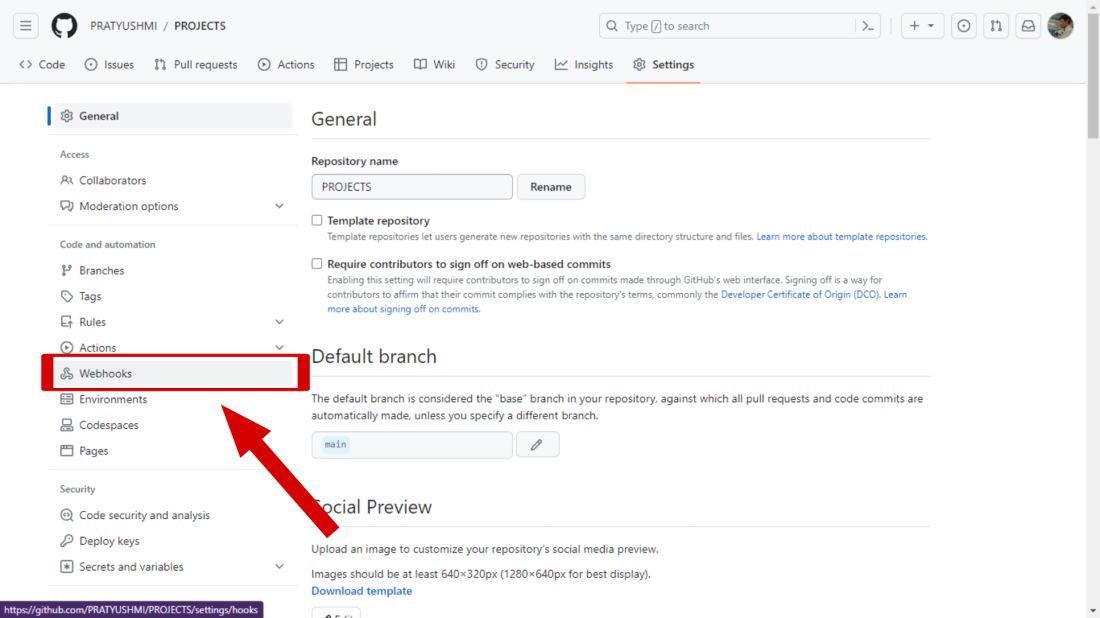
Click on webhook in the Sidebar
Step 9: Click on Add Webhook
Select "**Add Webhook" to create A Webhook.
.jpg)
Step 10: Manage Webhook > Paste your copied Discord Webhook URL in the Payload URL Section
Create a Discord webhook on the team's server to send messages to the team's channel Get the webhook URL for the webhook created. Use the webhook URL to create a webhook on GitHub and subscribe for the push event (the push event is triggered when a new commit is pushed to the GitHub repository).
copied URL>Add Webhook.
Step 11: Manage Webhook
Paste the discord copied URl With "****/github**".
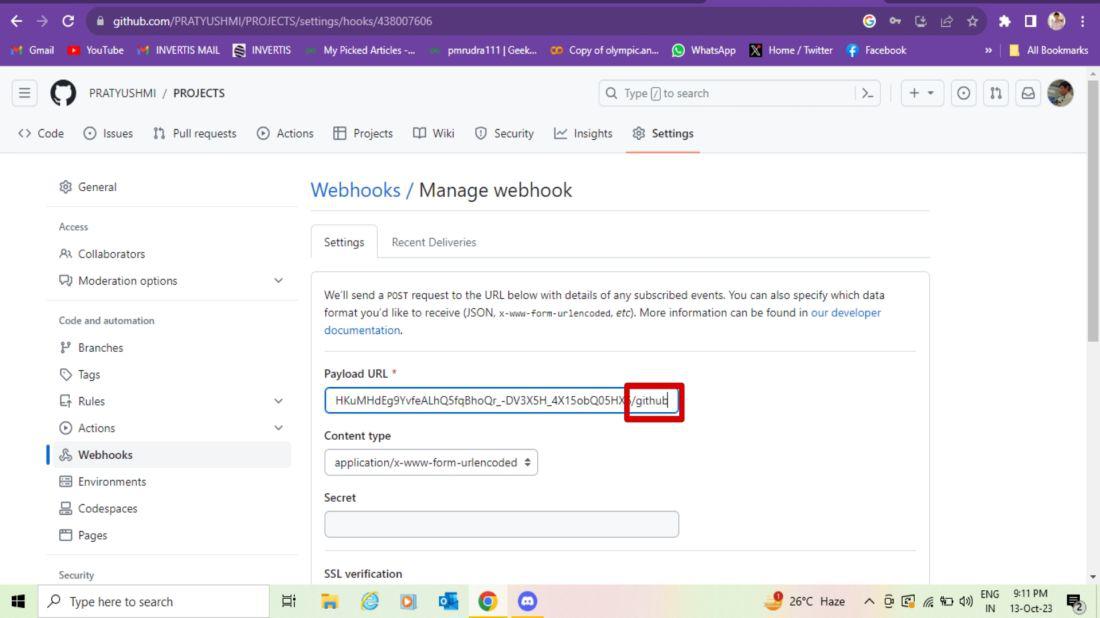
paste the copied discord webhook URL with (URL_"/github")
Step 12: Successfully Created A webhook
Now you have created A Webhook in Github.
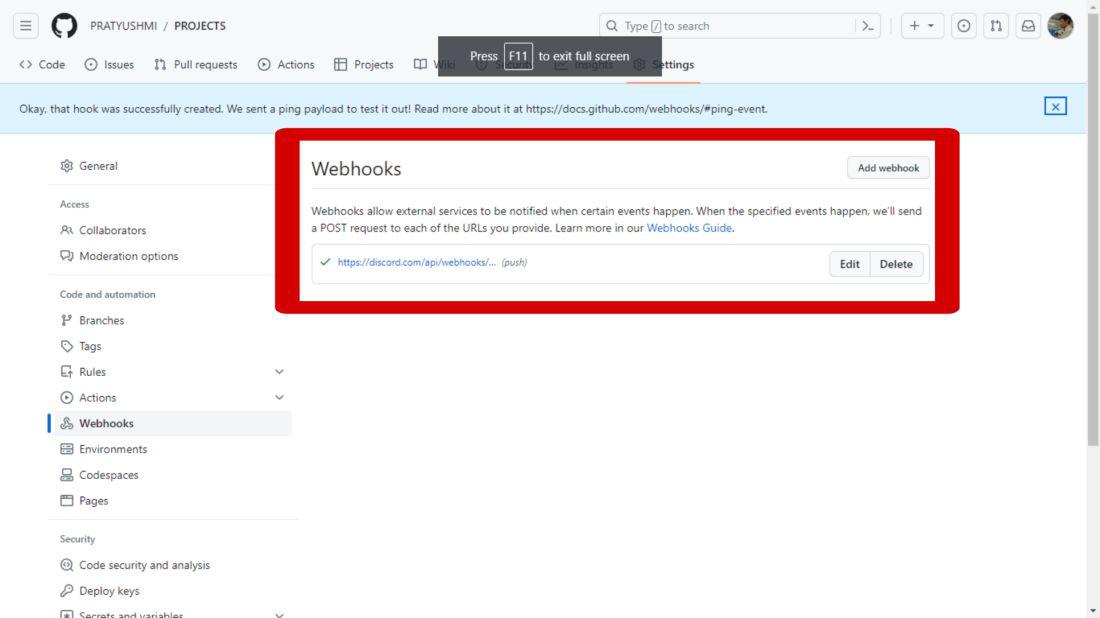
Add your webhook.
Step 13: You Get a Notification from GitHub
This will trigger a notification in Discord if you make any changes to your repository.
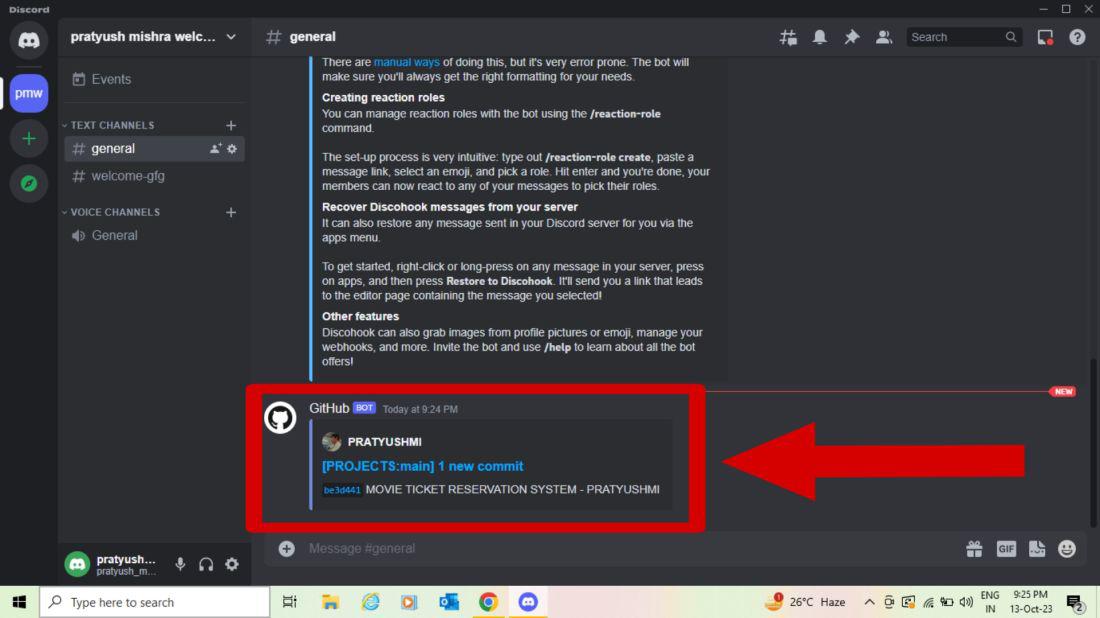
Notification on Discord.
Conclusion
Making a webhook in Discord is easy and useful for improving your server. By setting up webhooks, you can connect external services, automate messages, and manage your server more efficiently. Whether you're an admin or developer, learning to use Discord webhooks can greatly enhance your server's functionality. Try creating webhooks today through this article and see how they can benefit your Discord community.