How To Install XAMPP On Ubuntu - Linux Start (original) (raw)
XAMPP is a web server solution stack mainly used as a local test environment for web apps and websites. It stands for
- X: Cross-platform
- A: Apache server
- M: MariaDB
- P: PHP
- P: Perl
As LAMP/LEMP stacks are the norm on Linux, XAMPP is not that popular. But it’s still useful on occasion as it’s very simple to set up and deploy. We’ll cover the steps to set up and run XAMPP on Ubuntu in this article.
Download XAMPP for Linux
The Apache Friends Downloads page provides multiple XAMPP versions, which in turn contain different versions of subcomponents such as PHP and Apache. You can press the What’s Included button to check the exact package versions.
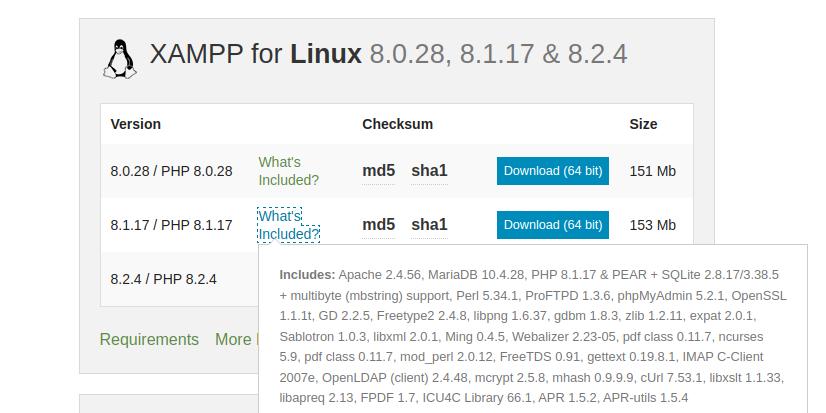
Once you decide on the correct version for your needs, simply click on Download.
You can also download an older version from the XAMPP SourceForge page if that’s necessary.
Make the Package Executable
Open the terminal and navigate to the directory where the .run file was downloaded. In our case, it’s /home/anup/Downloads.
cd ~/DownloadsWe’ll use chmod to set the permissions for this file.
chmod 755 xampp-linux-*-installer.runSet Up XAMPP
Now that the installer is executable, launch it by entering the file name like so
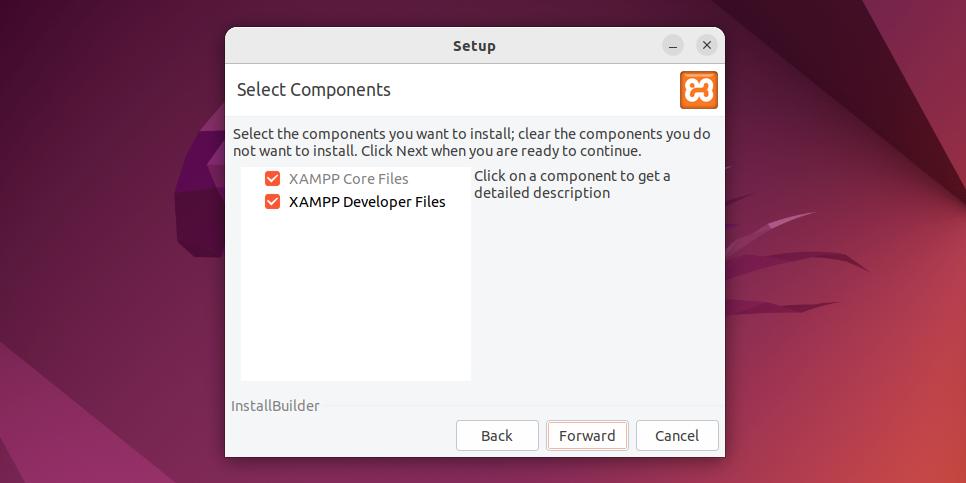
sudo ./xampp-linux-*-installer.runIn the Setup Wizard, we recommend that you simply press Forward on each page. This will complete the setup with the defaults (both core and developer files will be included and they’ll be installed to /opt/lampp/).
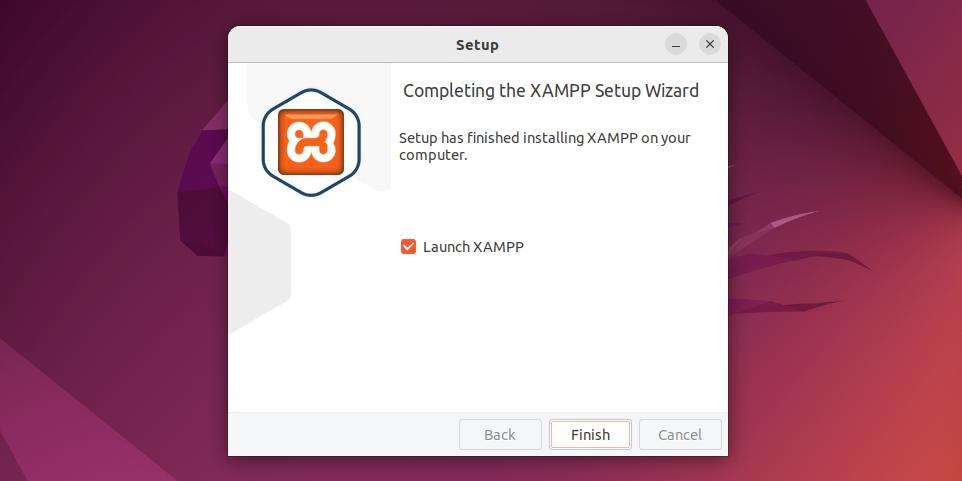
On the last page, choose whether to launch XAMPP or not and press Finish.
Start XAMPP Manually
When launching XAMPP manually, you’ll need to start the components first.
sudo /opt/lampp/lampp startThen, you can open the control panel.
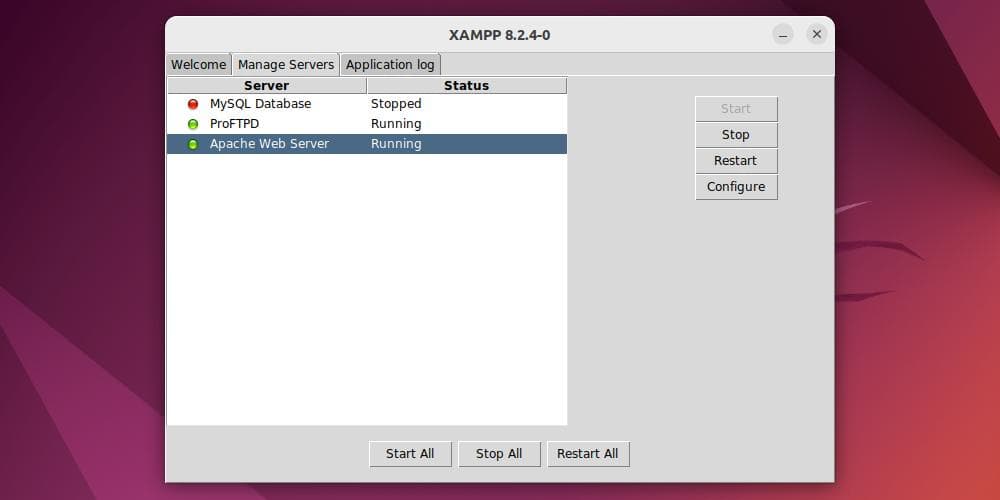
sudo /opt/lampp/./manager-linux-x64.runYou can Start, Stop, and Restart the servers from the Manage Servers tab. Additionally, you can also configure ports, check access/error logs, and edit the config files using the Configure option.
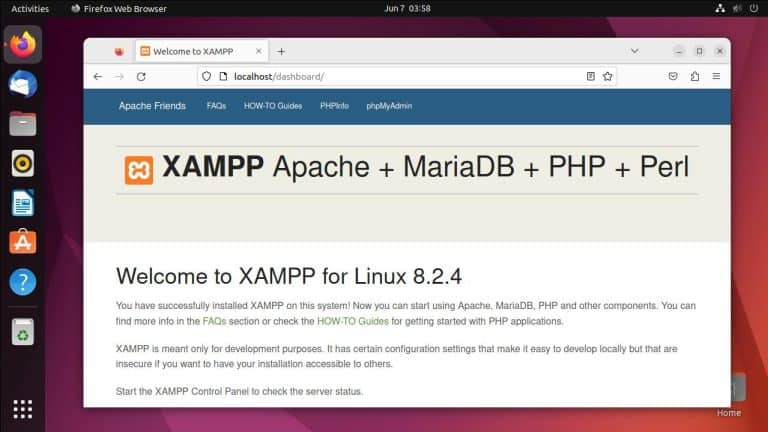
Finally, you can verify the XAMPP installation is working properly by accessing localhost through a web browser.
http://localhostCreate a Desktop Icon
XAMPP needs to be manually started every time you reboot. You can create a desktop icon to ease this process. Use your preferred editor to create a file named xampp.desktop. We’ll use nano.
nano xampp.desktopPaste the following contents, save the changes, and exit the editor. With nano, you can press Ctrl + O and Ctrl + X to do this.
#!/usr/bin/env xdg-open
[Desktop Entry]
Name=XAMPP GUI
Type=Application
Exec=sh -c "pkexec env DISPLAY=$DISPLAY XAUTHORITY=$XAUTHORITY sudo /opt/lampp/manager-linux-x64.run"
Terminal=false
Icon=/opt/lampp/htdocs/favicon.ico
Terminal=false
Right-click the icon and select Allow Launching.
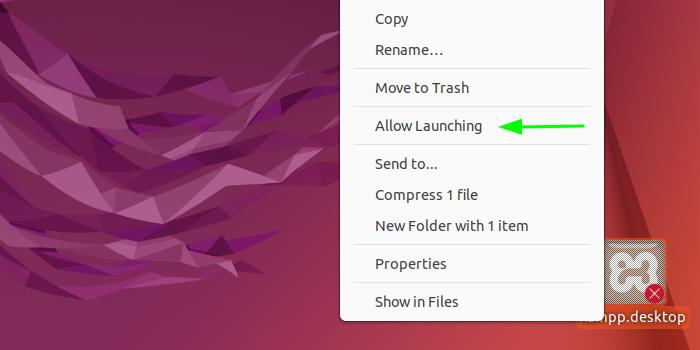
Now, you’ll be able to launch the XAMPP control panel using this icon.
Manage XAMPP on Ubuntu
If you want to stop all XAMPP services instead, you can do so from the control panel, or you can use
sudo /opt/lampp/lampp stopFinally, if you want to uninstall XAMPP from your system, you can run the uninstall script like so
cd /opt/lampp/sudo ./uninstallThen, remove the leftover files like so
sudo rm -r /opt/lamppHost a Website Locally
The final step to getting started with XAMPP is hosting a local site. To do this, start XAMPP if you haven’t already done so and switch to the following directory:
cd /opt/lampp/htdocs/Create a directory here for your site. We’ll use the domain name linuxstart.
sudo mkdir linuxstartChange the ownership of this directory to the current user for ease of access.
sudo chown -R <span class="katex"><span class="katex-mathml"><math xmlns="http://www.w3.org/1998/Math/MathML"><semantics><mrow><mi>U</mi><mi>S</mi><mi>E</mi><mi>R</mi><mo>:</mo></mrow><annotation encoding="application/x-tex">USER:</annotation></semantics></math></span><span class="katex-html" aria-hidden="true"><span class="base"><span class="strut" style="height:0.6833em;"></span><span class="mord mathnormal" style="margin-right:0.10903em;">U</span><span class="mord mathnormal" style="margin-right:0.00773em;">SER</span><span class="mspace" style="margin-right:0.2778em;"></span><span class="mrel">:</span></span></span></span>USER linuxstart/Now, switch to the site directory and create an index file.
cd linuxstartnano index.phpWe’ll just print a simple Hello World text for now, so paste the following code as the contents.
<?php
  echo "Hello World!"
?>
Save the changes and exit the editor. With nano, you can do this by pressing Ctrl + O and Ctrl + X.
Finally, try accessing the site from your browser like so
http://localhost/linuxstart