Painting the Front Door | Madness & Method (original) (raw)
You know what project I’ve wanted to tackle, but kept pushing aside or forgetting about? You clever folks might have guessed that it was painting the front door! AND thanks to Modern Masters, who graciously sent me some front door paint for free – I was able to set a day aside to get this project done… and it created some major impact for minimal effort – check it out!
– Note: This post contains affiliate links. See more information about affiliates here –
But first, a quick reminder that I first found out about Modern Masters at the Haven Conference back in July. I had spun their wheel of prizes and landed on the option for their line of Front Door Paint, and thank goodness I did because I really needed it!
Door – Before
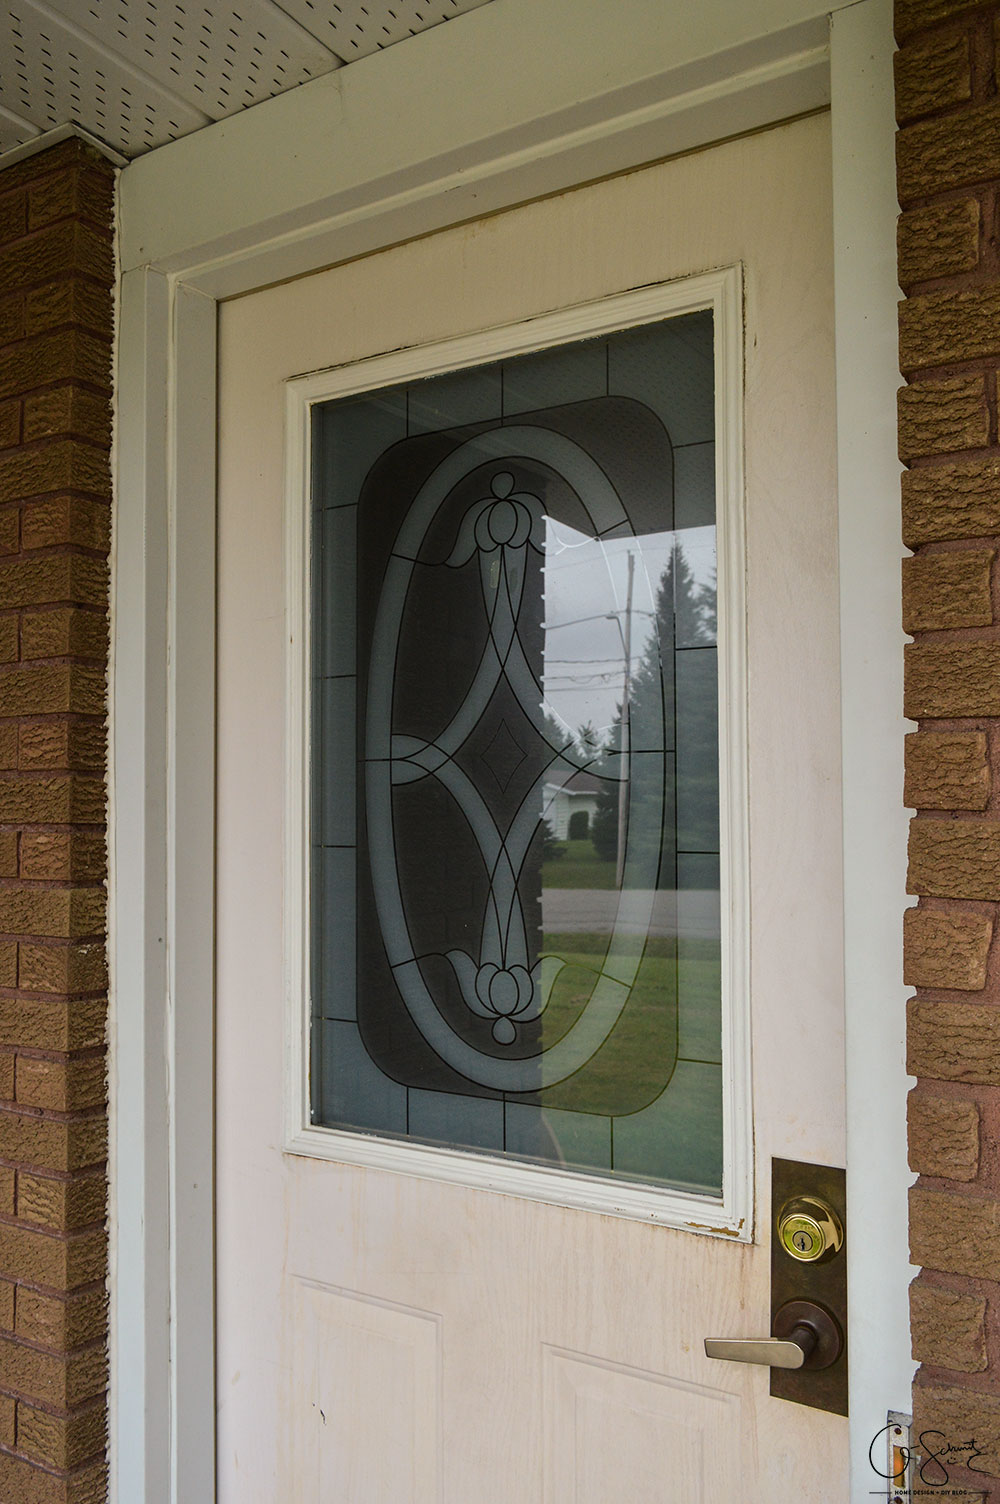
I actually told the Husband a while ago that we needed to give the front door another coat of paint; and I think he thought that it was fine the way it was?
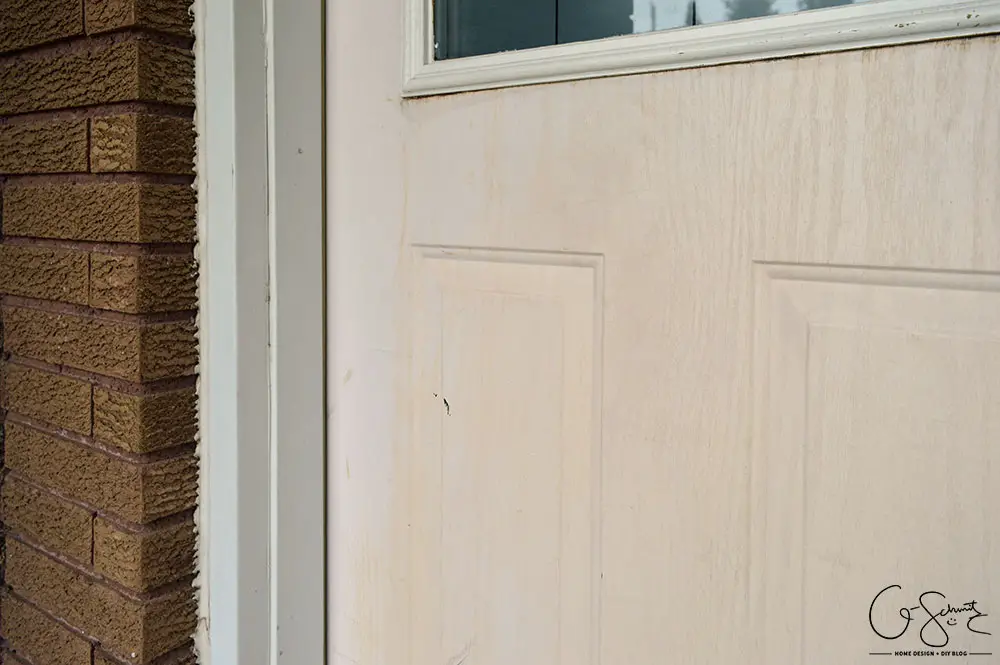
But seriously, if you looked close enough (or even from a distance!) you could see the paint was fading, not even, and looked plain dirty. I mean, we literally open and close the front door almost every day, and I guess it was just ignored.
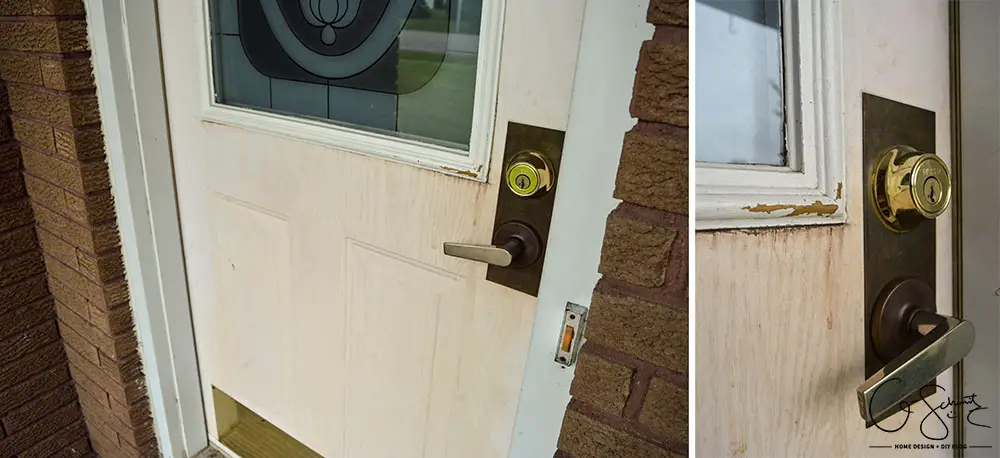
I did have to replace the deadbolt lock a year or so ago after I broke the first one (yes – apparently I am super strong) so that’s why it’s a brighter, shinier brass colour than the rest of the handle area.
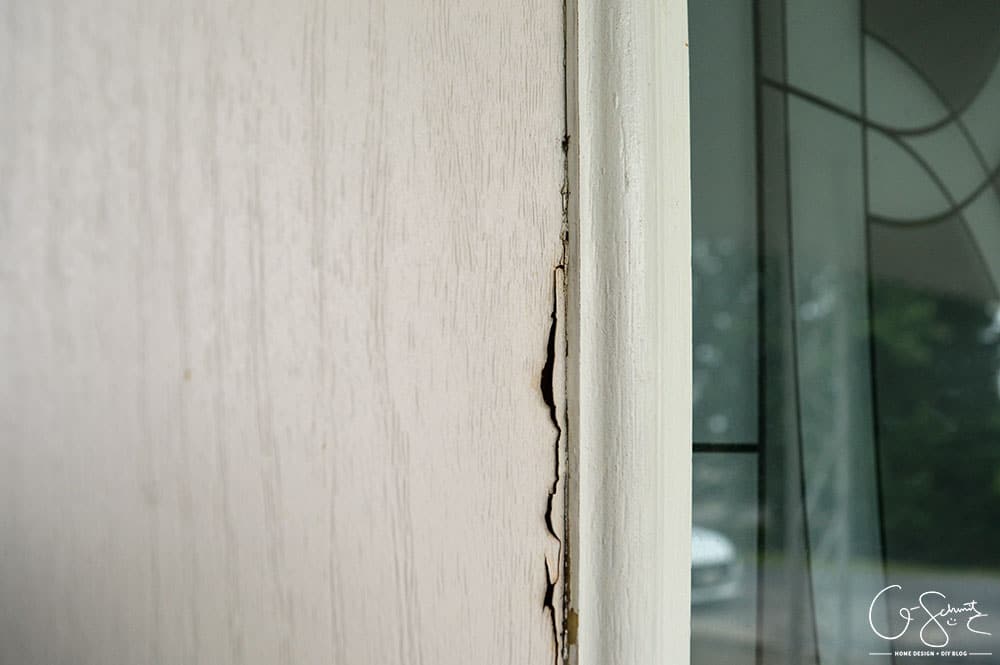
And it wasn’t until I decided to actually buckle down and paint the door that I started to realize what bad shape it was in the whole time.
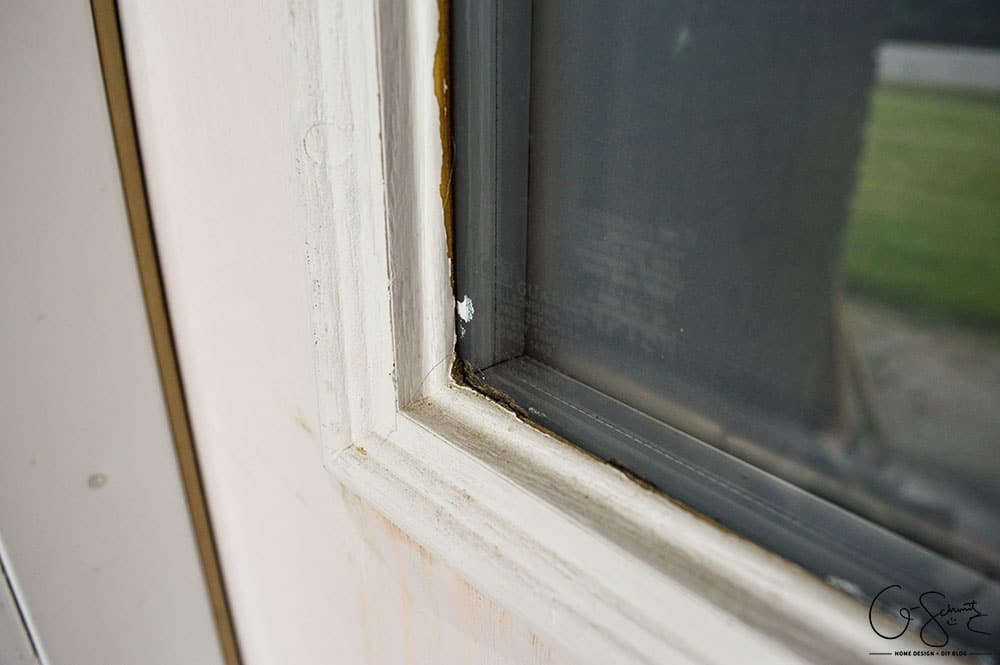
We had a lot of peeling and cracking paint, mostly along the window frame.
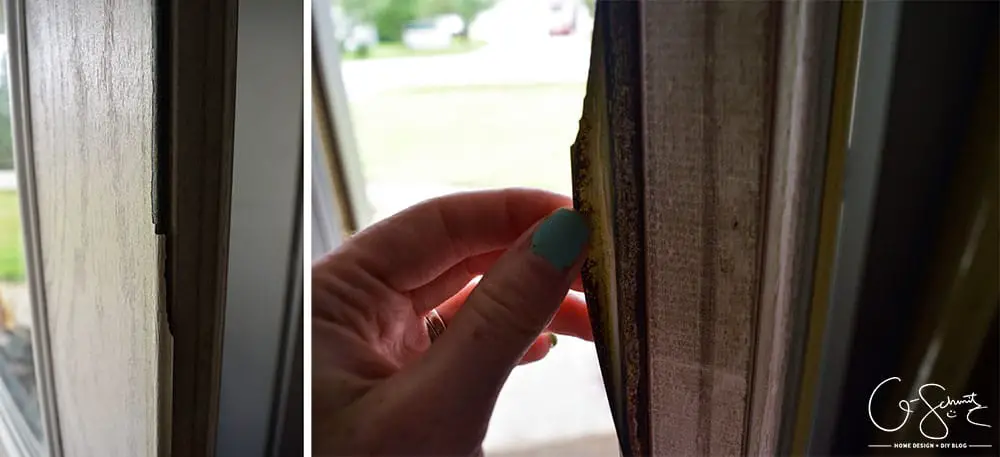
I also discovered that our door was metal, and it had a layer of plastic-y stuff to create a fake wood grain pattern.
Prepping the Door
To prepare the door for paint, I first gave everything a very good cleaning with some soapy water. After letting it dry, I did a small test to see if the original paint was oil or latex based. (There is a link to very good instructions on checking this and using the Front Door Paint here). I was PRETTY sure our door was just a fake plastic-y wood grain, BUT I had no idea for sure, and rubbing it with alcohol didn’t remove any of the paint SO it could have been oil-based.
Darn – might as well do things properly. (Which involves painting a coat of Bull’s Eye 1-2-3 Primer first)
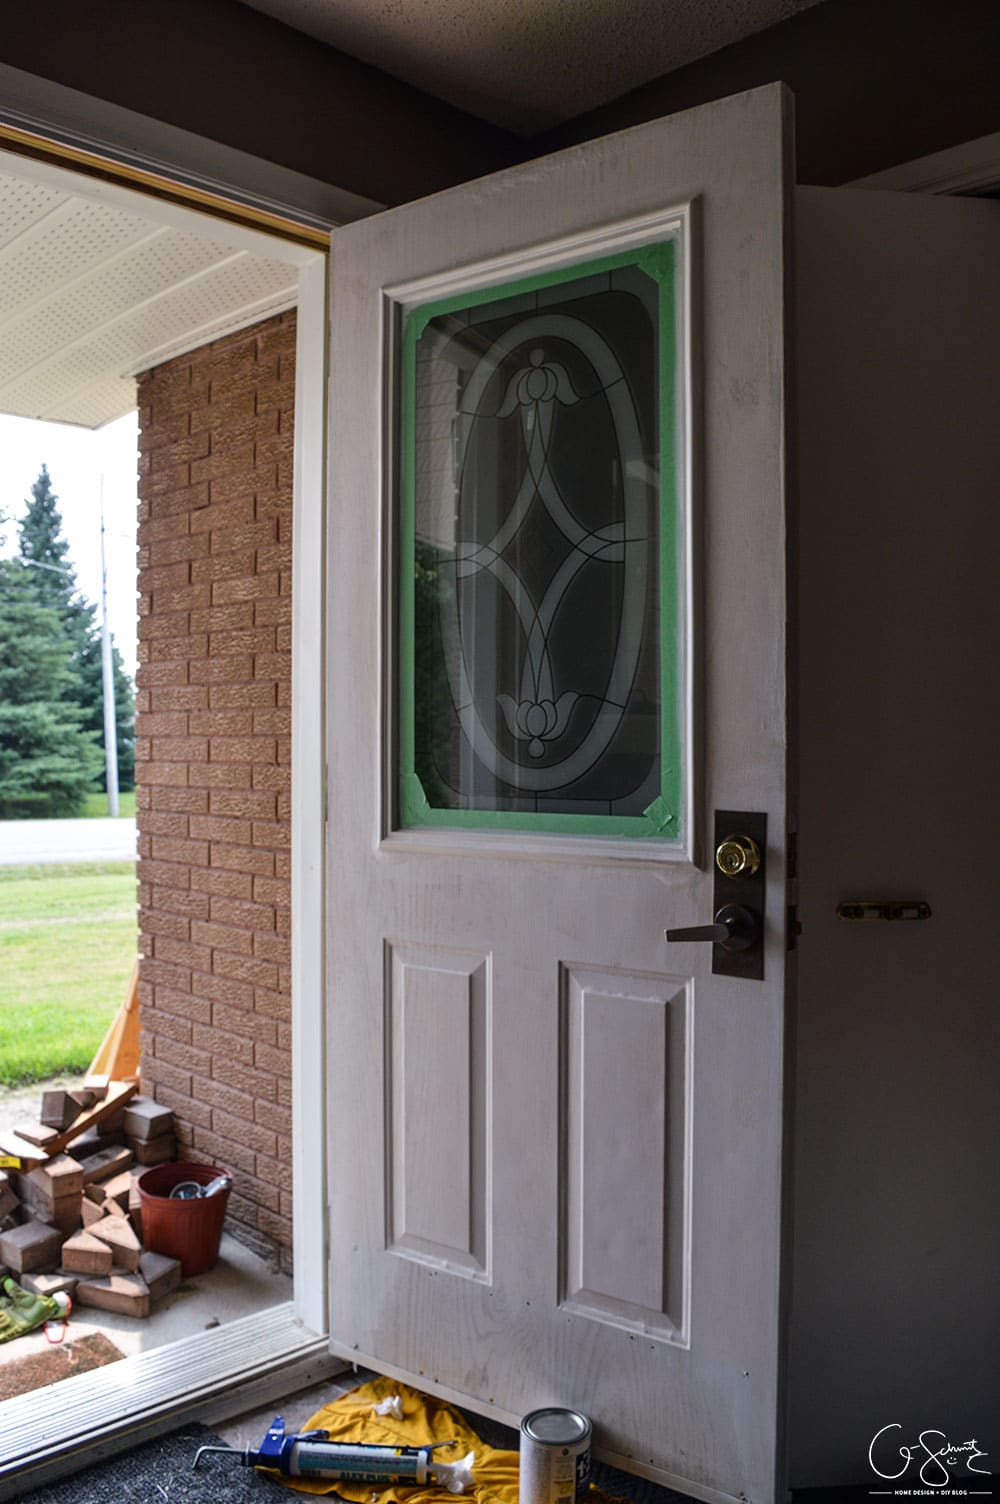
I taped around the glass and removed the bottom brass plate from the door, then did a quick coat of primer over everything.
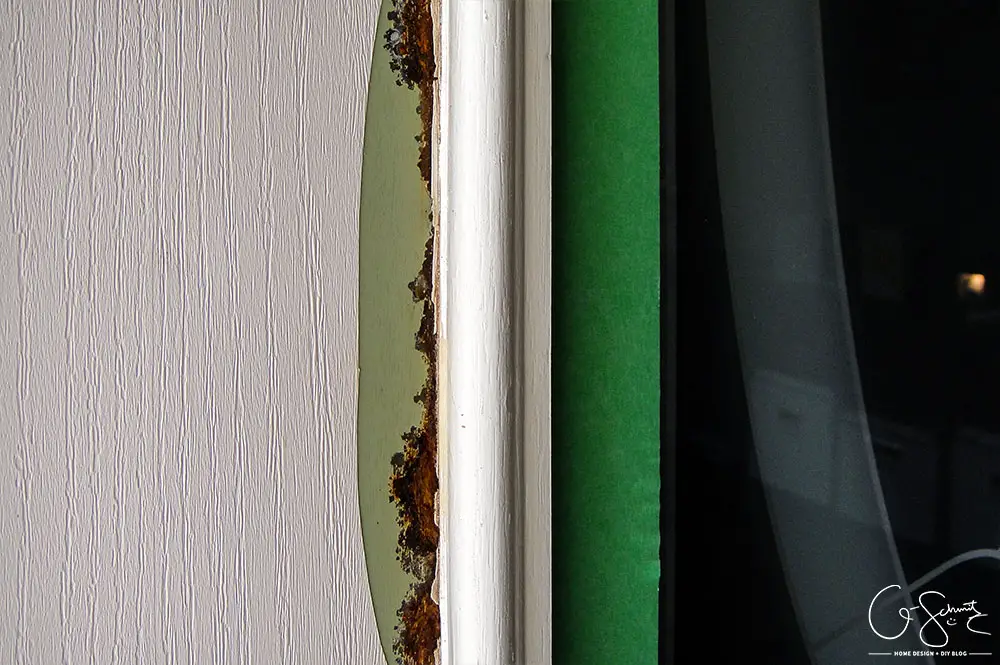
I should also mention that I cut off any really loose panelling, and then patched the area to make sure it was smooth.
Oh! And I also caulked around where the frame meets the door part (not the glass part). So all of these steps added hours of drying time to my overall project…
Painting the Door
Assuming you don’t have to prime or prep your door as much as I did, to actually paint the front door with Modern Master’s Front Door Paint only takes a few hours.
I chose the colour “Peaceful” after literally staring at the samples at Haven for what seemed like ages. I thought that a nice deep blue would add a great contrast against the white trim and orange bricks. I was also trying to pick a colour that would go with the brass, and that the Husband wouldn’t mind.
It was starting to look great after just one coat!
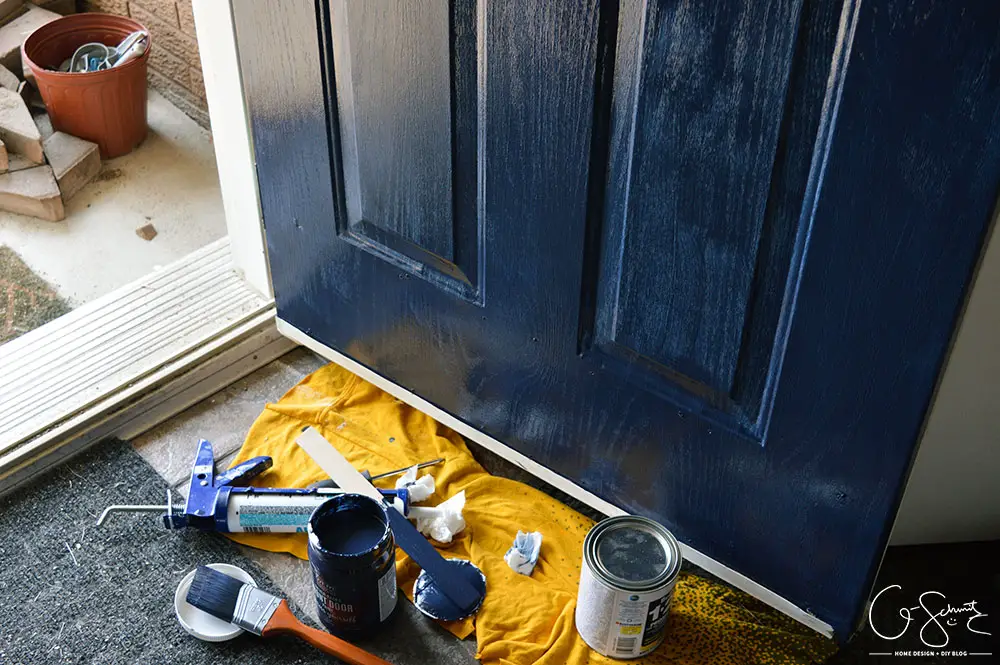
What’s even better, I didn’t use a lot of the product, so I knew that I would definitely have enough for the full door (and then some!).
The jar says to do between 2 and 3 coats, and I ended up doing three because I could see some white in a few of the small areas (the edge + trim along the window).
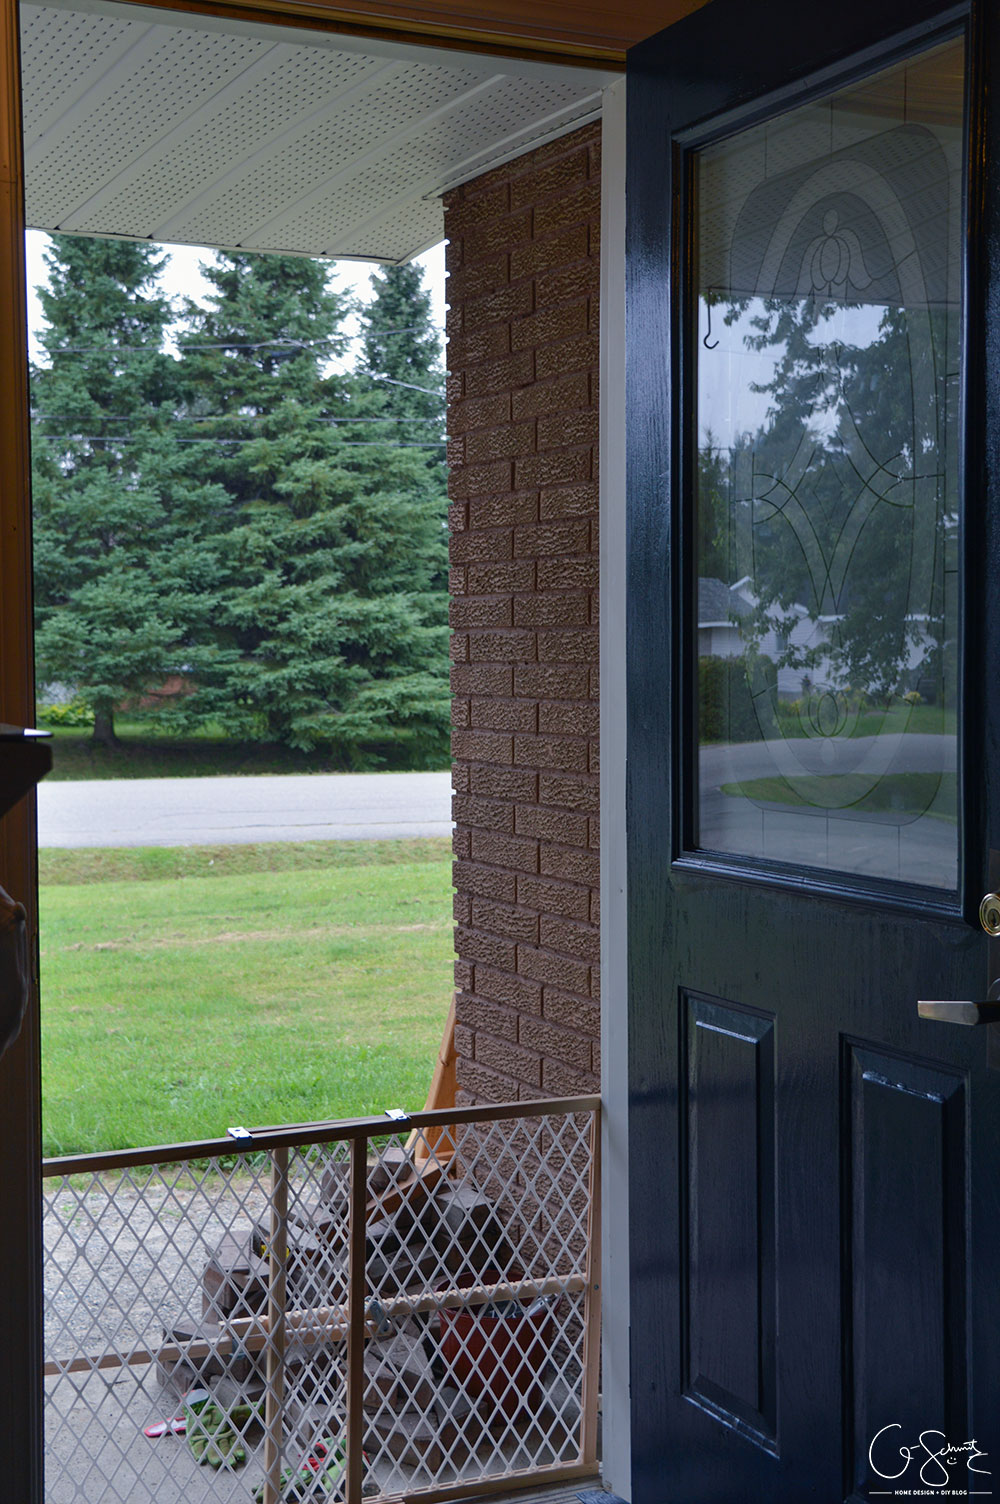
The plan was to surprise the Husband when he got home, but he ended up surprising me by coming home in the middle of the day (and bringing our little Tootsie too). So I had to put her doggy-gate along the outside so that she wouldn’t escape.
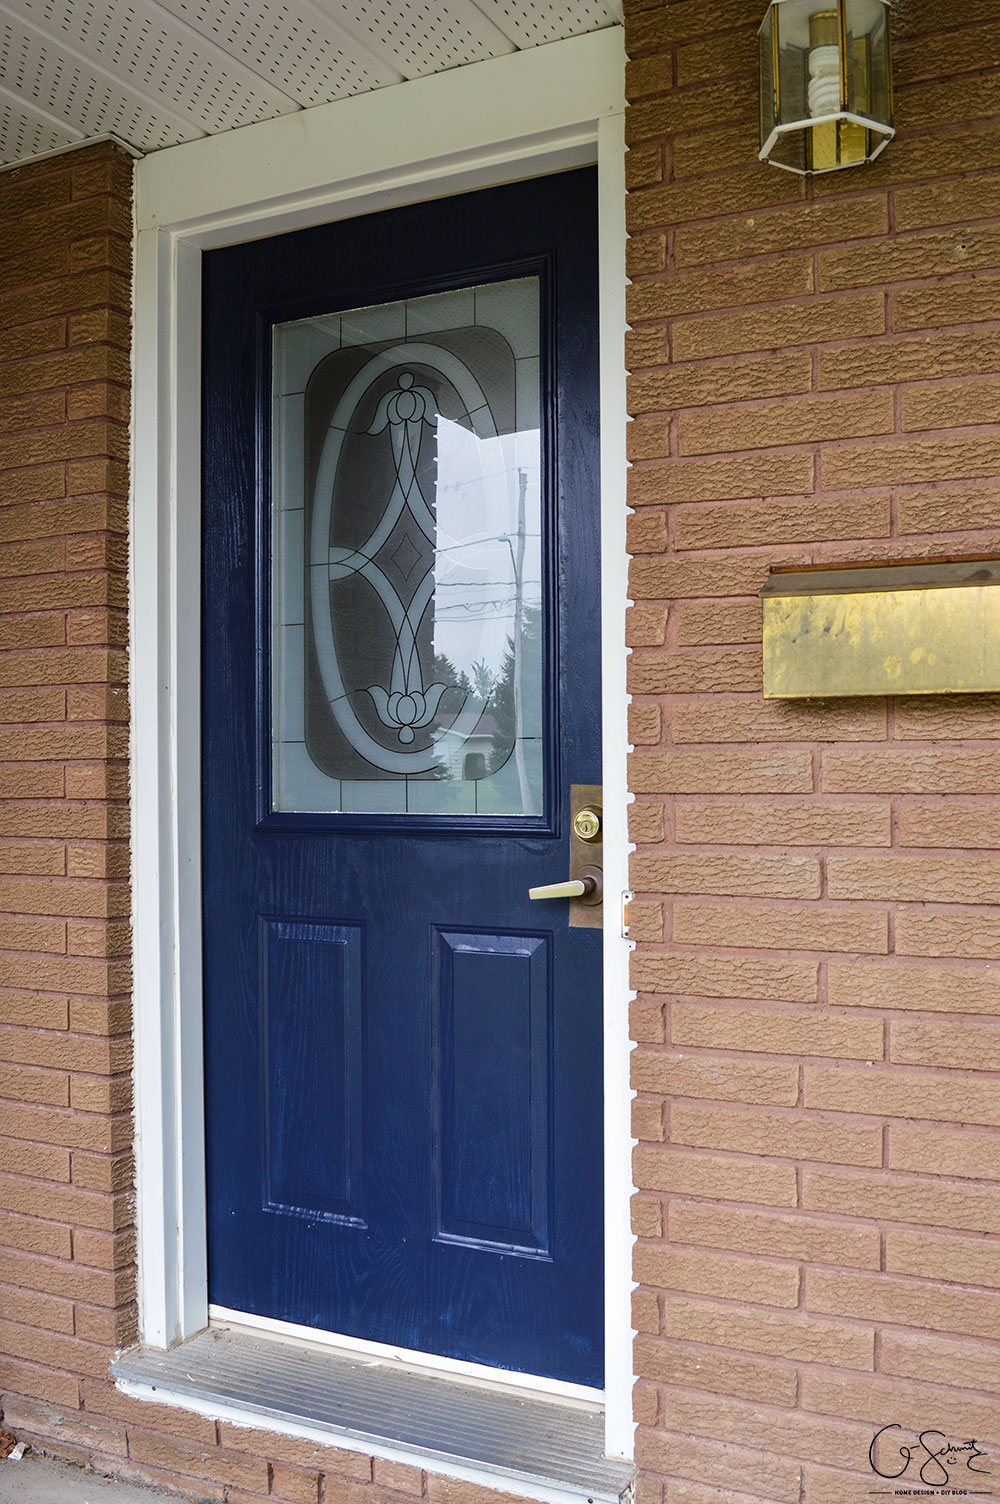
Here is what it looks like after 2 coats (you can see a bit of white at the bottom, but don’t worry the third coat covered that – and I still have to put the brass plate back on). Because I didn’t end up actually starting the blue until late in the afternoon, I wasn’t able to get all the coats on in one day. They recommend starting early in the morning; but my morning was spent cleaning, patching, priming and caulking first!
I could have done all 3 coats in one day, but it says not to close your door for another 2-3 hours, and I didn’t feel like leaving it open too late at night :)
And just in case you wanted another cute before + after animation, here it is! And yes, I do have to clean out that leftover pile of patio stones, but I’ll get to that soon!
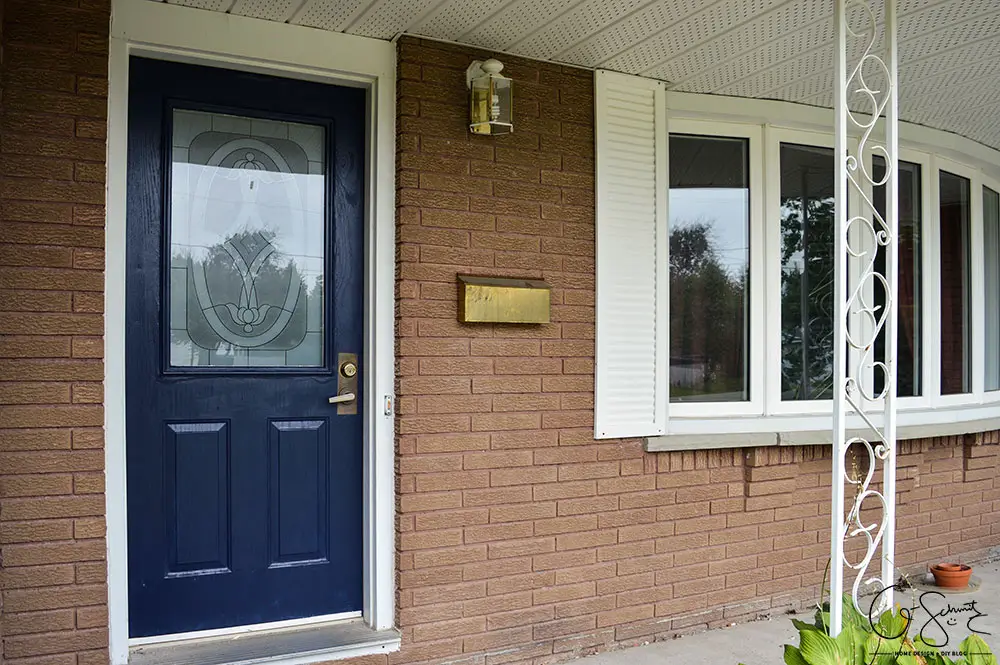
And there you have it (remember – still need to add the brass plate… the last coat is drying as I type!). I think the photo above shows how great the Peaceful Blue looks against the bricks and white trim, right? Have you checked out all the Front Door Paint colours? Would you have chosen something different for my house?
What about your house? Thinking of updating the colour of your front door now? I’d love to know what colour you would pick! I think for our next house, I’m going to have a purple front door :)
And, don’t forget to check out the super-handy links + videos for step-by-step instructions.
Modern Masters did not sponsor this post; however I did receive free paint by attending the Haven Conference. If you’re interested in their line of Front Door Paint (or others), you can purchase Modern Masters paints online at Amazon, or find a re-seller location near you.
Are you looking to work with me in promoting your products or services? The Madness and Method Blog would love working with relevant/useful/appropriate businesses, please contact me to discuss ways we can coordinate and partner together.
Oh! I think the blue door will look super sharp with some orange fall accents… so stay tuned!