How To Paint A Ceiling With A Roller - Making Manzanita (original) (raw)
If you're going through all of the trouble of painting your room, don't forget to paint the ceiling. Learn how to paint a ceiling with a roller in this step by step tutorial for beginners.
When it comes time to paint a room, you may be tempted to look up at the ceiling and say…”eh, looks fine. I only need to paint the walls”. But you would be shocked what a big difference a nice fresh coat of paint on the ceiling will do for a room. It brightens the room up and makes it feel larger.
Painting a ceiling isn’t necessarily a difficult task, which makes it definitely a doable do it yourself project for a beginner. Follow along with these step by step instructions to get a professional looking finish to your ceiling before you move on to paint your walls.
Table of Contents
- FAQs about painting ceilings
- Supply list
- #1: Prep your room for painting
- #2: Gather supplies
- #3: Roll paint onto ceiling
- #4: Repeat of 2nd coat (if necessary)
Related: Other Interior Painting Articles
- Choosing Front Door Paint Colors (& How To Paint A Door)
- Two Tone Walls in Bedroom: How To Paint Straight Lines
- Mountain Mural Tutorial (Featuring Behr Paint Colors Trends)
- Behr Chic Gray Paint Reveal (+ The Best Order of Painting A Room)
- Modern Sponge Painting | Semi Circle Pattern in Back of Locker Cabinets
- How To Paint An Arch Like A Pro
- A Basic Paint Sheen Guide for Interior and Exterior Surfaces
- How To Cut In Paint without Painter’s Tape
- How To Paint A Ceiling With A Roller
- Behr Fashion Gray | Paint Color Overview and Review
- How To Paint A Room For Beginners | Ultimate Guide
- Tips for Painting Baseboards and Trim
- Black Bamboo Behr | Paint Color Overview and Review
- Behr Meteorological | Paint Color Overview and Review
- Behr Falling Snow | Paint Color Overview and Review
- 16 Gorgeous Green Accent Walls
- Snowy Pine Behr Paint Overview
- In The Moment Behr Paint Color Overview
- 22 Front Door Paint Colors to Inspire You
- Master Bedroom Colors | 20 Great Paint Color Ideas with Pictures
- Behr Midnight in NY Paint Color Overview
- Graphic Charcoal Behr | Paint Color Overview and Review
- Do I need Primer Before Painting?
- How to Paint a Room Fast
- How To Clean Walls Before Painting
- Interior Painting Tools List – 17+ Must-Haves for Homeowners
- Cost to Paint a Room – DIY vs Hire Comparison
- How to Transform Walls with Just Paint: 20+ Wall Painting Ideas
This how to paint a ceiling tutorial contains affiliate links, but nothing that I wouldn’t recommend wholeheartedly. Read my full disclosure here.

FAQs about painting a ceiling
Do I need to prime my ceiling before painting?
If you’re simply painting over old ceiling paint, you shouldn’t need primer.
However, if you’re painting over a dark color with white ceiling paint, primer will help limit the number of coats you’ll need for full coverage when painting your ceiling.
If you’re painting over fresh drywall, you should always use drywall primer first because drywall texture really soaks in the paint.
If you are painting over stains from roof leaks or trying to cover stains from tobacco smoke, then a high quality stain blocking primer is definitely recommended when painting your ceiling.
When do you paint a ceiling – before or after painting the walls?
When painting a room, you always want to start with the ceiling and work your way down to the trim & baseboards and then move on to the walls last.
We explained more about why this is the best order of a painting a room in this article if you’re interested.
What’s the best way to paint a ceiling?
You have a few options for ways to paint a ceiling – you can use a paint brush, a roller or a paint sprayer.
- A brush is very time consuming and won’t give you a great finished product with brush marks.
- A paint sprayer will give you a very professional looking finish, but they are close to impossible to use indoors because every single thing needs to be covered.
- We recommend using a paint roller to paint your ceiling because you can get a great finish and they are easy to use.
What type of roller should I use to paint a ceiling?
We like the 3/8″ nap roller for painting ceilings and walls. It allows the paint to go on the surface with a smooth to semi-smooth finish and holds a good amount of paint.
If you are painting over heavily textured ceilings (like popcorn), use a 1/2″ nap roller cover.
Always choose a high quality roller if your budget allows.
How much paint will I need for my ceiling?
1 gallon on high quality ceiling paint usually covers roughly 300-400 square feet with 1 coat.
To determine the square footage of your ceiling, measure the length and width of the room and multiply the two numbers together. For example, if your room is 12′ by 15′ the square footage of your ceiling surface would be 180 SF (12 x15 = 180).
If your ceilings are vaulted, calculate the square footage of each ceiling a section and add all of the sections together.
What type of paint should I use on the ceiling?
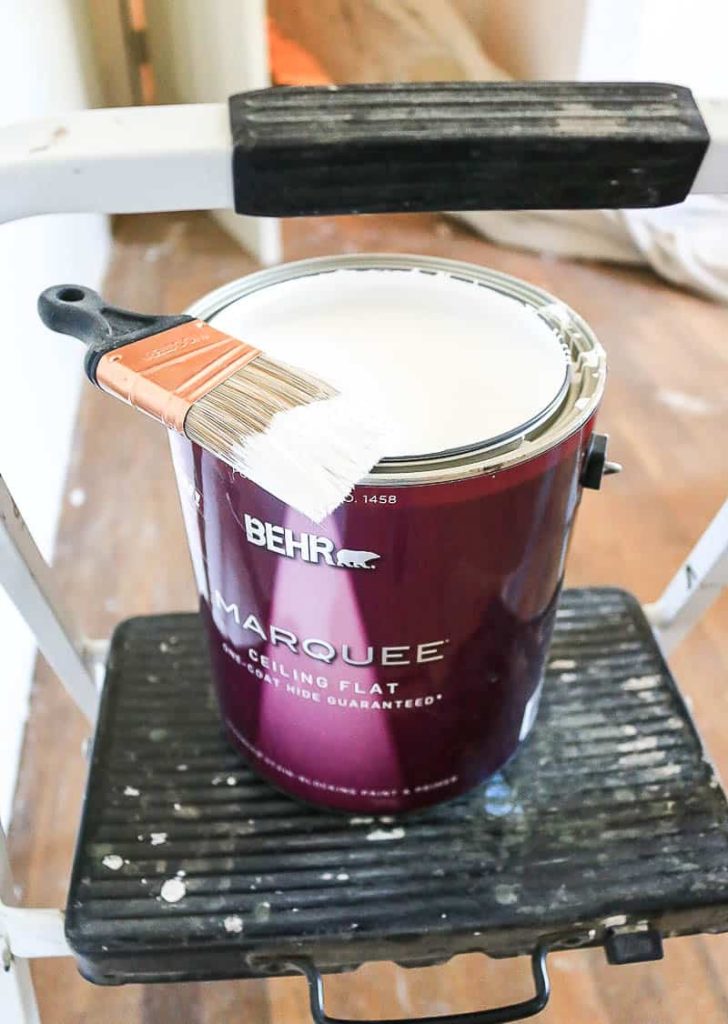
You should use flat (or matte) paint sheen on ceilings. Ceilings don’t take any wear and tear (like baseboards, doors or walls), so durability and washability of the paint isn’t super important – which is one reason why you’d opt to go with a more glossy paint sheen on other surfaces. Flat or matte paint on ceilings also helps hide imperfections because it doesn’t reflect the light.
If you buy something labeled as “ceiling paint”, not only will it have a flat sheen, but it will also be formulated to help reduce splatter and typically has a longer dry time than normal wall paint.
We always paint our ceilings with this white flat ceiling paint and the light color on the ceiling helps brighten the room. But you may want to add a little color to your ceiling! You can have the ceiling paint tinted at the paint counter just like you would with traditional wall paint.
How to paint a ceiling with a roller – step by step tutorial:

Supplies for painting a ceiling:
- Paint stir stick
- Ceiling paint
- Paint can opener or screw driver
- Angeled paint brush (for cutting in, if needed on ceiling)
- Paint roller covers – 3/8″ nap
- Paint roller
- Paint roller extension rod
- Paint tray (or use a power roller like this to avoid using paint trays altogether!)
- Painter’s tape
- Drop cloths
- Rags
- Swiffer sweeper
- Ladder or step stool
- Safety glasses
Step 1. Prep your room for painting.
Don’t just start rolling the paint up on the ceilings, start by getting your room prepped first. Here’s what you need to do before you start painting the ceiling:
- Remove or cover furniture with drop cloths or old bedsheets.
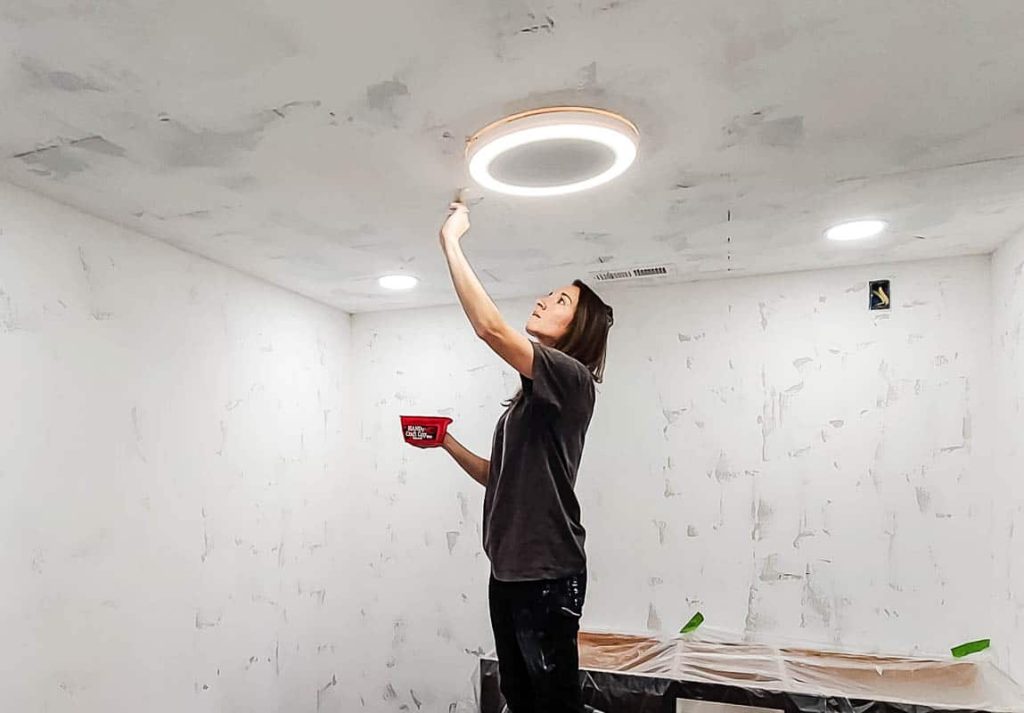
- Remove everything from the ceiling if possible. This includes vent covers and light fixtures. If you can’t remove your light fixture from the ceiling, tape around the entire fixture with painter’s tape.
- Patch any imperfections or holes if needed.
- Clean ceiling. A slightly dap rag attached to a Swiffer sweeper works great for this.
- Cover flooring with drop cloths.
Step 2. Gather supplies and prepare ceiling paint materials.
Shake your can of ceiling paint and stir well with a paint stir stick. Then pour your ceiling paint into a paint tray. Put a 3/8″ nap 9″ roller cover on a paint roller and attach an extension rod. The extension rod should have a little button on it near the top that extends it even more.
If you weren’t able to remove your light fixtures from the ceiling in Step 1, start by carefully painting around the edges with a paint brush before rolling the paint onto the ceiling.
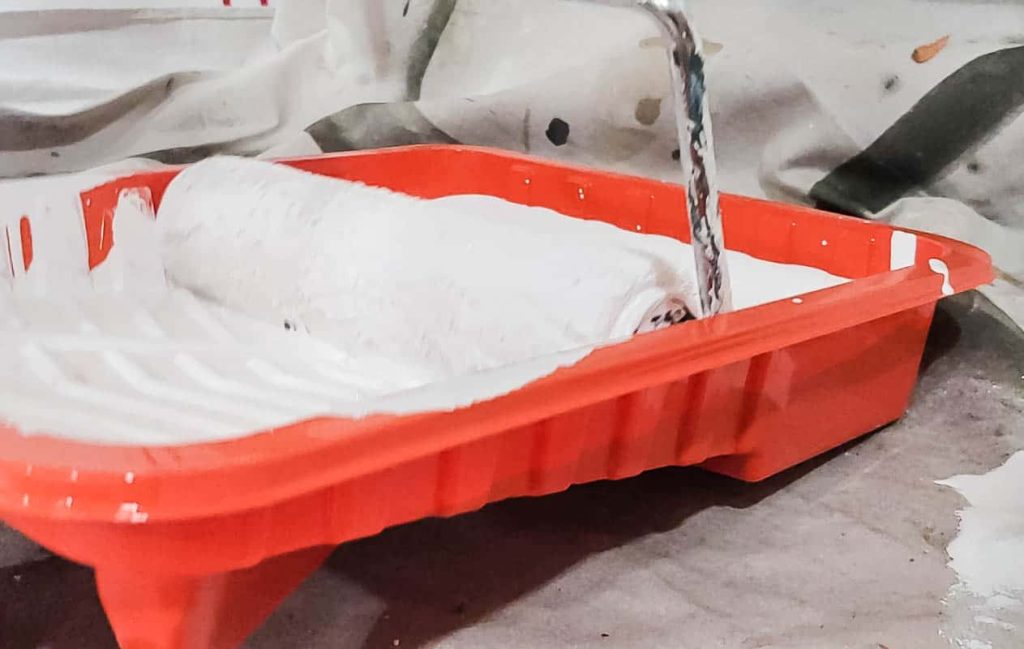
Dip the paint roller into the paint tray to load it up with paint. Roll off excess paint on the ramp of the paint tray. You want the roller to be fully loaded with paint, but not a dripping mess.
Step 3. Roll paint onto ceiling.
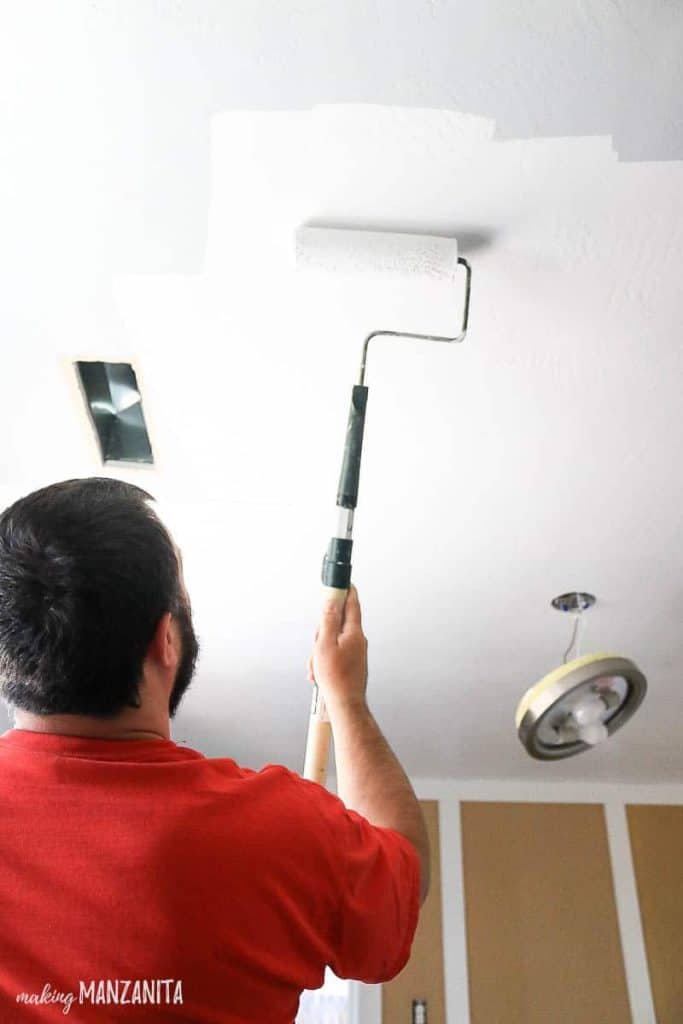
Starting in one corner of the room, bring the paint roller up to the ceiling. Apply the paint to the ceiling in small sections. Slightly overlap the paint strokes as you roll it on.
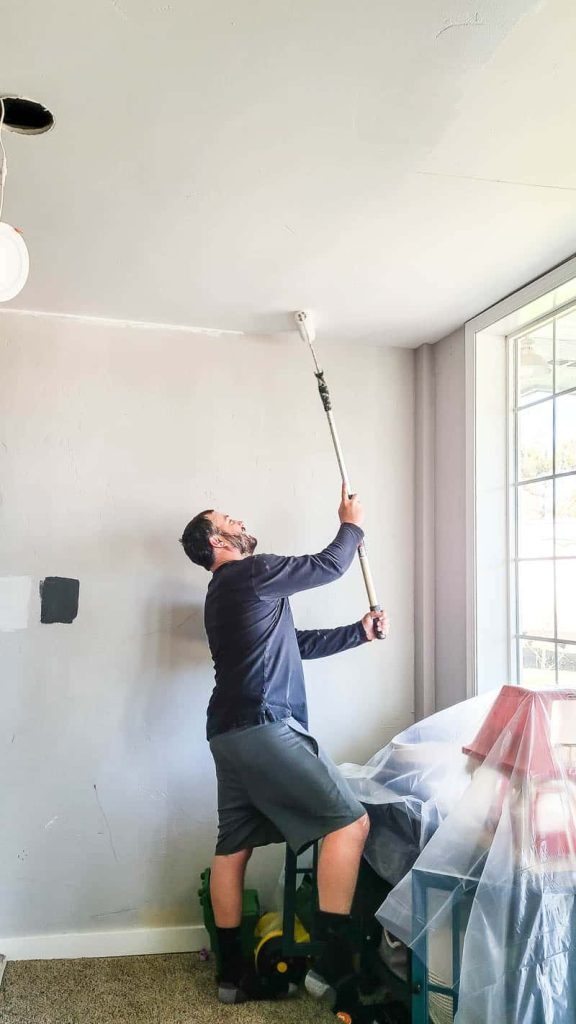
By working in smaller sections you can really take your time and focus getting the ceiling paint right. If you see lines from the roller, quickly go over them again with the roller.
Try to get the roller into the corners of the room as much as possible and don’t worry about getting paint on the walls (you’re going to paint those later anyway). If there’s some parts of the corners of the ceiling that you can’t get paint into with the roller, follow up with a paint brush.
If you’re not planning on also painting the walls of your room, you can very carefully go around the room and cut in the ceiling paint color with an angeled paint brush before rolling the paint on the ceiling. Then when you are rolling the paint on the ceiling, just be careful along the corners to not bump the walls. We have a whole tutorial all about how to cut in paint if you’re interested.
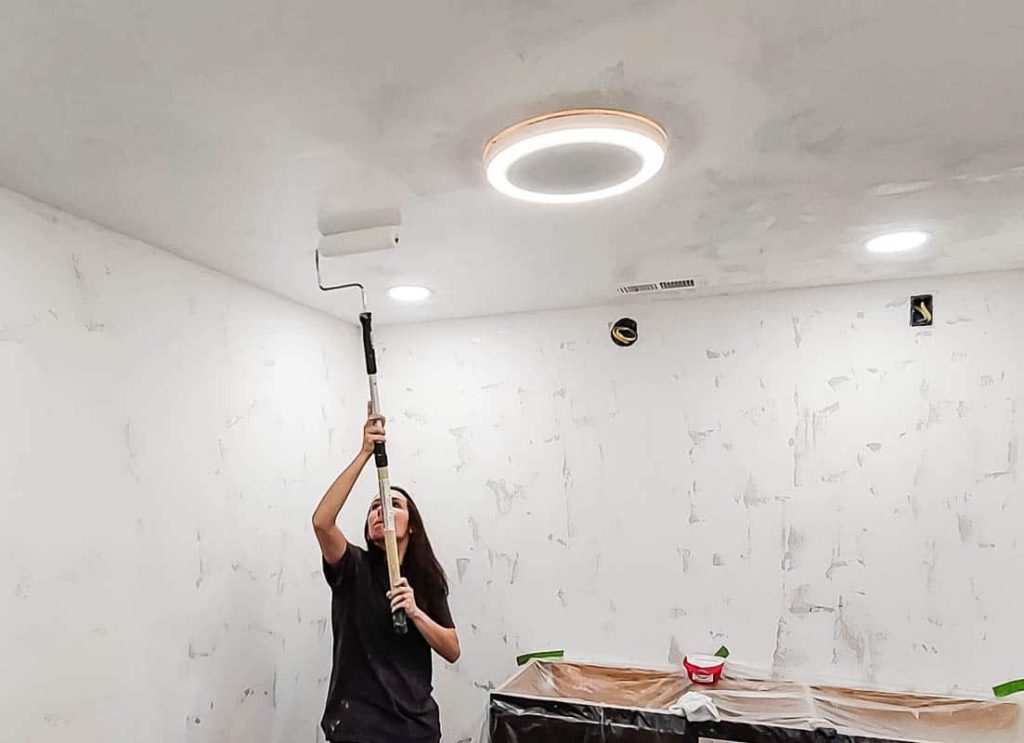
Tips for rolling an even finish on the ceiling paint
The key to getting a nice finish on the ceiling paint is keep your paint roller loaded up with paint. If you allow the roller to become empty the fiber on the paint roller cover will become crushed. It also won’t hold the paint as well for the rest of the room.
Don’t apply too much force with the paint roller, simply to get more paint out of the roller. The will also crush the fibers on the roller. You’re also more likely to get lines from the roller on the ceiling if you press really hard. Instead, stop and reload the roller with more paint.
Keep the direction of your paint rolling on the ceiling consistent throughout the room. Continue working in 4′ sections and move your way across the ceiling in rows.
Work as quickly as you can so the paint doesn’t start drying. You want the edges of paint that you’re overlapping with the roller to still be wet. However, don’t work too fast so you make a mess and lose control.
Avoid overworking your paint. Once you roll it on and you’ve moved on the next section, leave it alone. After the paint has started drying (even just for 5 to 10 minutes), going over it again with the paint roller will get a splotchy finish and remove some of the paint already on the ceiling.
Never stop painting in the middle of a ceiling and pick up again later. If you’re going to paint a ceiling, make time to do the whole room. Otherwise, you’ll likely see where you stopped and started with roller marks.
Step 4. Repeat steps for 2nd coat (if necessary).
You may or may not need more than one coat of paint on the ceiling. Because we use high quality ceiling paint, we almost always need only one coat to cover our ceilings with paint. A quick rule of the thumb regarding paint coverage, is the higher the quality paint – the better paint coverage you will get.
If you do need to do more coats of paint on the ceiling (or you’re not sure yet), cover the entire paint roller and paint tray with plastic shopping bags. Then put it in the refrigerator in between coats.
Wait until the paint has dried (roughly 1 hour) to determine whether or not you will need to apply a second coat of ceiling paint with the roller. A 2nd coat can be applied after you’ve waited 2 hours.
Painting a ceiling is not necessarily a fun task, but it’s a necessary one if you’re going to be painting a room. With these simple steps, you can learn how to paint a ceiling with a roller like a pro!
Do you have any other questions about painting a ceiling?
Let us know in the comments below!
Tools
- Paint stir stick
- Paint can opener
- Angeled paint brush (for cutting in, if needed on ceiling)
- Paint roller covers - 3/8" nap
- Paint roller
- Paint roller extension rod
- Paint tray
- Drop cloths
- Rags
- Swiffer sweeper
- Ladder or step stool
- Safety glasses
Instructions
- Prep your room for painting. Remove or cover furniture. Remove everything from ceiling if possible. Patch any holes. Ceiling ceiling with slightly damp rag attached to a Swiffer sweeper. Cover flooring with drop cloths.
- Gather supplies and prepare ceiling paint. Shake can and stir well. Pour paint into ceiling tray.
- Roll paint onto ceiling. Start in one corner of room and apply the paint in small sections, overlapping the strokes as you roll the paint on.
- Repeat steps for 2nd coat, if necessary.how to paint
Notes
If you’re not planning on also painting the walls of your room, you can very carefully go around the room and cut in the ceiling paint color with an angeled paint brush before rolling the paint on the ceiling. Then when you are rolling the paint on the ceiling, just be careful along the corners to not bump the walls. We have a whole tutorial all about how to cut in paint if you’re interested.