DIY Aged Vase With Texture (with Dirt !!) - Making Manzanita (original) (raw)
Do you love the vintage pottery trend? In this tutorial, learn 2 different methods for making your own DIY aged stone vase that looks like antique stoneware! All you'll need are vases, drywall texture, paint, and dirt!
This aged vase makeover contains affiliate links, but nothing that I wouldn’t recommend wholeheartedly. Read my full disclosure here.
The aged stone vase trend is everywhere. Pottery Barn and Restoration Hardware have been selling pottery that looks a bit like antique stoneware for years, but it was just recently that it seems like everyone is trying their own hand at it!
And I can see why….these vintage-inspired stoneware vases sell for anywhere from 20–20 – 20–100!

The best part is that I was able to make my upcycled vases that look like vintage pottery for FREE! I had all of the supplies on hand! LOVE it when that happens!
Table of Contents
- So here are the upcycled vases that I’ll be using:
- How to Turn Upcycled Vases into DIY Vintage Pottery – Two Ways!
- Upcycled Vase #1 (Spray Paint + Dirt)
* Supplies for upcycled vase #1:
* Step 1. Clean vase.
* Step 2. Spray the vase with white primer.
* Step 3. Spray the vase with flat black paint.
* Step 4. Cover with dirt.
* Step 5. Spray the vase & add dirt.
* Step 6. Spray the vase with sealer. - Upcycled Vase #2 (Textured With Joint Compound + Paint + Dirt)
* Supplies for upcycled vase #2:
* 1. Repeat steps 1 & 2 from the above tutorial.
* 2. Rub the vase with joint compound.
* 3. Another coat of joint compound & add dirt.
* 4. Paint with craft paint mixed with dirt.
* 5. Finish with spray sealer.
- Upcycled Vase #1 (Spray Paint + Dirt)
I’ve been seeing tons of Instagrammers trying to DIY their own aged stone vase using supplies that you’re likely to have on hand – like thrifted or dollar store vases, dirt (yep, that’s right….everyone has dirt), and spray paint!
In this article, I’m tackling 2 different methods of making upcycled vases look like vintage pottery!
If you’d rather watch a video, here are some behind-the-scenes videos that I filmed while I was working on these DIY aged vases:
If you love DIY videos, be sure to subscribe to our YouTube Channel so you don’t miss the next one!
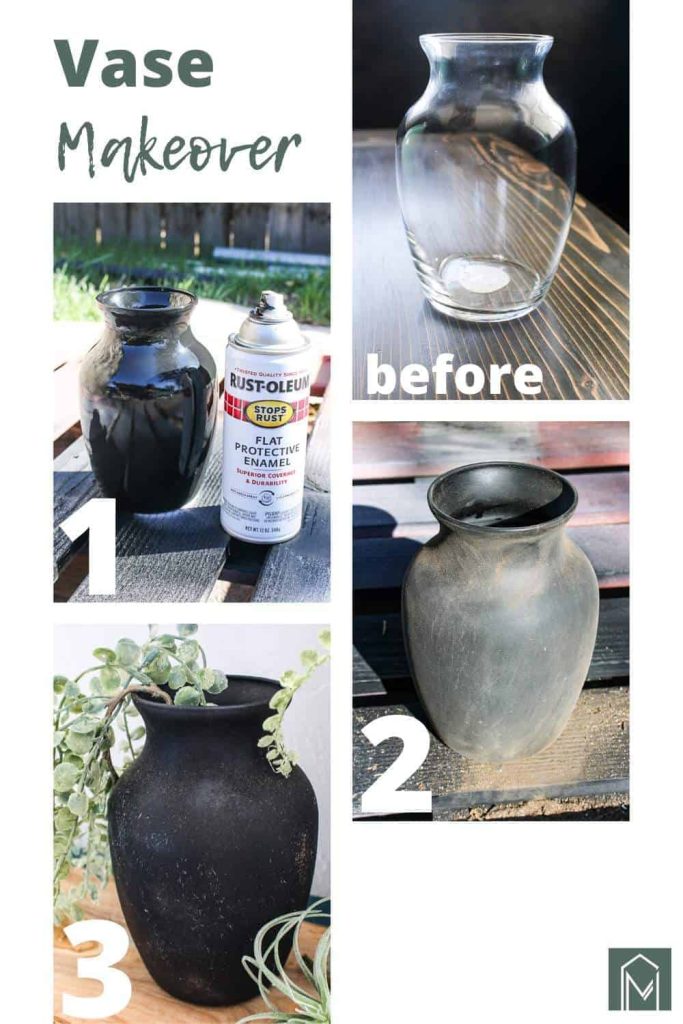
So here are the upcycled vases that I’ll be using:
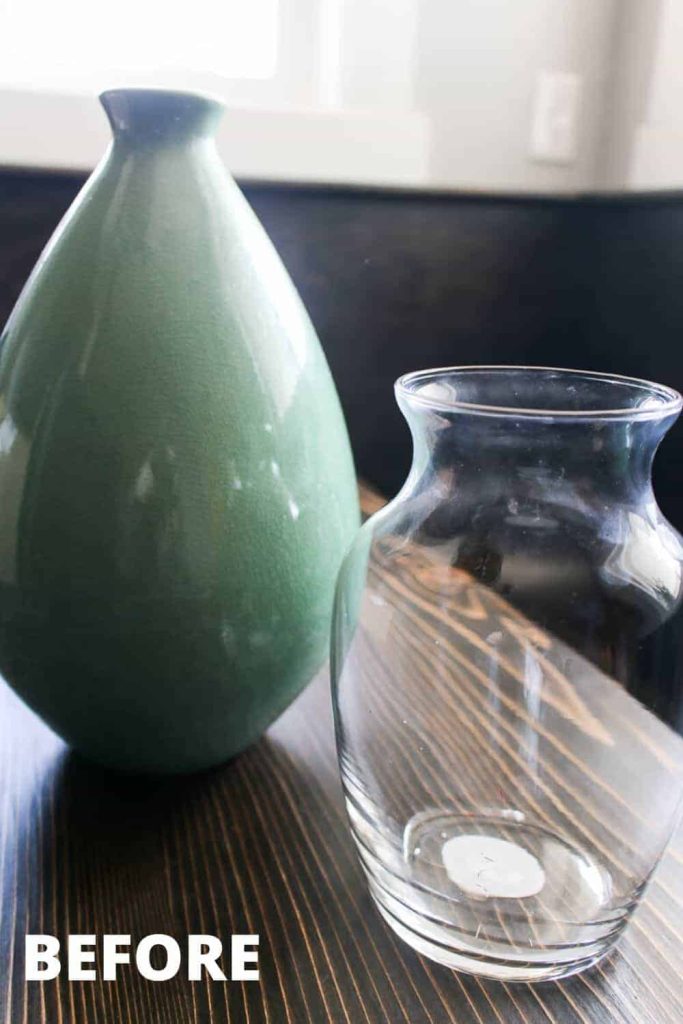
The green larger ceramic vase is from a local thrift store and the clear glass vase is from Dollar Tree.
But you can really use any vase that you have laying around. Everyone’s got a spare vase lying around, right?
How to Turn Upcycled Vases into DIY Vintage Pottery – Two Ways!
Upcycled Vase #1 (Spray Paint + Dirt)
So let’s jump right into the first DIY aged vase tutorial. On this clear glass vase, I’m going to be using the spray paint & dirt method.
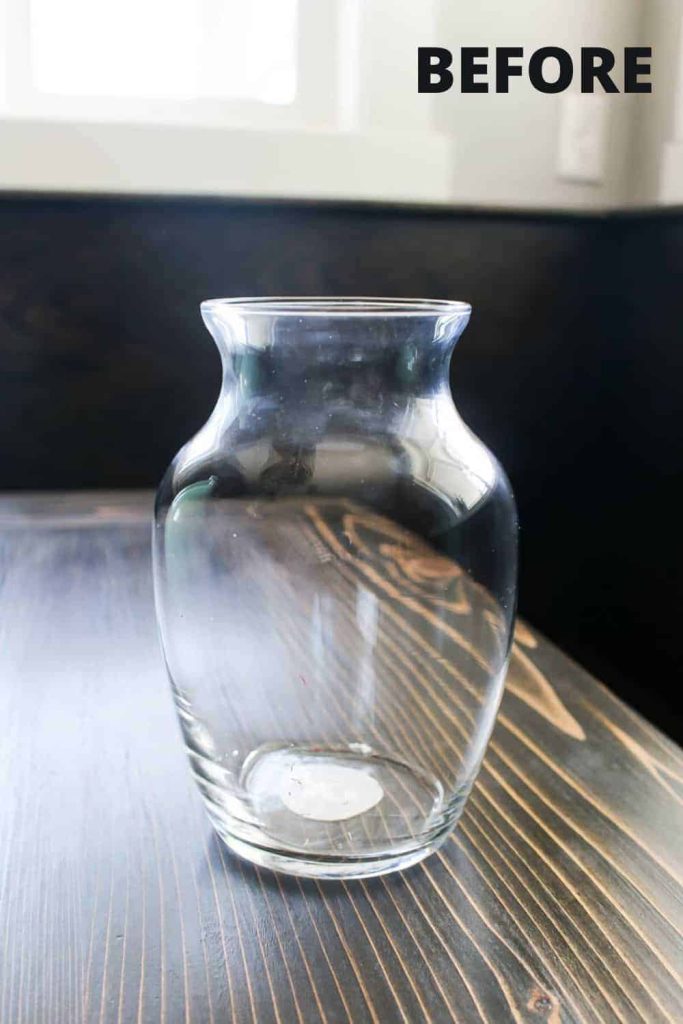
Supplies for upcycled vase #1:
Step 1. Clean vase.
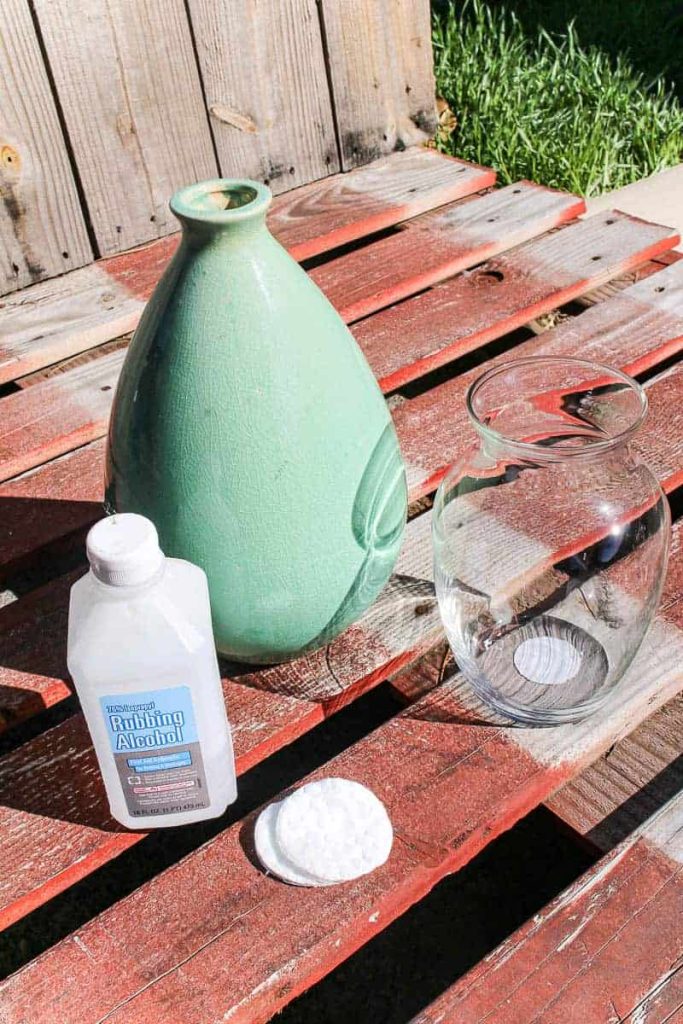
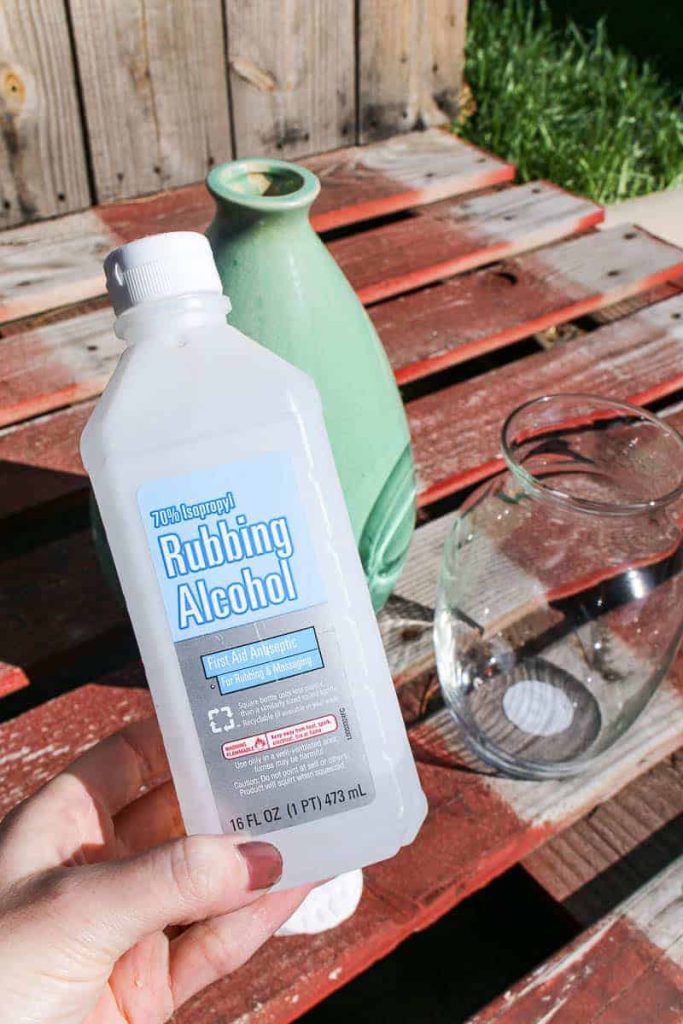
Any time you paint on a glass or ceramic surface you want to be sure it is nice and clean so the paint adheres.
I’ve found it works best to clean with rubbing alcohol on a cotton round right before starting the DIY to remove any grime or oils from the surface.
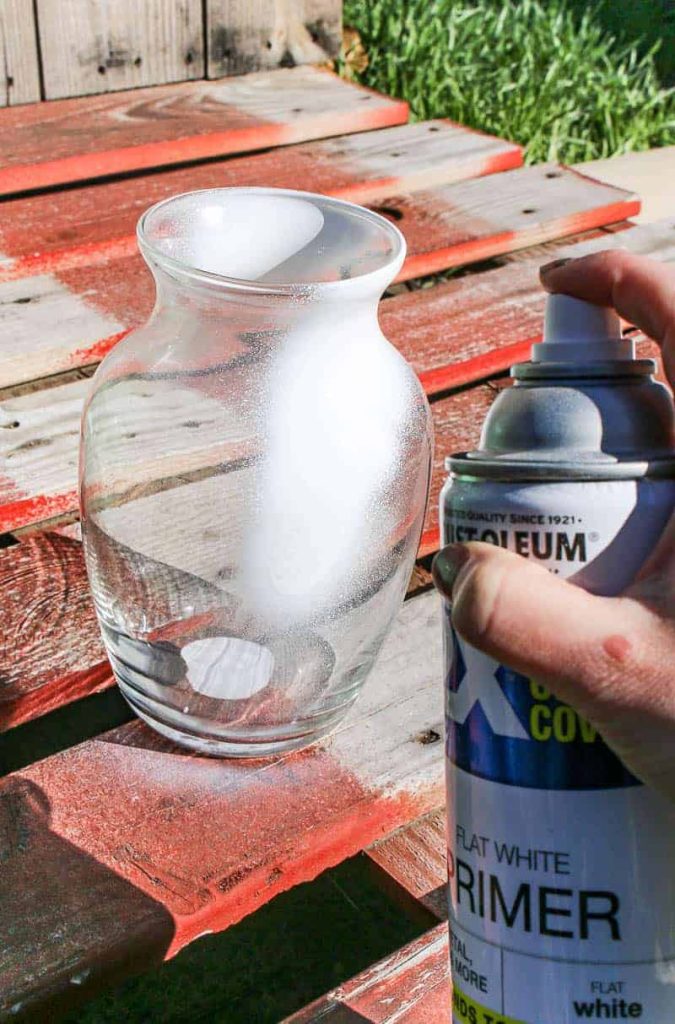
Step 2. Spray the vase with white primer.
To help with the adhesion of the paint, lightly coat the vase with white spray primer and let it dry.
Step 3. Spray the vase with flat black paint.
Next, do one thorough coat of the flat black spray paint on the vase and let it dry.
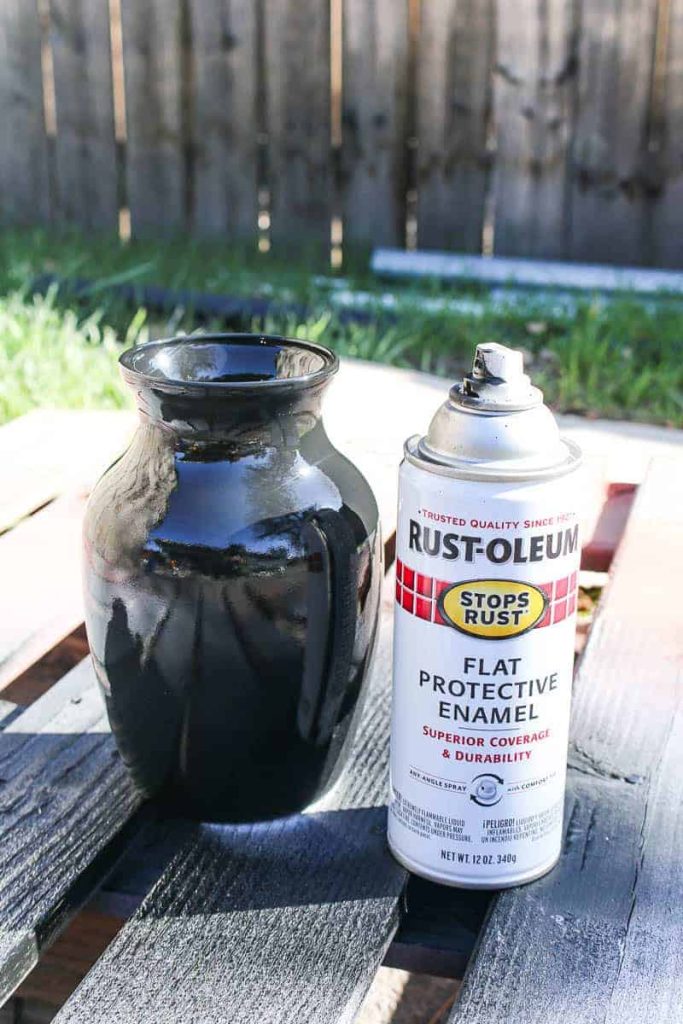
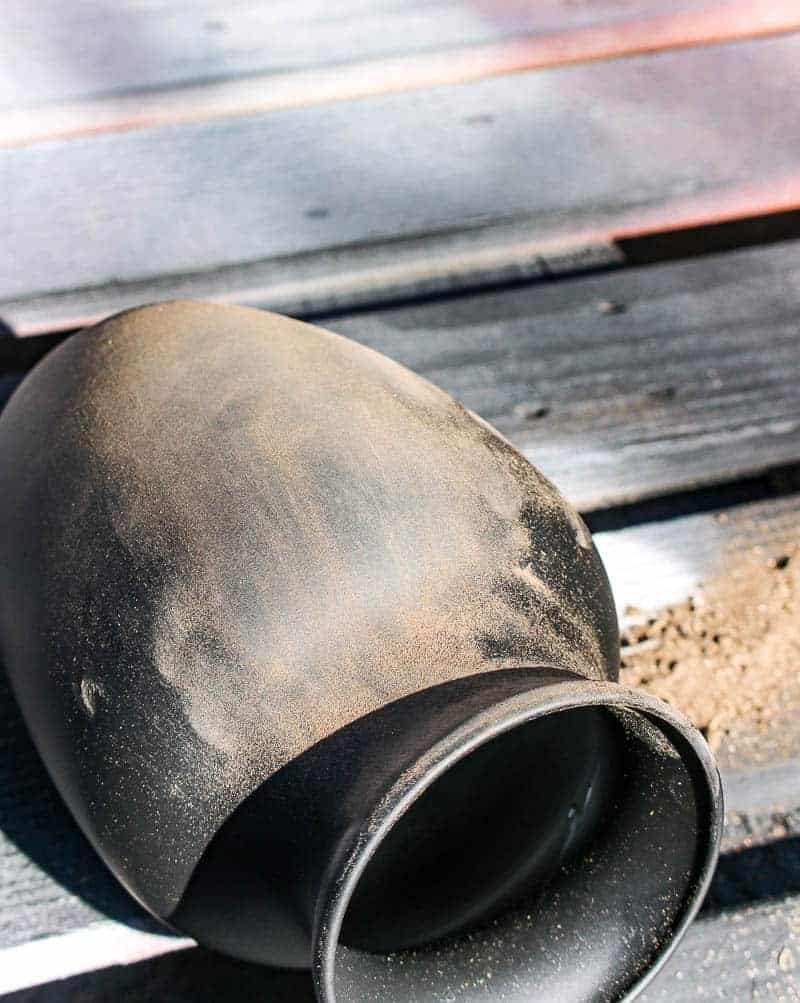
Step 4. Cover with dirt.
Once the first coat is dry. Cover the vase with sandy dry dirt. Rub very lightly so you don’t scratch the surface.
Now you could stop here if you wanted, but I chose to add more dirt to create some texture on the vase.
I guess you could also use coffee grounds if using dirt grossed you out.
Step 5. Spray the vase & add dirt.
Add more black spray paint as a second coat. Lightly toss dirt directly onto the wet spray paint. Don’t wait for the spray paint to dry, which happens quickly.
There’s really no rhyme or reason here. You just spray and toss dirt on the vase until you get a look you’re happy with. It’s THAT easy.
For the dirt, it works best to use dry dirt with a sandy texture – that will give you a fine texture on the upcycled vase.
If you wanted a more chunky texture, try using slightly wet dirt or mud instead!
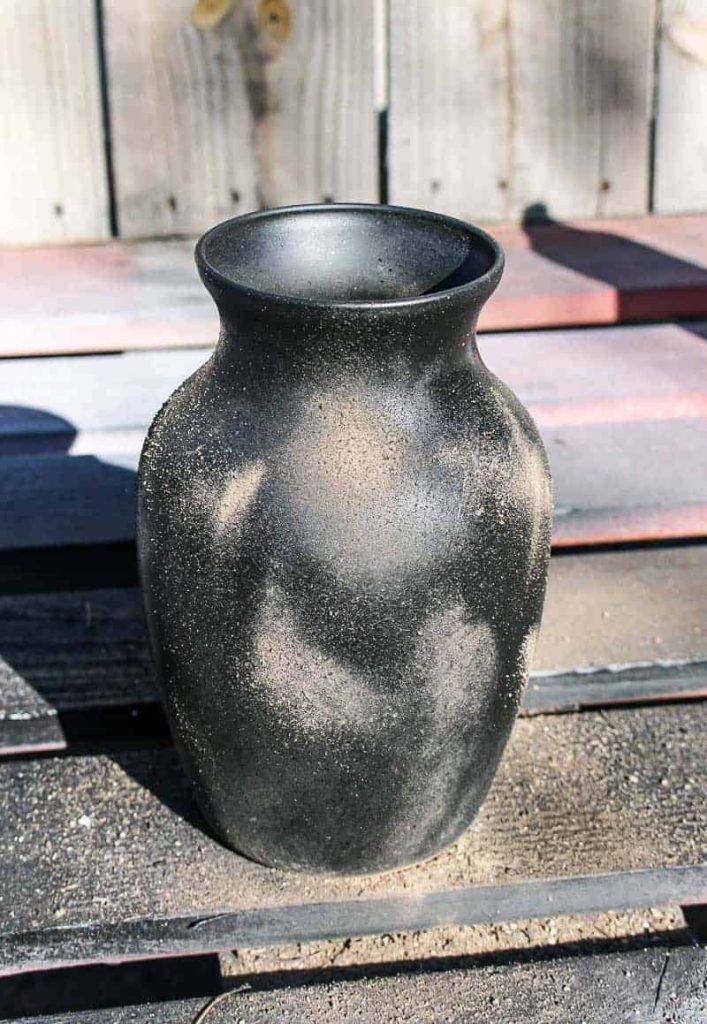
Step 6. Spray the vase with sealer.
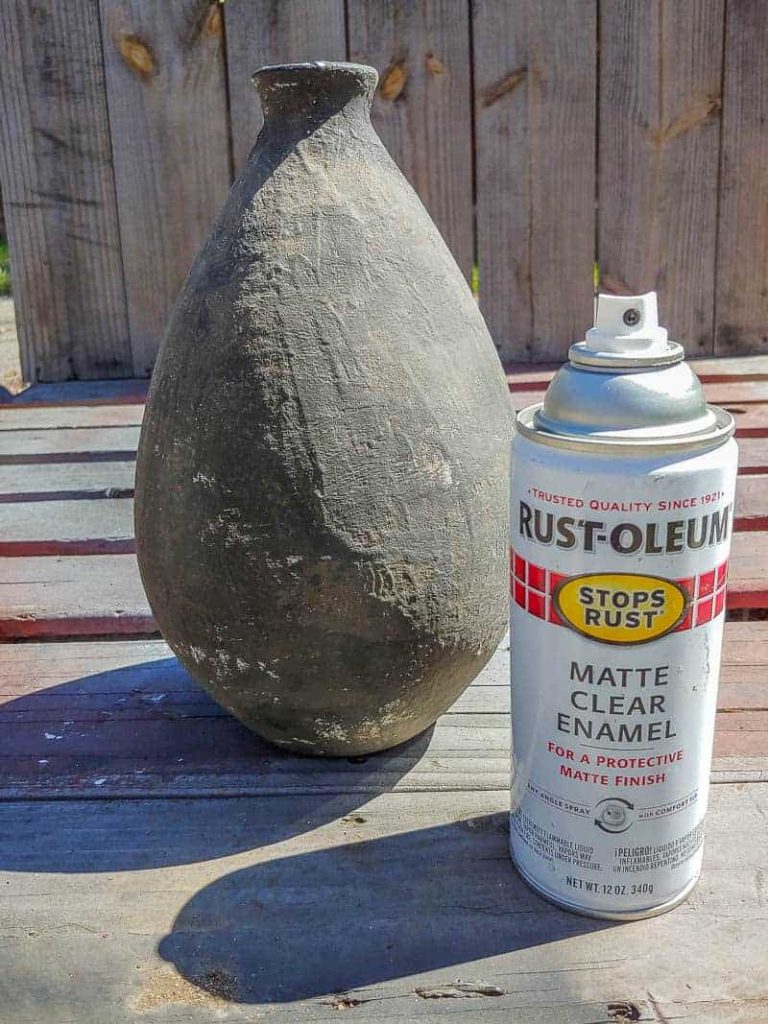
The final step is to finish with a coat of matte spray sealer.
Note: even after it has been sealed, handle it with care. Don’t try to brush off the dirt more because it will just scratch the painted surface.
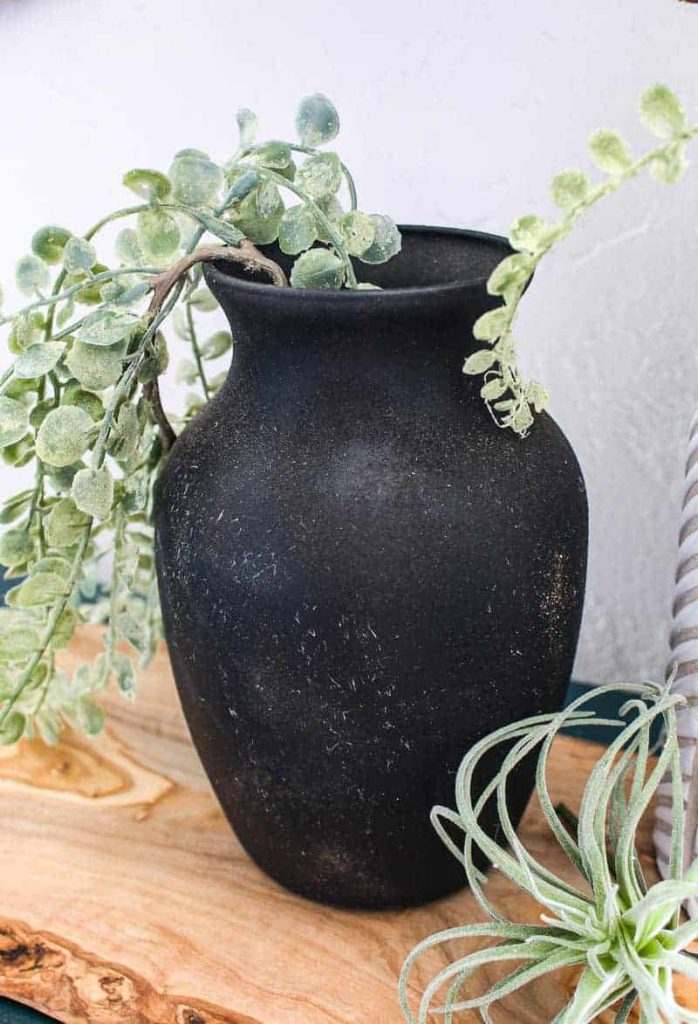
Ta DA! Didn’t it turn out so cute?
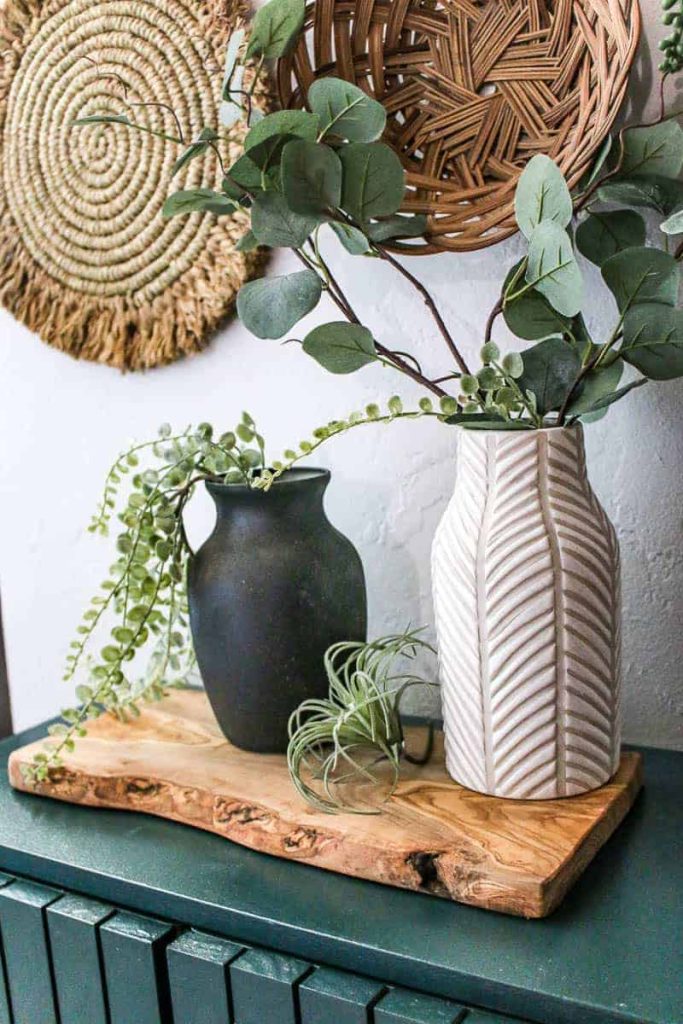
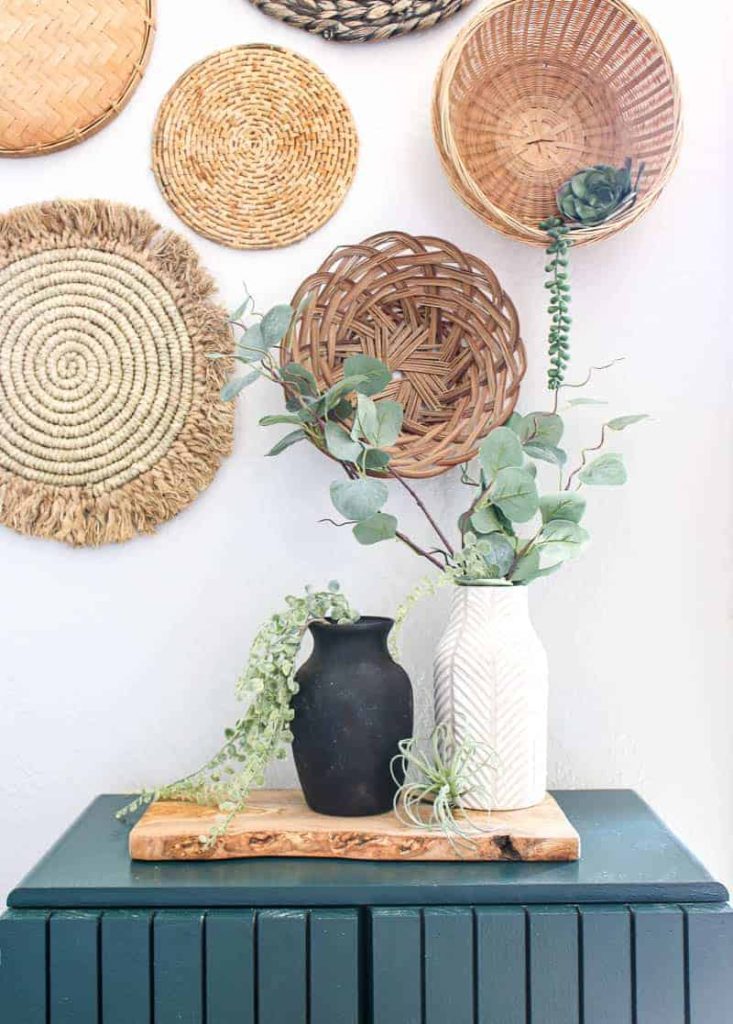
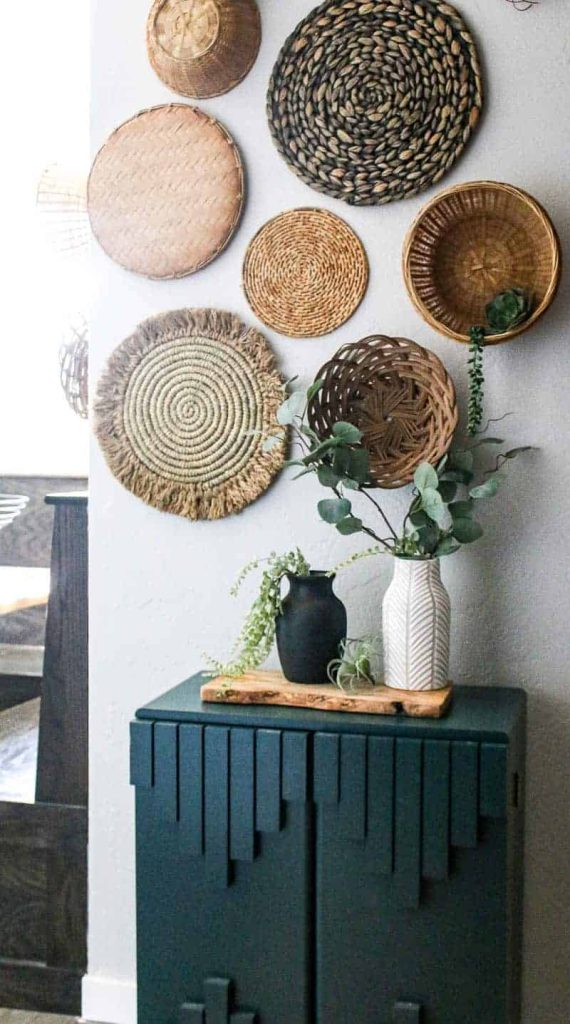
For now, I have it styled here in a little vignette with faux greenery under my basket wall on top of this green boho cabinet on a wood cutting board. But it would also look so cute on the coffee table or an entryway table.
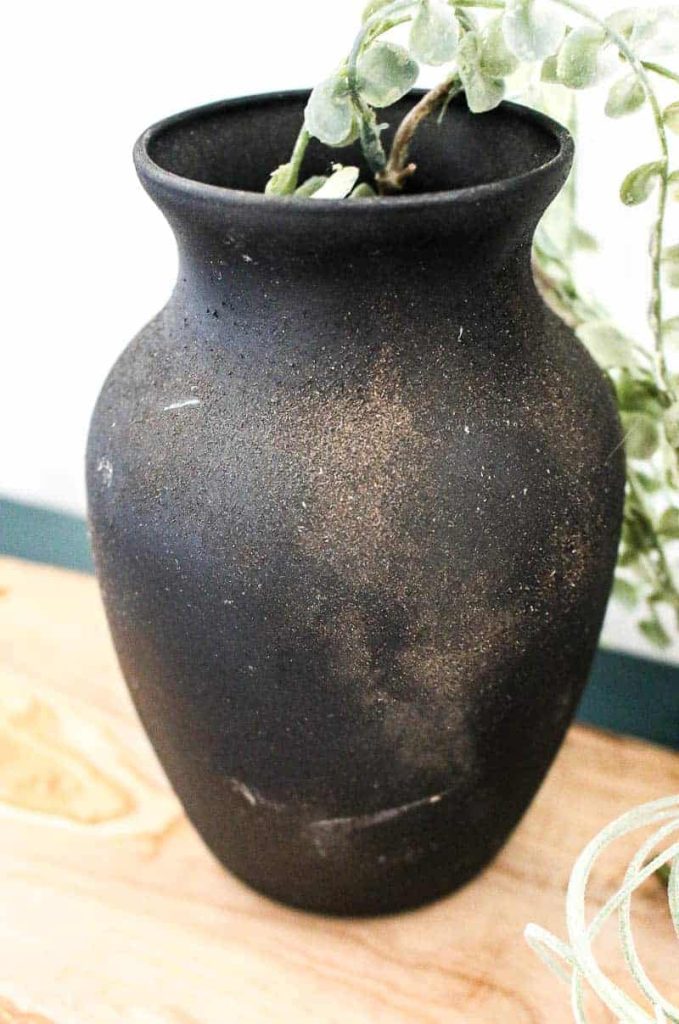
Now it’s time to see the other method I used on that green thrifted vase! This one uses some of the same methods but has a completely different look!
Upcycled Vase #2 (Textured With Joint Compound + Paint + Dirt)
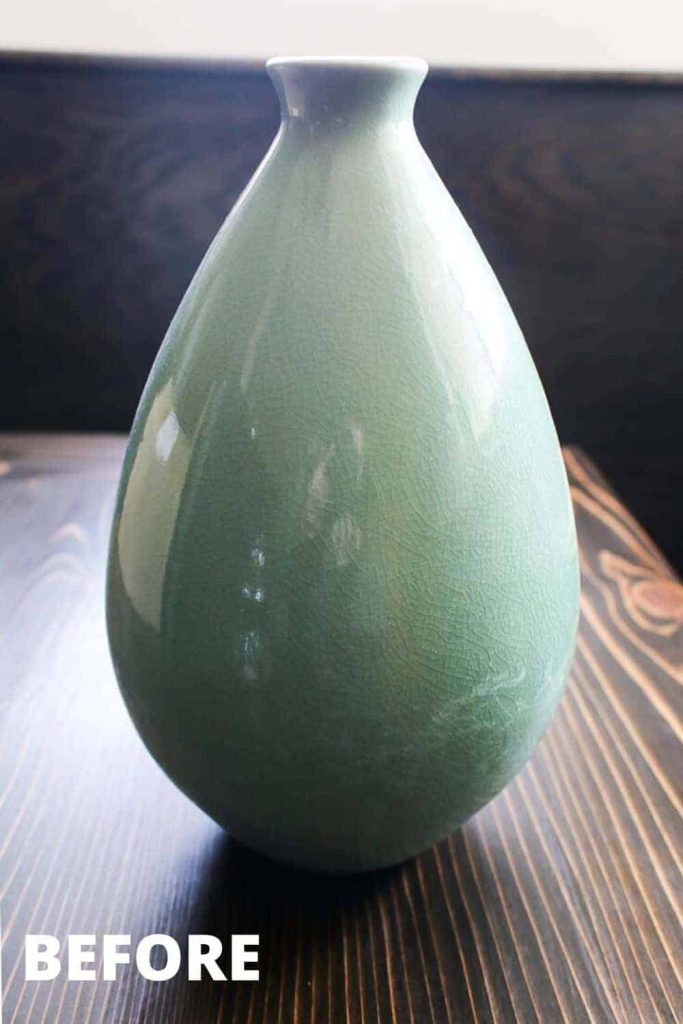
Just a reminder, here’s what the thrift store vase looked like before. It wasn’t horrible, but I just couldn’t find a good place for it because the color didn’t work in any of our rooms.
Time to give this vase a makeover so that it looks like an aged pottery piece!
Supplies for upcycled vase #2:
2. Rub the vase with joint compound.
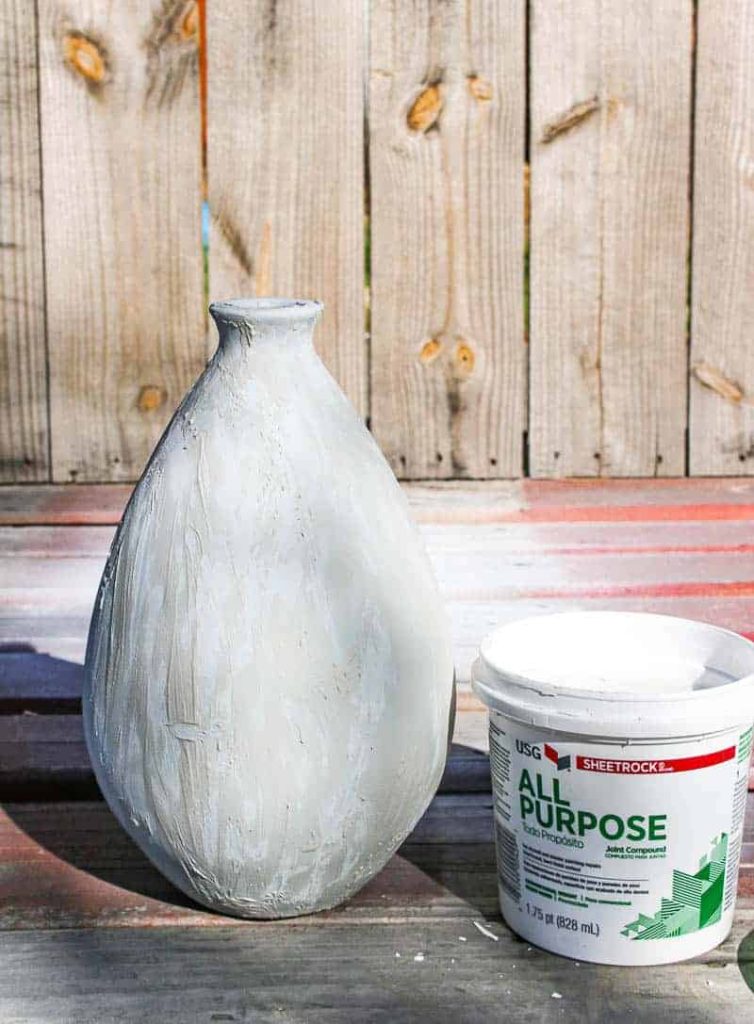
To give the vase that antique stoneware look with a rustic texture, I’m using a joint compound. Joint compound is also known as drywall mud and it’s usually used on drywall to protect and texture interior walls.
Since we’re renovating, we always have some joint compound on hand in the garage.
However, if you’re looking for alternatives for other things you could use to create that texture, here are some ideas (Note: I haven’t tested any of these so no promises!)
- Spackle – may need to thin with water
- Plaster of Paris – may need to be thinned with water
- Homemade play dough – 4 tbsp flour, 1/3 tbsp salt and water
- Tile adhesive or mortar
- Stucco
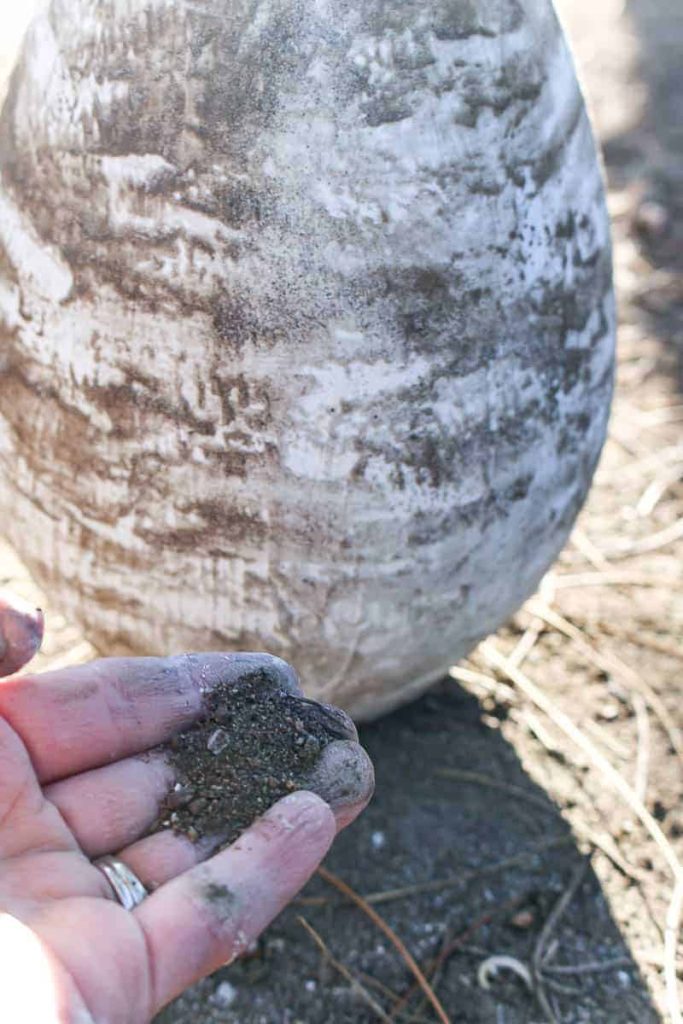
3. Another coat of joint compound & add dirt.
After the base layer of the joint compound was dry to the touch (about an hour), I did a second layer of the joint compound going the opposite direction – horizontally.
As that was drying, I brushed on dry dirt from the yard.
Let that dry thoroughly, I left it overnight.
4. Paint with craft paint mixed with dirt.
Next, take an old paintbrush and brush on black craft paint mixed with …. you guessed it… more dirt!
I didn’t cover the vase entirely but left some areas of the lighter joint compound poking through to give it some more visual interest.
When the paint is drying, I also added more dry dirt on top of the paint for a lighter “dirty” color to the vase which really makes it look like antique stoneware.
5. Finish with spray sealer.
Just like the other upcycled vase, finish with a coat of matte spray sealer to hold everything in place.
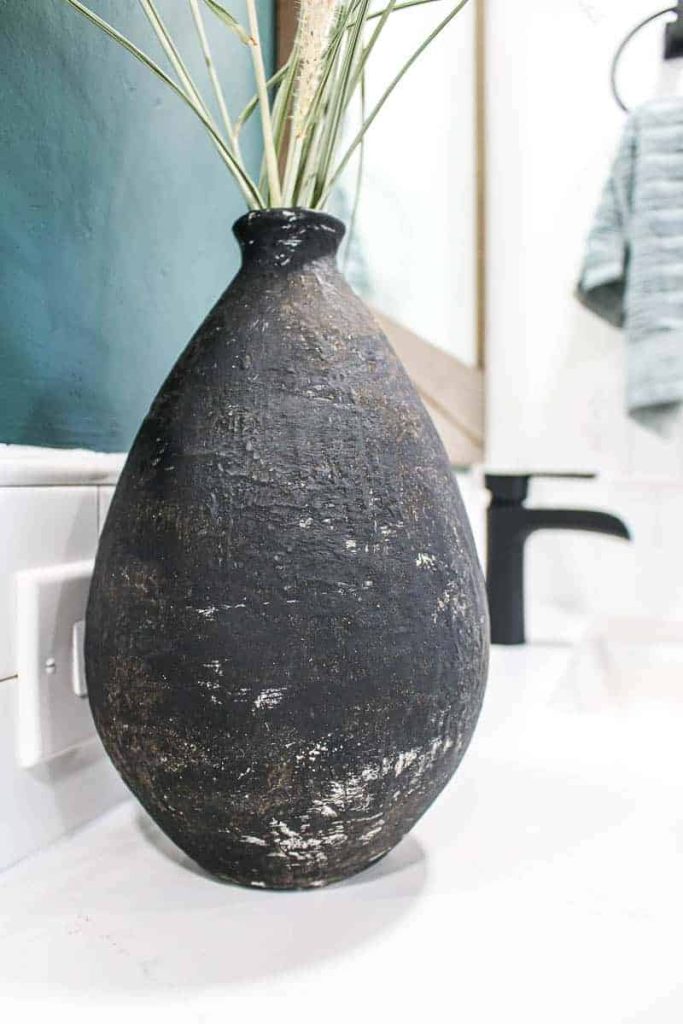
Doesn’t it look amazing? I LOVE the texture on this one! It looks just like a real aged stone vase, don’t you think?
This pairs perfectly with this DIY footed tray in our modern bathroom.
Which upcycled vase do you like best?
Let me know in the comments below!
Materials
- Glass Vase (Vase #1)
- Thrifted Green Vase (Vase #2)
- Rubbing Alcohol
- Cotton Round
- Flat White Spray Primer
- Flat Black Spray Paint
- Dirt
- Matte Spray Acrylic Sealer
- Joint Compound
- Acrylic Craft Paint, Black
Instructions
Upcycled Vase #1 (Spray Paint & Dirt)
- Clean vase with rubbing alcohol and cotton round.
- Spray vase with white primer.
- Spray vase with flat black spray paint.
- Cover vase with dirt.
- Spray vase again and toss dirt onto wet spray paint.
- Spray vase with sealer.
Upcycled Vase #2 (Paint, Joint Compound & Dirt)
- Clean vase with rubbing alcohol and cotton round.
- Spray vase with white primer.
- Rub vase with joint compound for texture.
- Add another coat of joint compound and rub on dry dirt while it is drying. Let dry overnight.
- Paint with craft paint mixed with dirt.
- Finish with spray sealer.