How to Move From WordPress.com to WordPress.org Using a Self-Hosted Domain (original) (raw)
In this guide, I assume that you have already set up your new domain name and installed WordPress.org. If you haven’t done that yet, please follow my free guide on how to set-up WordPress.org to see exactly how to get a free domain name and install WordPress.org. I can even do the install for you for free, just submit a blog install request here.
If you already have a blog on WordPress.com and would like to move it to your own self-hosted domain using WordPress.org, this tutorial will show you how.
WordPress.com has several inherent issues that make it less desirable for many bloggers. The main issues are the lack of control and security, along with the inability to profit from your blog. If you have run into these issues, it is time to move from WordPress.com to WordPress.org.
1 – Export Your WordPress.com Blog
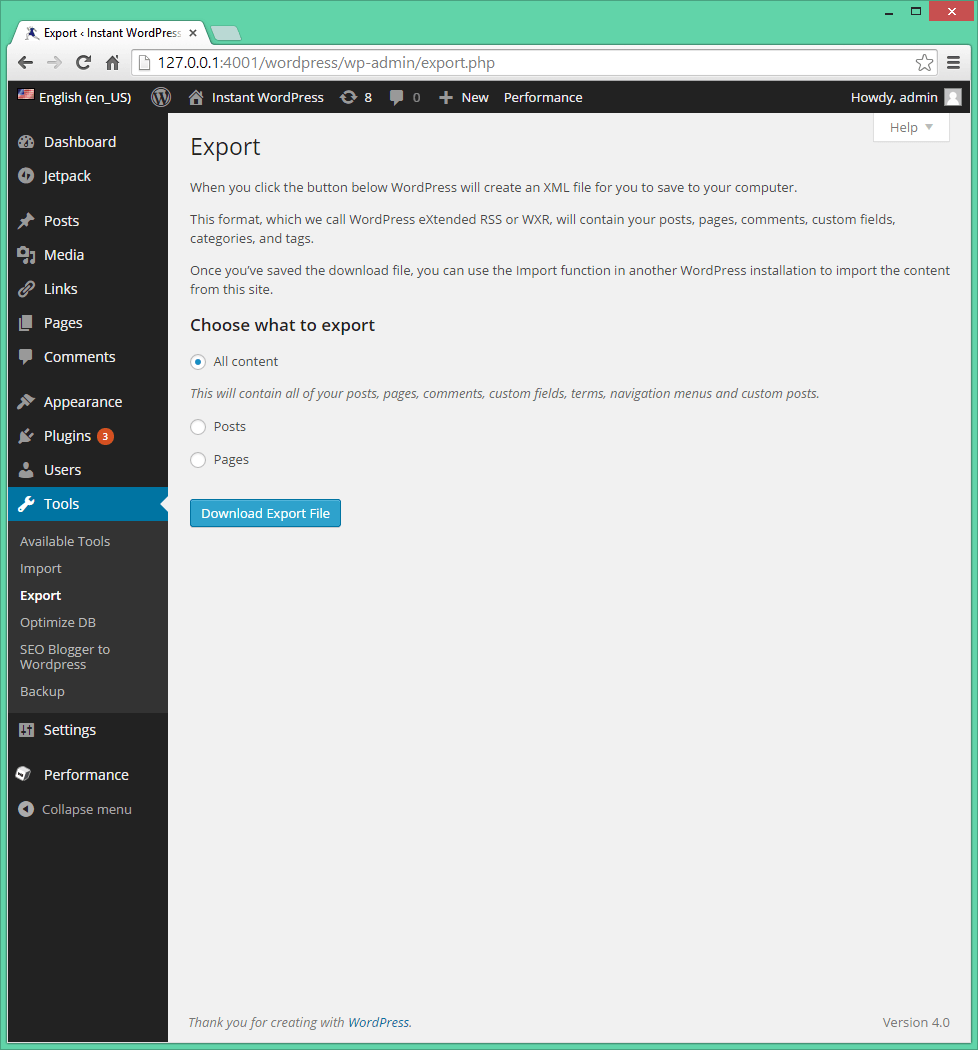
Although you cannot install third-party plugins using a free blog hosted at WordPress.com, there is an export tool included with the platform that allows you to download all of your posts and comments to make it easy to transfer from WordPress.com to WordPress.org.
- Navigate to “Tools > Export” in your wordpress.com blog, and click on “Export”.
- Choose the content that you want to export. Most likely, you’ll want to stick with the default option, “All content,” to export all of your posts, pages, comments, navigation menus and other content.
- Click “Download Export File” to download your content to your computer in the form of a single XML file.
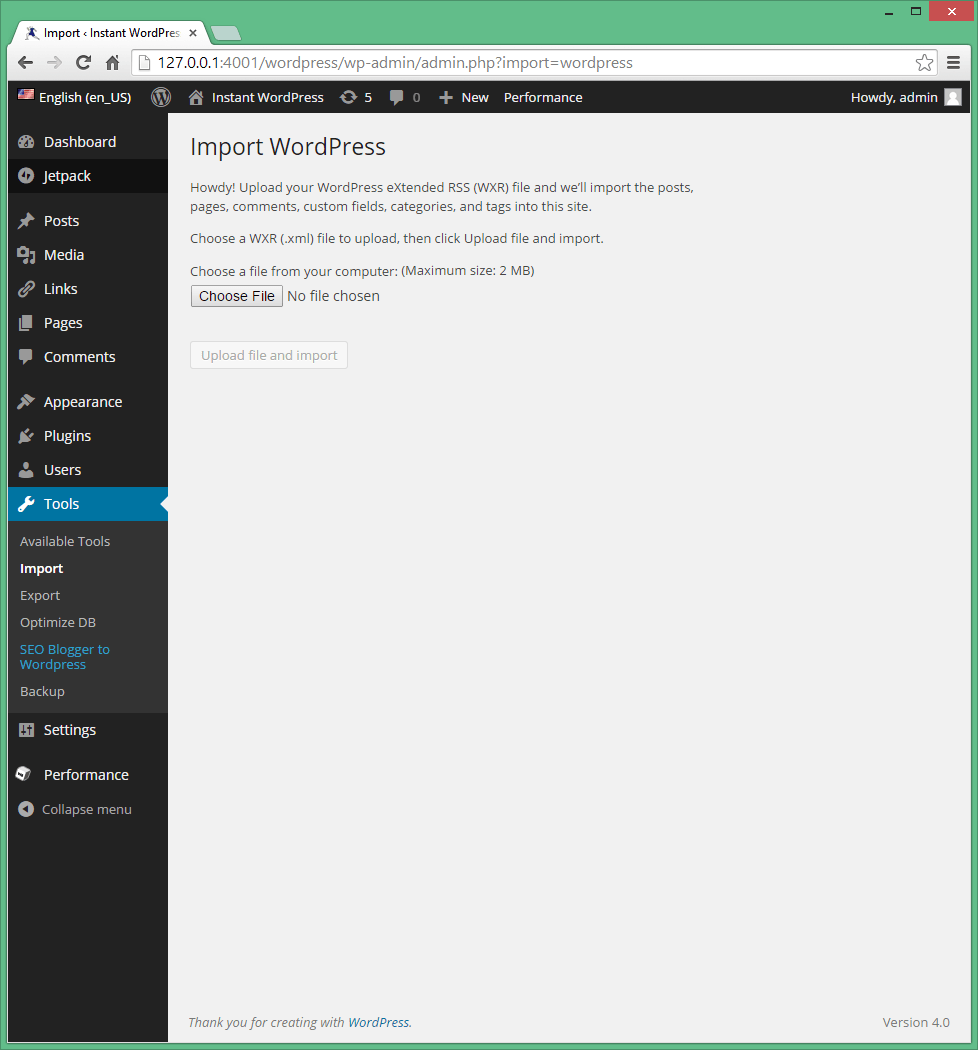
2 – Import Your WordPress.com Blog
Now you can upload the XML file to your new WordPress.org blog (find detailed instructions on making your new blog here) so that all of your content will immediately appear on your new website.
- Navigate to “Tools > Import” in your new self-hosted wordpress.org blog, and click the last option “WordPress”.
- Click “Choose File” and navigate to the XML file that you downloaded in the previous step. Click “Upload file and import,” and wait for WordPress to transfer your content to the new site. The transfer may take a while depending on your Internet connection and the size of the XML file.
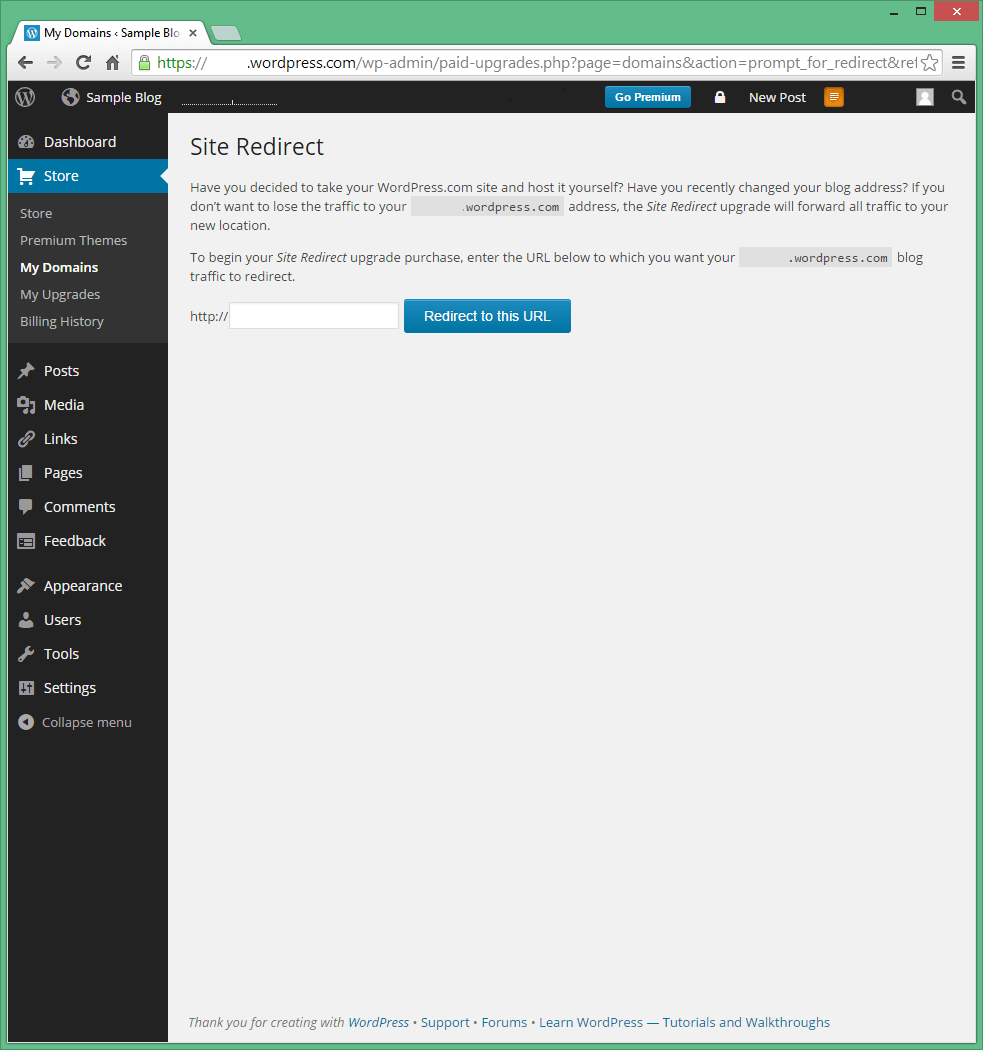
3 – Set up a Redirect
Since your visitors won’t know that you have moved to a self-hosted blog, they’ll still be visiting the old one for a time, so you’ll need to have them automatically redirected to the new domain. The easiest way to do this is to use the Site Redirect service from wordpress.com, which costs $13 per year.
- Open the “Store” menu item in your old wordpress.com administrator dashboard and search for “Site Redirect”.
- Click “Buy Now,” and click “Buy Now” again to confirm. Enter the address of your self-hosted wordpress.org blog, and click “Redirect to this URL”.
- Confirm the purchase, and enter your payment details to complete the process.
With the redirect set up, you will be able to manage your site redirects from the “Store > My Domains” menu item in the wordpress.com administrator dashboard. In order for the redirect to work correctly, the permalinks on your new site will have to match those used on your wordpress.com blog. You can change the redirect at any time you want, and for best results, you’ll probably want to use the service for a year or two until your visitors come to memorize your new domain and it takes precedence in the search results.