Publish an ASP.NET web app - Visual Studio (Windows) (original) (raw)
In this article, you'll learn how to publish your first ASP.NET web app to various locations including a local web server such as IIS and a remote cloud environment such as Azure App Service.
This article supports ASP.NET and ASP.NET Core.
Note
This article covers manual deployment, which is great for quickly getting something up and running, but for larger projects and production scenarios, you might want to set up a deployment pipeline. You can use GitHub Actions or Azure DevOps Pipelines to set up automatic deployments with continuous integration for such scenarios.
Prerequisites
You need Visual Studio installed with the ASP.NET and web development workload.
If you've already installed Visual Studio:
- Install the latest updates in Visual Studio by selecting Help > Check for Updates.
- Add the workload by selecting Tools > Get Tools and Features.
Get started
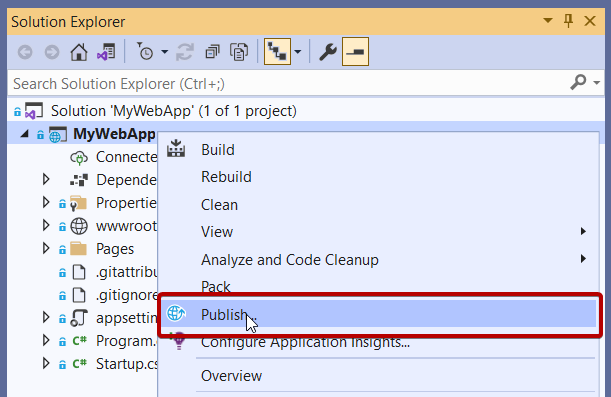
In Solution Explorer, right-click your project and choose Publish.
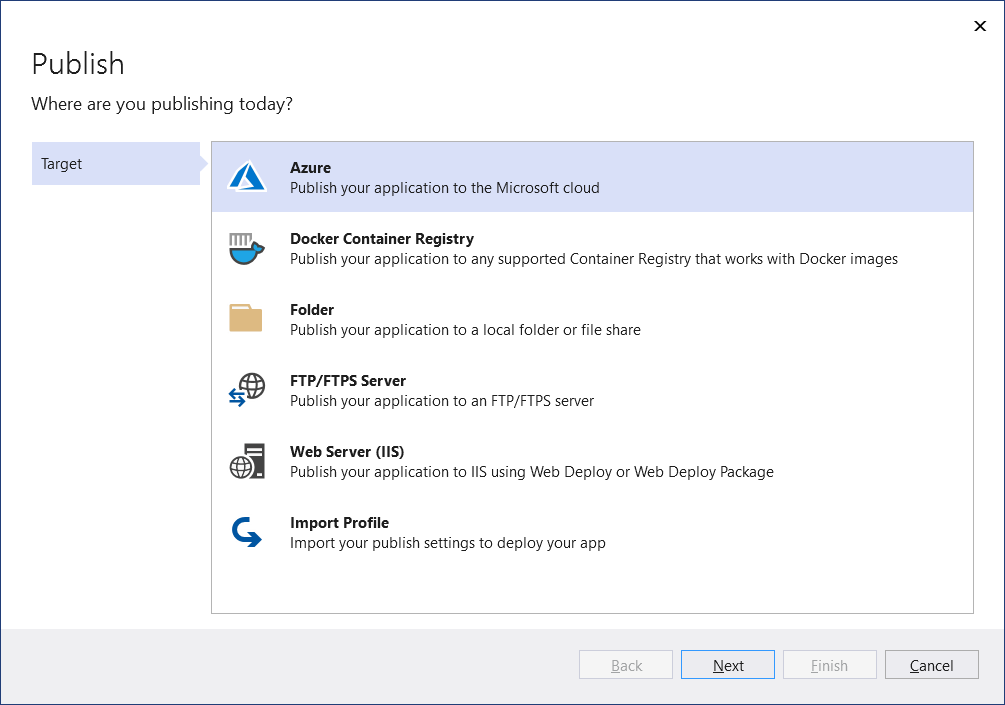
If you're publishing this web app for the first time, next you see the Publish wizard.
Note
Visual Studio filters the list of destinations depending on the type of web app.
Next steps
Manage settings for your web application deployment. By managing settings, you can control the .NET deployment options, as well as behaviors such as how to handle existing files that are not part of the deployment process at the deployment destination. See Manage web deployment settings.