Import Data - Import data from a file in the Live Editor - MATLAB (original) (raw)
Import data from a file in the Live Editor
Since R2023a
Description
The Import Data task lets you interactively import MAT, text, spreadsheet, media (image, audio, and video), and scientific data (HDF5 and netCDF) files. The task automatically generates MATLAB® code for your live script.

Open the Task
To add the Import Data task to a live script in the MATLAB Editor:
- On the Live Editor tab, select Task > Import Data.
- In a code block in the script, type a relevant keyword, such as
import,read, orload. SelectImport Datafrom the suggested command completions.
Examples
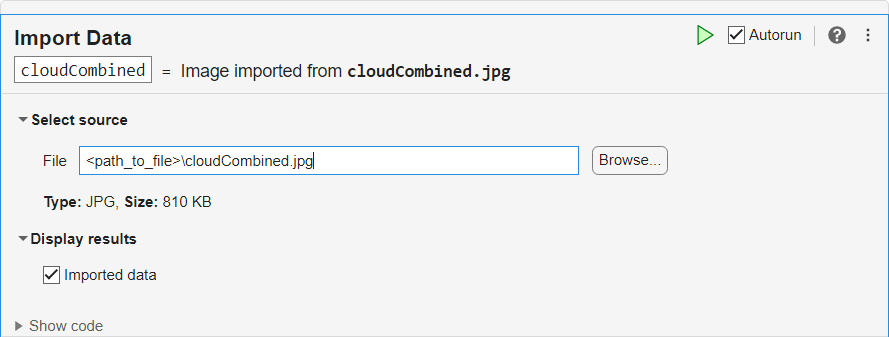
Interactively import data from an image file.
Open the Import Data task in the Live Editor. Select the source file and then select the Imported data option in the Display results section to show the image. The task saves the image data in a variable in the workspace. The variable name is based on the name of the source file.
To see the code that this task generates, expand the task display by clickingShow code at the bottom of the task parameter area.
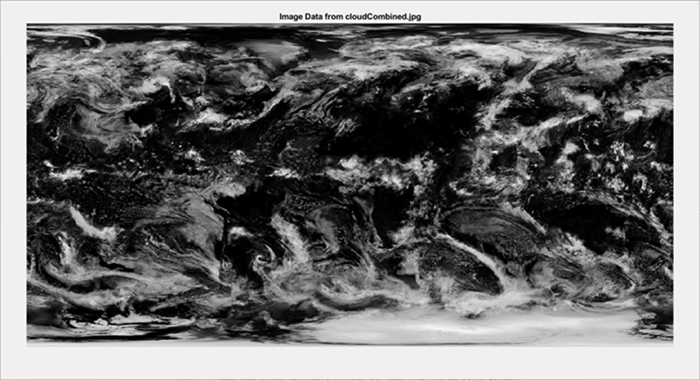
% Import image cloudCombined = imread("\cloudCombined.jpg");
% Display results imshow(cloudCombined); title("Image Data From cloudCombined.jpg");
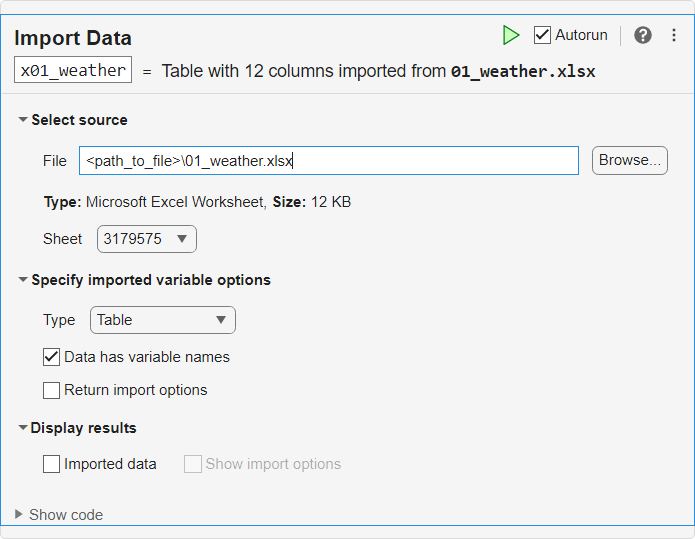
Interactively generate reusable MATLAB code to import a Microsoft® Excel® spreadsheet into your workspace. The spreadsheet contains weather data for Boston, Massachusetts, for the month of January 2021. Use the generated code as a template to programmatically import spreadsheets for all twelve months of 2021.
Open the Import Data task in the Live Editor. Enter the filename of the first spreadsheet, 01_weather.xlsx, in theFile field.
To see the code that this task generates, expand the task display by clickingShow code at the bottom of the task parameter area.
% Set up the Import Options and import the data opts = spreadsheetImportOptions("NumVariables", 12);
% Specify sheet and range opts.Sheet = "3179575"; opts.DataRange = "A2:L32";
% Specify column names and types opts.VariableNames = ["STATION", "NAME", "LATITUDE", "LONGITUDE", "ELEVATION", "DATE", "AWND", "PRCP", "SNOW", "TAVG", "TMAX", "TMIN"]; opts.VariableTypes = ["categorical", "categorical", "double", "double", "double", "datetime", "double", "double", "double", "double", "double", "double"];
% Specify variable properties opts = setvaropts(opts, ["STATION", "NAME"], "EmptyFieldRule", "auto");
% Import the data x01_weather = readtable("\01_weather.xlsx", opts, "UseExcel", false);
% Clear temporary variables clear opts
The generated code is separated into steps and documented with comments. Make these changes to automate the process of importing all twelve monthly spreadsheets:
- Create a
yearWeathertable, to which you can append the data from each of the monthly spreadsheets. - Create a
namePrefixesvector that contains strings representing each month. - Create a vector of filenames using
namePrefixes. Use the regular pattern of the twelve filenames. - Create a vector of data ranges based on the number of days in each month. In the generated code, the range spans columns A to L and rows 2 to 32 (one more than the number of days in January).
- Use a
for-loop and the variables you created to import all files and append them inyearWeather.
% Changes #1 and #2: Create variables yearWeather = table(); namePrefixes = ["01" "02" "03" "04" "05" "06" "07" "08" "09" ... "10" "11" "12"];
% Set up the Import Options and sheet opts = spreadsheetImportOptions("NumVariables", 12); opts.Sheet = "3179575";
% Specify column names and types opts.VariableNames = ["STATION", "NAME", "LATITUDE", "LONGITUDE", ... "ELEVATION", "DATE", "AWND", "PRCP", "SNOW", ... "TAVG", "TMAX", "TMIN"]; opts.VariableTypes = ["categorical", "categorical", "double", ... "double", "double", "datetime", "double", ... "double", "double", "double", "double", "double"];
% Specify variable properties opts = setvaropts(opts, ["STATION", "NAME"], "EmptyFieldRule", "auto");
% Changes #3 and #4: Create vectors of filenames and data ranges fileNames = namePrefixes + "_weather.xlsx"; dataRanges = "A2:L"+string(day(datetime(2021,1,31)+calmonths(0:11))+1);
% Change #5: Import all files and append them in yearWeather for i = 1:length(namePrefixes) fileName = fileNames(i); opts.DataRange = dataRanges(i);
monthWeather = readtable(fileName, opts, "UseExcel", false);
yearWeather = [yearWeather; monthWeather];
end
% Clear temporary variables clear opts
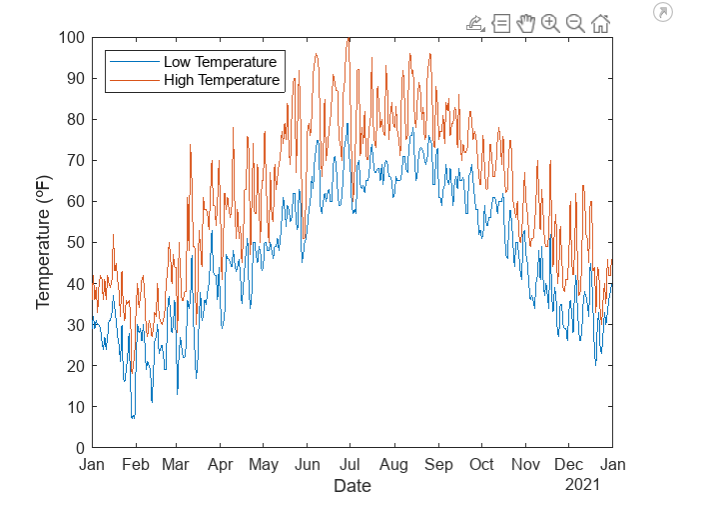
Use the imported data to plot the daily low and high temperatures in Boston for each day of 2021.
plot(yearWeather.DATE,[yearWeather.TMIN yearWeather.TMAX]) hold on xlabel("Date") ylabel("Temperature (℉)") legend("Low Temperature","High Temperature",location="Northwest")
Related Examples
- Add Interactive Tasks to a Live Script
- Import Images, Audio, and Video Interactively
- Interactively Read Data from NetCDF File
- Interactively Read Data from HDF5 File
Parameters
Select source
You can enter the path or use the Browse button. The type of the file that you choose to import determines the other parameters in that task that you can select.
When importing a spreadsheet file, select the sheet to import.
Specify imported variable options
When importing a text file or spreadsheet, you can choose the MATLAB data type of the imported data:
Table— Data is imported as a MATLAB table. Each column of the data is a variable of the table, and each row of the data is a row of the table. Variable names of the table are derived from column headers of the data.Timetable— Data is imported as a MATLAB timetable. If the first column of the data is not of typedatetimeorduration, then a new first column ofdurationvalues is prepended to the table that starts at 0 s and increments by 1 s for each row of the data.Column vectors— Data is imported as MATLAB column vectors. Each column of the data becomes a column vector, and the name of each column vector variable is derived from the header of the corresponding column of the data.Numeric array— Data is imported as a numeric matrix.String array— Data is imported as a string matrix.Cell array— Data is imported as a cell matrix.
If you select this option, then the task assigns variable names to the imported data using the first row of the file to import. If you do not select this option, then the task assigns default variable names to the imported data and reads the first row of the file to import as data. This parameter is available when importing a text file or spreadsheet as a table or timetable.
If you select this option, then the task preserves the import options in a variable named opts by default. If you do not select this option, then theopts variable is cleared after the import is complete. This parameter is available when importing a text file or spreadsheet.
Display results
Select this option to show the imported data as output of your Live Editor task.
If you select this option, then your import options appear as output of your Live Editor task. If you do not select this option, then the options do not appear. This parameter is available when importing a text file or spreadsheet.
Limitations
- The Import Data task does not support importing data from HDF5 files that use the Family driver, the Multi driver, or the Split driver. To import data from a file that uses one of these three drivers, use either the MATLAB high-level HDF5 functions (for example, h5read or h5readatt) or the MATLAB low-level HDF5 functions.
Version History
Introduced in R2023a
You can import HDF5 data. Using this task, you can:
- Visualize the structure and contents of HDF5 data interactively.
- Search for specific groups, datasets, and attributes.
- Graphically select and deselect groups, datasets, and attributes to import.
- Generate reusable MATLAB code to import HDF5 data.
You can import netCDF data. Using this task, you can:
- Visualize the structure and contents of netCDF data interactively.
- Search for specific variables and attributes.
- Graphically select and deselect variables and attributes to import.
- Generate reusable MATLAB code to import netCDF data.