Get started with Gradle and Kotlin/JVM | Kotlin (original) (raw)
This tutorial demonstrates how to use IntelliJ IDEA and Gradle to create a JVM console application.
To get started, first download and install the latest version of IntelliJ IDEA.
Create a project
- In IntelliJ IDEA, select File | New | Project.
- In the panel on the left, select Kotlin.
- Name the new project and change its location, if necessary.
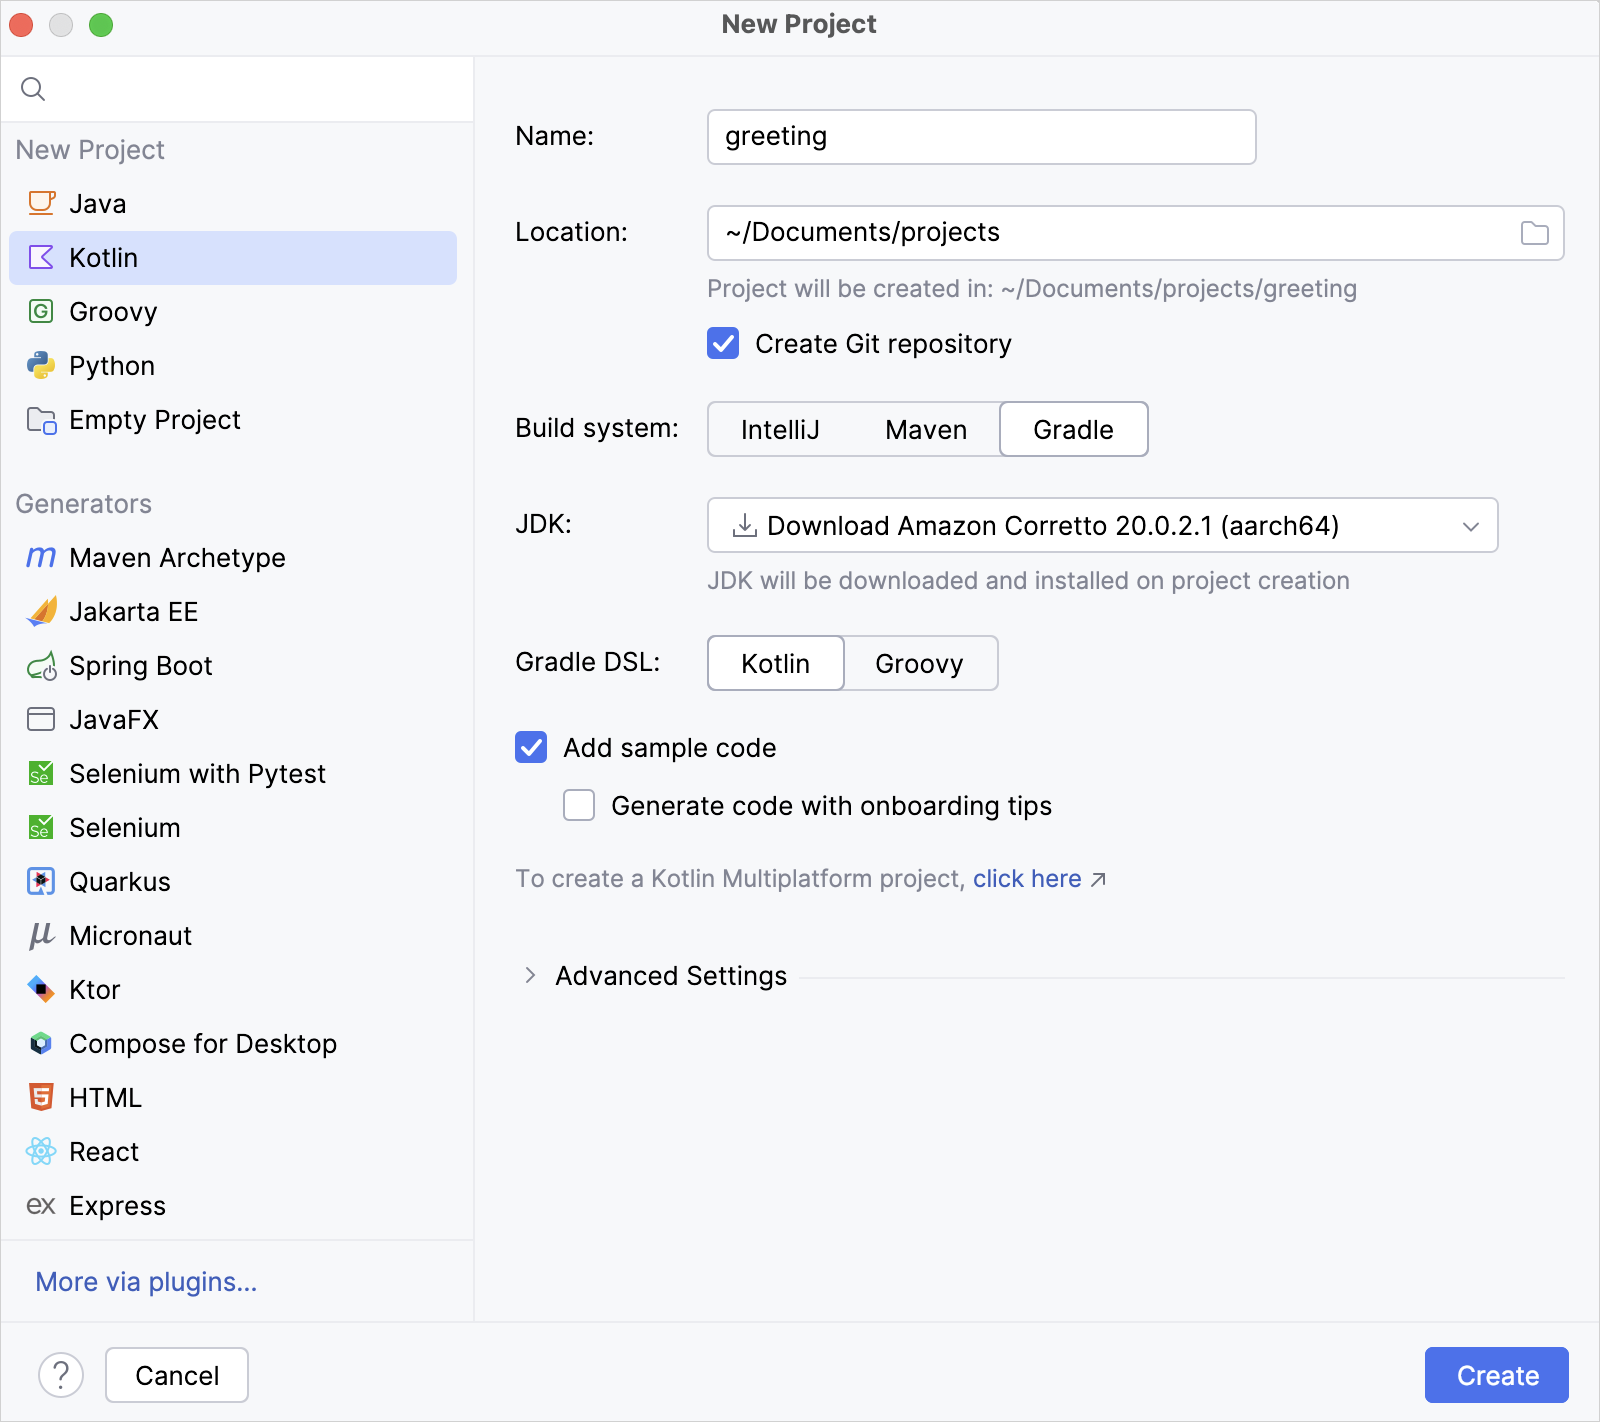
- Select the Gradle build system.
- From the JDK list, select the JDK that you want to use in your project.
- If the JDK is installed on your computer, but not defined in the IDE, select Add JDK and specify the path to the JDK home directory.
- If you don't have the necessary JDK on your computer, select Download JDK.
- Select the Kotlin DSL for Gradle.
- Select the Add sample code checkbox to create a file with a sample
"Hello World!"application. - Click Create.
You have successfully created a project with Gradle!
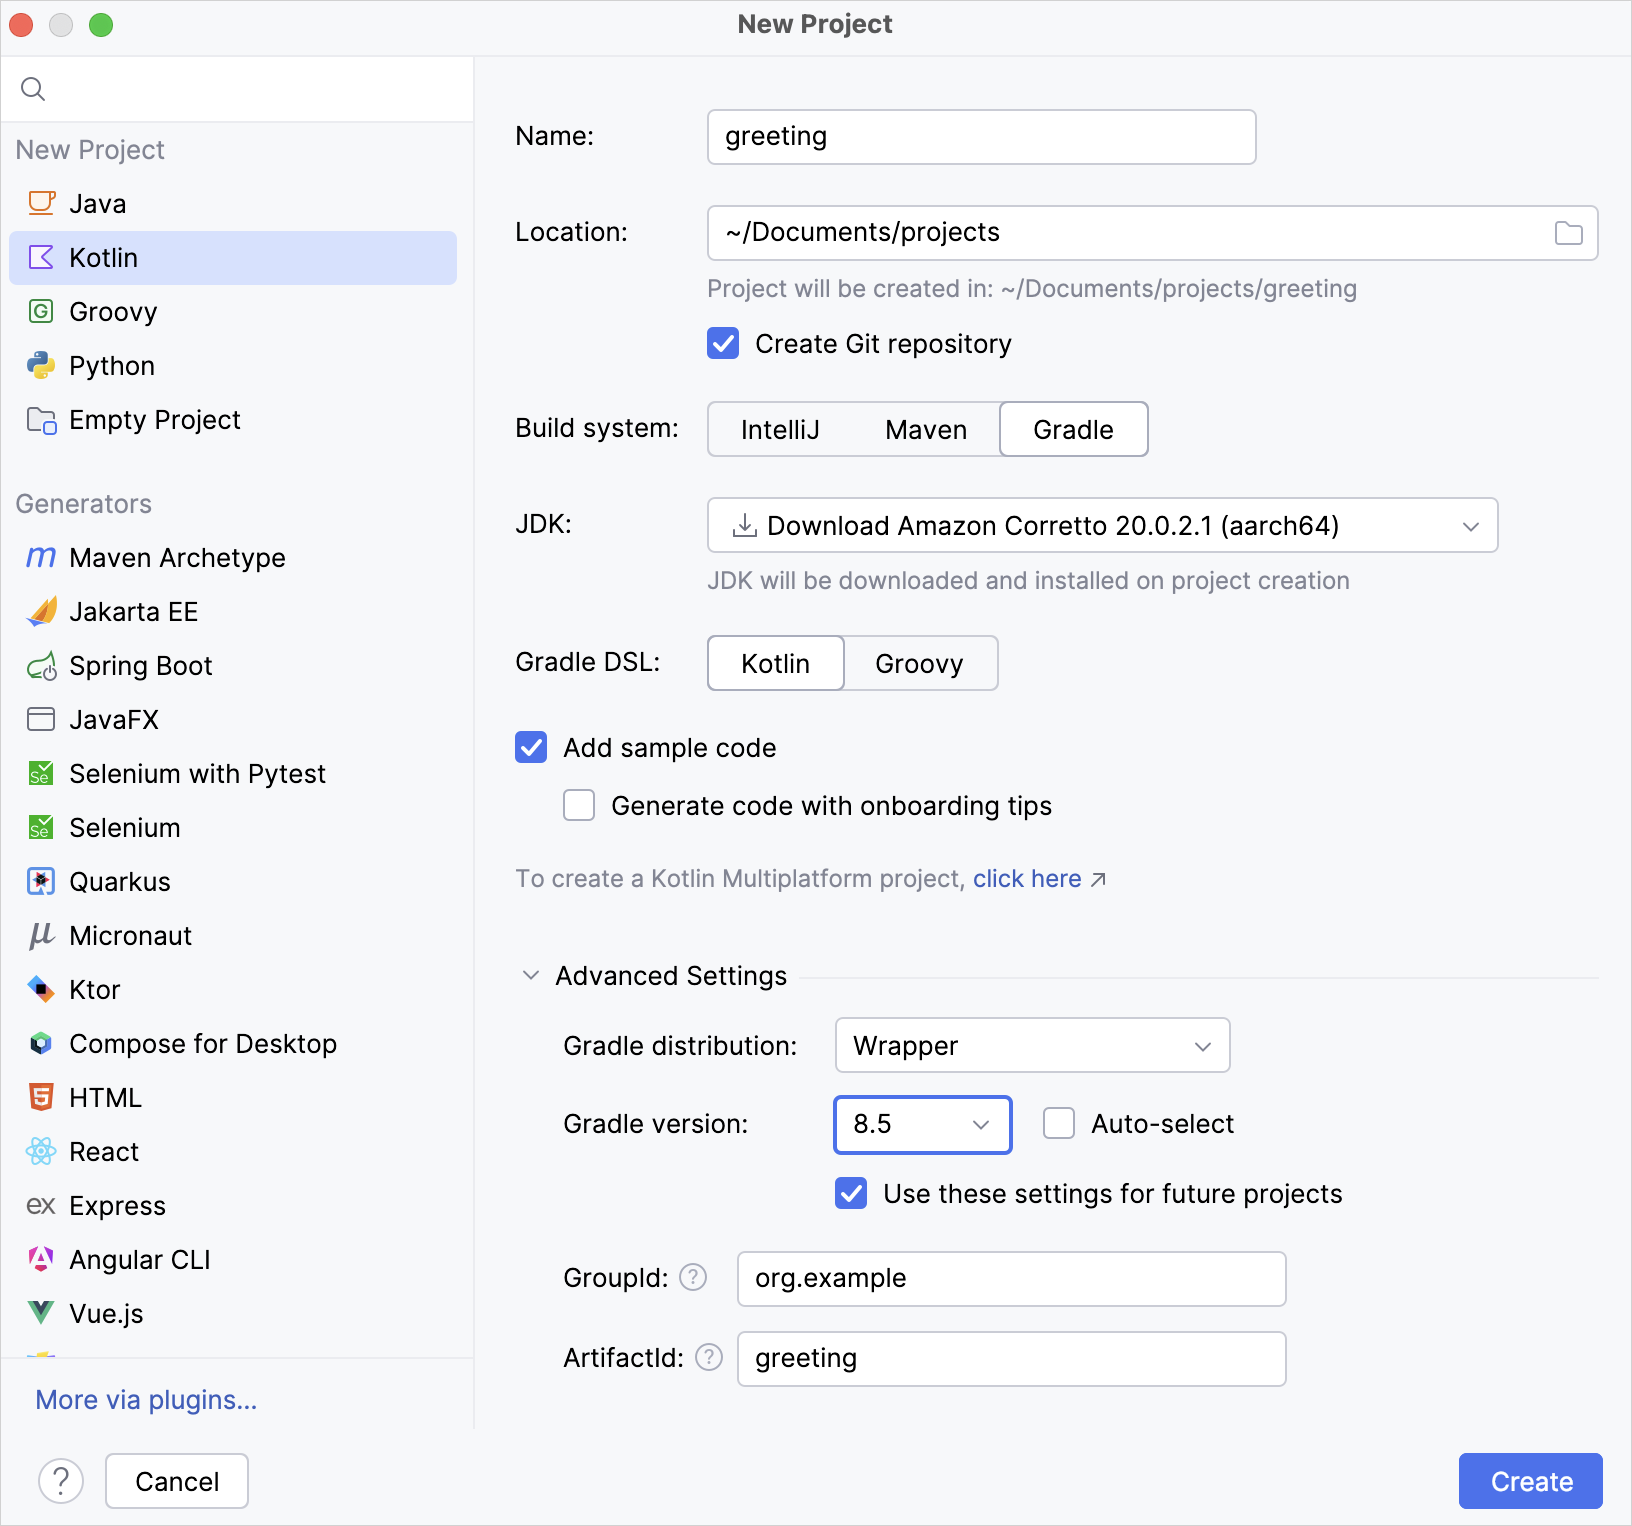
Specify a Gradle version for your project
You can explicitly specify a Gradle version for your project under the Advanced Settings section, either by using the Gradle Wrapper or a local installation of Gradle:
- Gradle Wrapper:
- From the Gradle distribution list, select Wrapper.
- Disable the Auto-select checkbox.
- From the Gradle version list, select your Gradle version.
- Local installation:
- From the Gradle distribution list, select Local installation.
- For Gradle location, specify the path of your local Gradle version.
Explore the build script
Open the build.gradle.kts file. This is the Gradle Kotlin build script, which contains Kotlin-related artifacts and other parts required for the application:
plugins { kotlin("jvm") version "2.1.21" // Kotlin version to use } group = "org.example" // A company name, for example, `org.jetbrains` version = "1.0-SNAPSHOT" // Version to assign to the built artifact repositories { // Sources of dependencies. See 1️⃣ mavenCentral() // Maven Central Repository. See 2️⃣ } dependencies { // All the libraries you want to use. See 3️⃣ // Copy dependencies' names after you find them in a repository testImplementation(kotlin("test")) // The Kotlin test library } tasks.test { // See 4️⃣ useJUnitPlatform() // JUnitPlatform for tests. See 5️⃣ }
- 1️⃣ Lean more about sources of dependencies.
- 2️⃣ The Maven Central Repository. It can also be Google's Maven repository or your company's private repository.
- 3️⃣ Learn more about declaring dependencies.
- 4️⃣ Learn more about tasks.
- 5️⃣ JUnitPlatform for tests.
As you can see, there are a few Kotlin-specific artifacts added to the Gradle build file:
- In the
plugins {}block, there is thekotlin("jvm")artifact. This plugin defines the version of Kotlin to be used in the project. - In the
dependencies {}block, there istestImplementation(kotlin("test")). Learn more about setting dependencies on test libraries.
Run the application
- Open the Gradle window by selecting View | Tool Windows | Gradle:
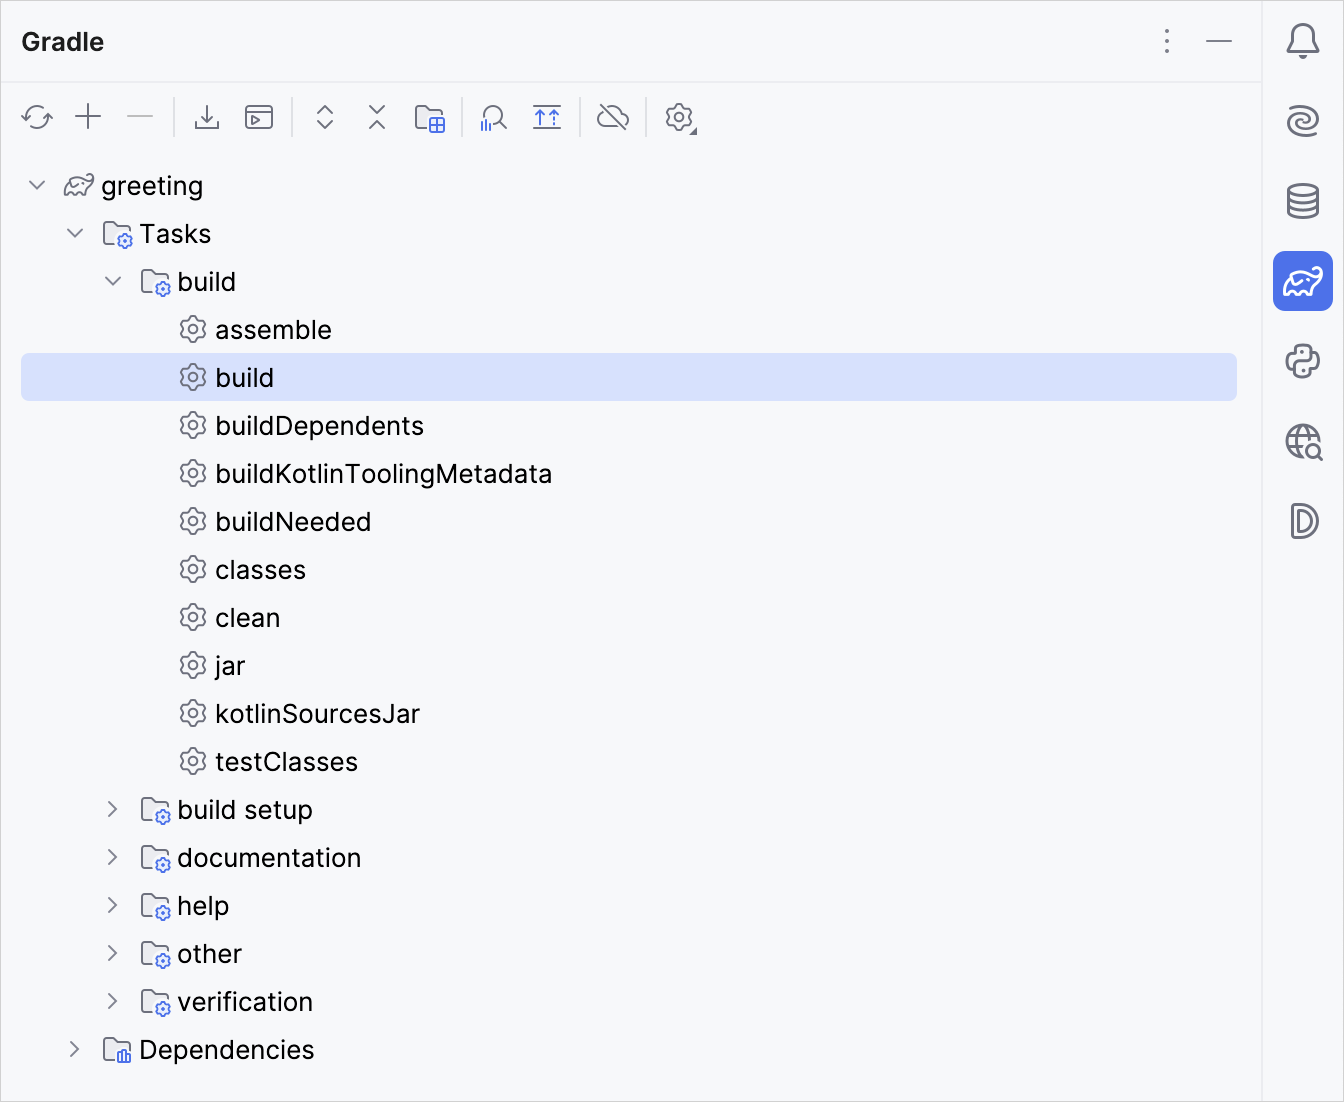
- Execute the build Gradle task in
Tasks\build\. In the Build window,BUILD SUCCESSFULappears. It means that Gradle built the application successfully. - In
src/main/kotlin, open theMain.ktfile:srcdirectory contains Kotlin source files and resources.Main.ktfile contains sample code that will printHello World!.
- Run the application by clicking the green Run icon in the gutter and select Run 'MainKt'.
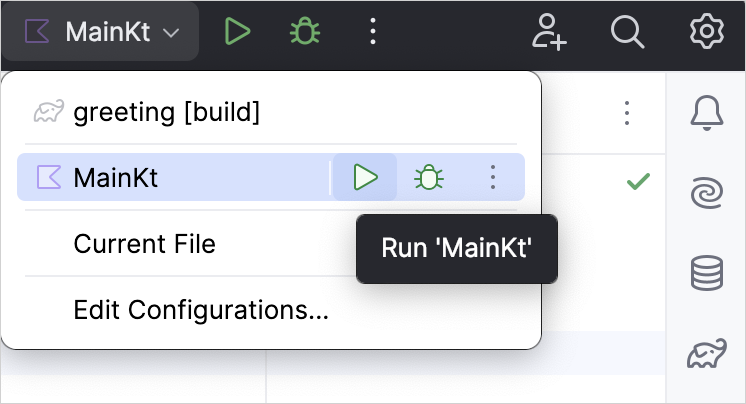
You can see the result in the Run tool window:
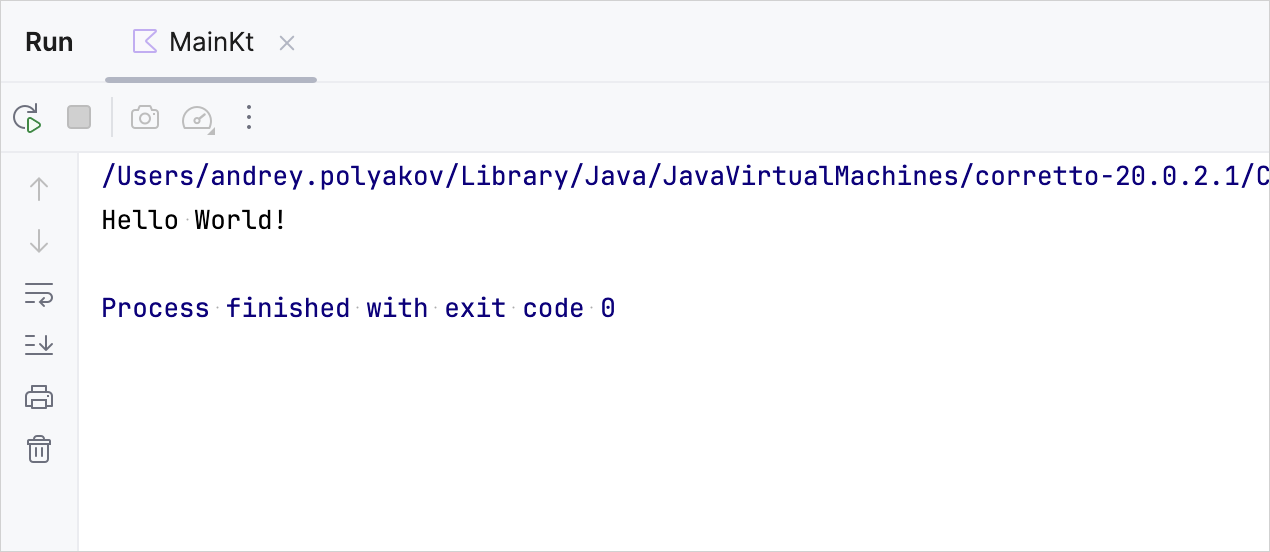
Congratulations! You have just run your first Kotlin application.
What's next?
Learn more about:
- Gradle build file properties.
- Targeting different platforms and setting library dependencies.
- Compiler options and how to pass them.
- Incremental compilation, caches support, build reports, and the Kotlin daemon.
Last modified: 24 April 2025