Add References and Set a License - iOS Swift (original) (raw)
This tutorial shows how to create a project, add references, and set the license in a Swift iOS application using the LEADTOOLS SDK.
| Overview | |
|---|---|
| Summary | This tutorial covers how to set a license in a Swift iOS application. |
| Completion Time | 20 minutes |
| Project | Download tutorial project (10 KB) |
| Platform | Swift iOS Application |
| IDE | Xcode |
| Runtime License | Download LEADTOOLS |
| Try it in another language | C#: .NET 6+ (Console), .NET 6+ (WinForms), WPF, Xamarin, .NET Framework (Console), .NET Framework (WinForms)Apple: macOS Console, macOS App, iOSC API: C DLL (Windows)Java: Java, Android, Flutter AndroidHTML5: HTML5 Angular, HTML5 JavaScript, HTML5 TypeScript, HTML5 React JS, HTML5 Vue.JS, HTML5 Node.JSPython: Python |
Required Knowledge
Before any functionality from the SDK can be leveraged, a valid runtime license will have to be set.
For instructions on how to obtain a runtime license refer to Obtaining a License.
Create the Project
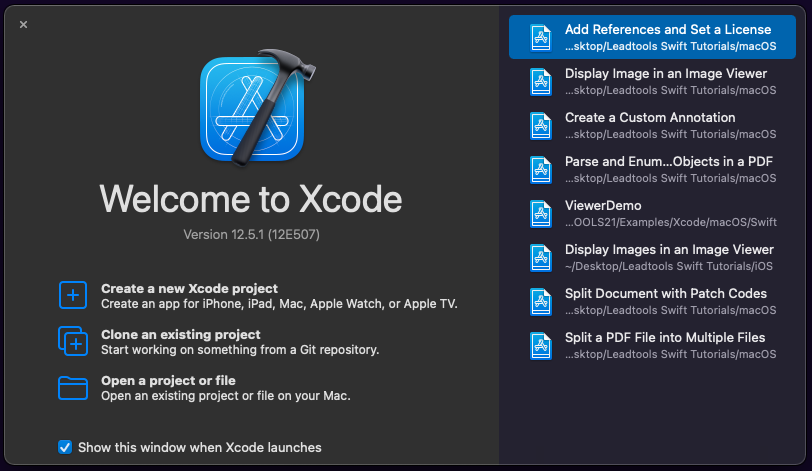
Launch Xcode and select Create a new Xcode project.
Select iOS at the top and App under the Application section, then click Next.

Fill in the following and click Next:
- Product Name (This is the name of your application)
- Team (This is from the Apple Developer Program)
- Organization Info (Typically an inverse of your organization web address, IE: com.leadtools for leadtools.com)
- Interface (This tutorial uses Storyboard)
- Life Cycle (This tutorial uses UIKit App Delegate)
- Language (This tutorial is written in Swift)
Note
The
Organization IdentifierandProduct Namecombine to make theBundle Identifierwhich must be unique.

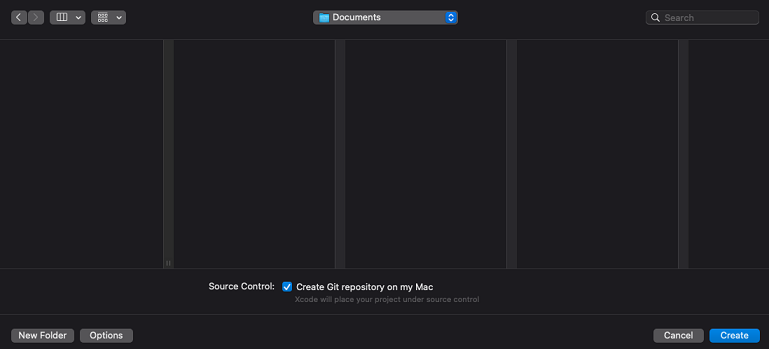
Finally, select the location to create the new project and click Create. After you create a new project, the .xcodeproj file will open. It can also be accessed by double-clicking on the bundle file to the left in the Project Navigator.
Add the LEADTOOLS Framework Packages
To leverage the LEADTOOLS SDK in a Swift iOS project, references to the LEADTOOLS Framework files will be needed.
Framework files can be added by one of the following two methods:
- Clicking and dragging them to the
Frameworks and Librariessection - Clicking the
+icon at the bottom of theFramework and Librariessection, then selectingAdd Filesfrom theAdd Otherdrop down.
The LEADTOOLS Frameworks can be found here: <INSTALL_DIR>/LEADTOOLS22/Bin/Xcode/XCFrameworks/iOS
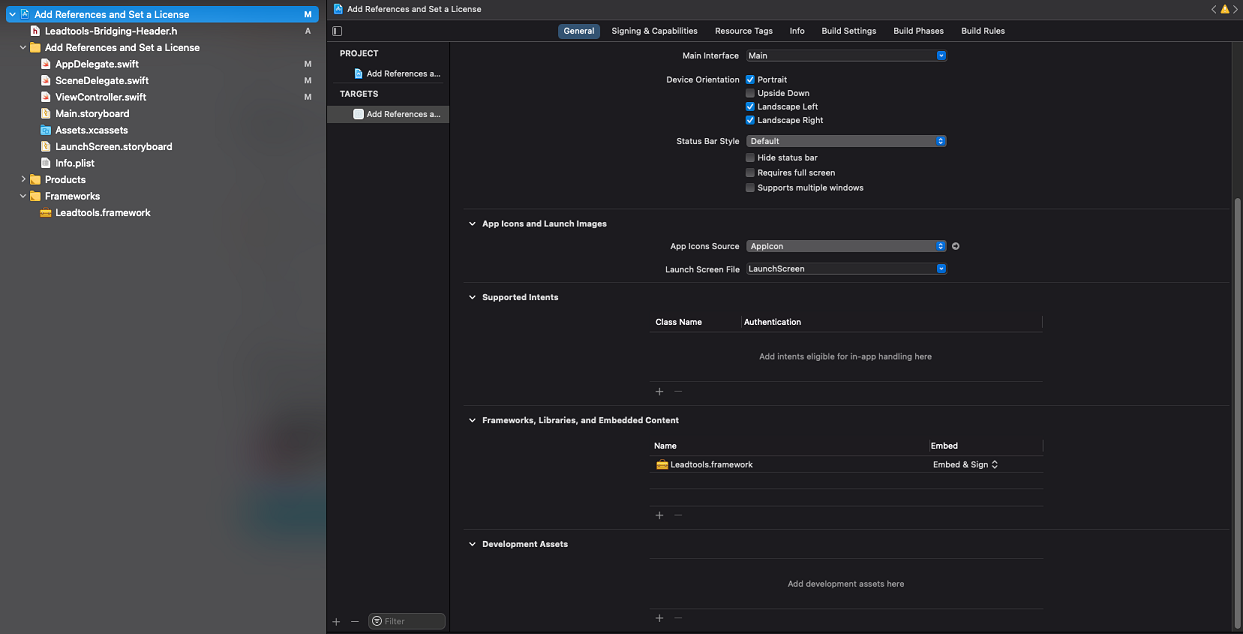
Once a framework file is added, a new folder called Frameworks will be added to the Project Navigator, containing the added framework files.
To allow Xcode to utilize these Framework files, a few more steps are required.
- First click on Build Settings and in the
Searchfield typeHeader. This will help reduce the number of entries and make it easier to find the 2 sections we need to adjust. - Scroll to the bottom and under the Search Paths section, find the entry
Framework Search Path. Double-click to the right of it, where the other sections have Yes/No values listed, to bring up a screen allowing you to add values. From there click on+and type in the path to the framework files given above. When complete select the up-down arrows next tonon-recursiveand switch it torecursive.
If done correctly the entry should look something like this:
Framework Search Paths <INSTALL_DIR>/LEADTOOLS22/Bin/Xcode/XCFrameworks/iOS/**
Next, find the entry called Objective-C Bridging Header, under the Swift Compiler - General section. Also, double-click to the right of it and type in the following and hit entry:
Leadtools-Bridging-Header.h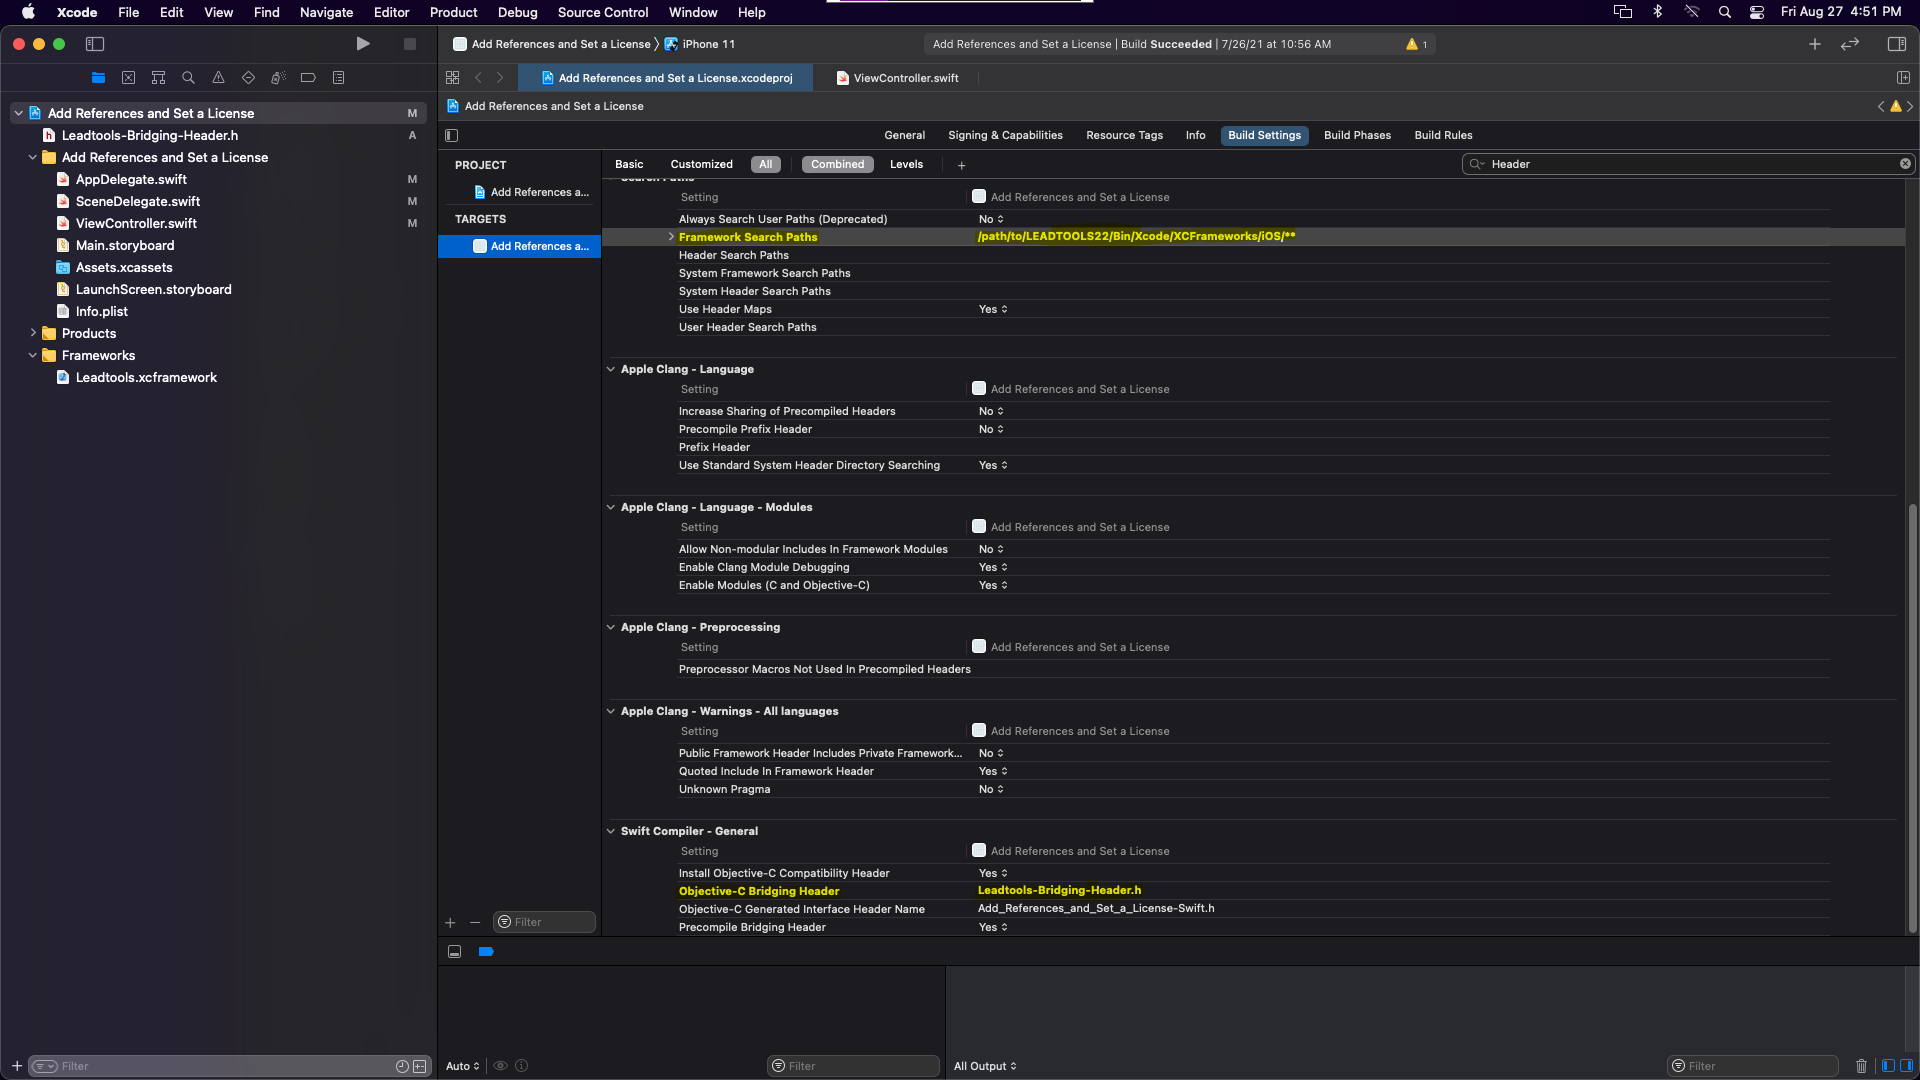
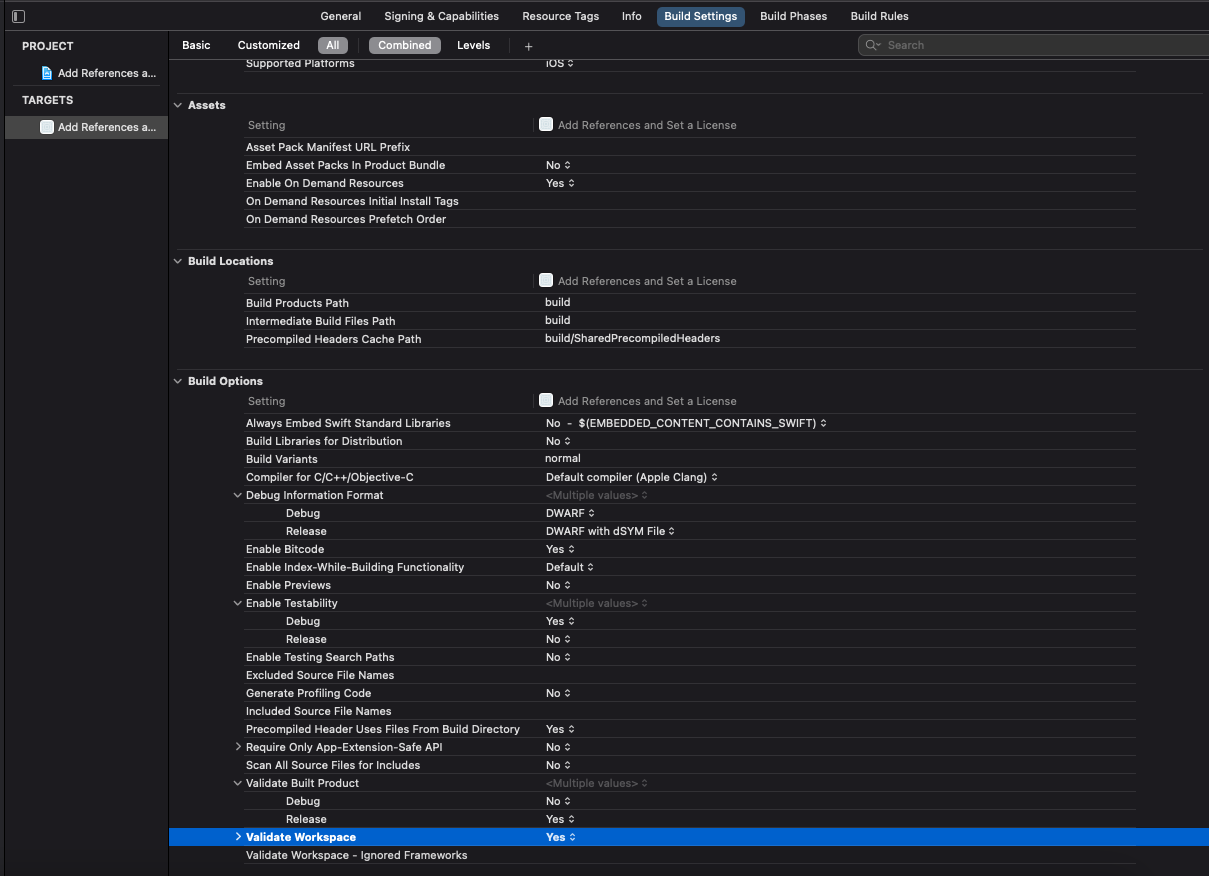
Switch Validate Workspace under the Build Options section near the top to Yes. This is needed to bypass a build error when using the simulator.
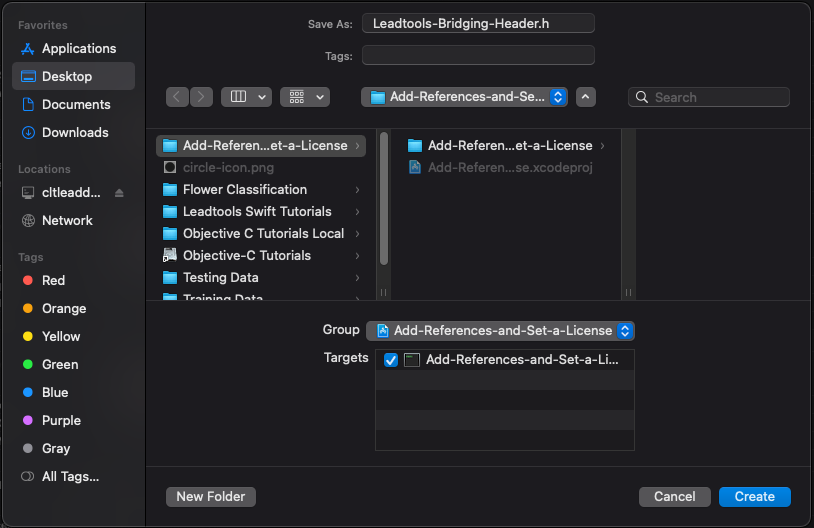
Right-click on the blue file in the Project Manager and select New File.... In the new window select Header File from the iOS and Source sections and click Next. At the top change the Save As: name to Leadtools-Bridging-Header.h, this is the same name as the one you provided in the Objective-C Bridging Header entry above and it MUST match. Then click the check box under the Targets section below and click Create.
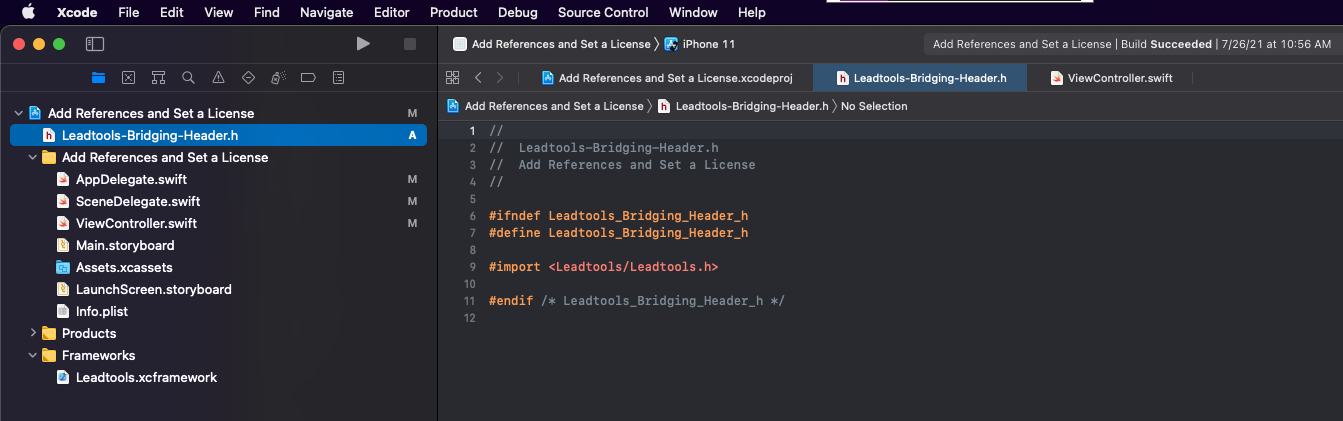
The new .h file will be displayed upon creation. Between the #define and #endif section, list the framework .h files containing the API needed for the project.
In this tutorial we only need the main leadtools.h file so list it as follows:
#import <Leadtools/Leadtools.h> Note
All framework imports will follow the same structure. For example, leadtools.codecs it would be
#import <Leadtools.Codecs/Leadtools.Codecs.h>.
Once finished click Project -> Build, or Command B, to build the project. If done correctly everything should build without error, if you have any errors double check the paths and file names provided in the prior sections.
Add the Set License Code
With the project created and the frameworks installed, the set license code can be added.
Open the ViewController.swift file. Below the existing viewDidLoad() section, create a new override func called viewDidAppear(_ animated: Bool). Like the above viewDidLoad(), these are different states in the app loading process.
override func viewDidLoad() {
super.viewDidLoad()
// Do any additional setup after loading the view.
}
override func viewDidAppear(_ animated: Bool) {
SetLicense()
}
Next, create a new standard func called showAlert(message: String, title: String). This function is called from the SetLicense() function and is responsible for displaying pop-up style messages in the App UI.
func showAlert(message: String, title: String) {
let alert = UIAlertController(title: title, message: message, preferredStyle: .alert)
alert.addAction(UIAlertAction(title: "Ok", style: .default, handler: nil))
self.present(alert, animated: true)
}
Lastly, create a new func called SetLicense() and call it inside the viewDidAppear fucntion, as shown above. Add the following code to properly set your LEADTOOLS license.
func SetLicense() {
let license = "/path/to/LEADTOOLS22/Support/Common/License/Leadtools.lic"
let keyFile = String("\(license).key")
do {
let key = try String(contentsOfFile: keyFile)
try LTRasterSupport.setLicense(file: license, developerKey: key)
} catch {
print("Unable to read contents of .key file.")
}
if LTRasterSupport.kernelExpired {
print("License file invalid or expired.")
showAlert(message: "License file invalid or expired.", title: "Leadtools")
} else {
print("License file set successfully!")
showAlert(message: "License file set successfully", title: "Leadtools")
}
}
Run the Project
Clean the project to clear any errors by selecting Product -> Clean Build Folder or Shift + Command + K.
Run the project by selecting Product -> Run or Command + R.
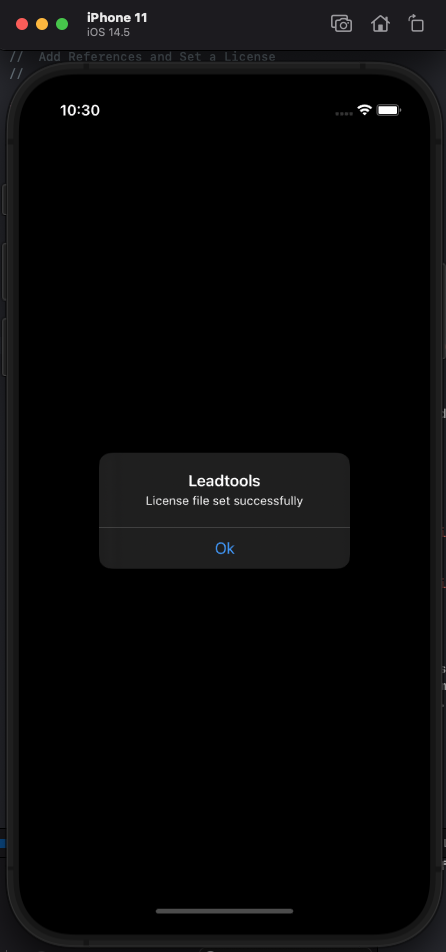
If the steps were followed correctly, the app will launch and a message should appear showing "License file set successfully".
Wrap-up
This tutorial showed how to create a new Swift iOS project, add LEADTOOLS Frameworks and Header files, and set the license.
This is the basis for all Swift iOS applications leveraging the LEADTOOLS SDK. All functionality in the SDK is unlocked via setting a license. The setLicense() function must be called before calling any other LEADTOOLS SDK functions.
Once the SDK is purchased, the evaluation license can be replaced with a valid runtime license to disable the Nag Message.