Connecting to Heroku Postgres in a in a Private or Shield Space via PrivateLink | Heroku Dev Center (original) (raw)
- Databases & Data Management
- Heroku Postgres
- Connecting to Heroku Postgres in a in a Private or Shield Space via PrivateLink
English — 日本語に切り替える
Last updated February 07, 2025
Table of Contents
- Heroku Prerequisites
- Provisioning the Heroku Endpoint
- Provisioning the Amazon VPC Endpoint
- Connecting the Heroku and Amazon VPC Endpoints
- Connecting to Heroku Postgres from EC2 via VPC Endpoints
- Limitations
- Comparison to Private Space Trusted IP Ranges
This article describes how to use AWS PrivateLink to create a secure connection between an AWS VPC and a Heroku Postgres database running in a Private Space or a Shield Private Space. This process involves three high-level steps:
- Creating an endpoint service on your Private or Shield Heroku Postgres database
- Creating an endpoint network interface in your AWS VPC
- Establishing the secure connection between the two endpoints
As part of setting up the connection, you can specify a list of approved accounts to limit access to your Heroku Postgres database from the VPC.
To use this feature, you must provision the Amazon VPC you create in a subnet that’s in the same region as your Heroku Postgres database. See Regions for more information.
Heroku Prerequisites
The following Heroku resources are required to set up a PrivateLink endpoint:
- A Private Space or Shield Private Space. Create a Private Space or a Shield Private Space using either the Heroku Dashboard or the Heroku CLI.
- A Heroku app running in the Private Space or Shield Private Space with an attached Heroku Postgres database. All Heroku Postgres instances running in a Private Space or a Shield Private Space use one of the
privateorshieldplan types, respectively. See Provisioning Heroku Postgres on how to create a database.
Provisioning the Heroku Endpoint
Step 1: Install the Heroku Data via PrivateLink CLI Plugin
To install the CLI plugin, run the command:
$ heroku plugins:install @heroku-cli/plugin-data-privatelink
Step 2: Obtain Your AWS Account ID
You can obtain your AWS account ID with the AWS CLI:
$ aws sts get-caller-identity --output text --query 'Account'

123456789101
The example command returns an account ID of 123456789101.
You can also obtain your account ID from the Account page of your AWS account. The Account ID is shown in the Account Settings section:

Step 3: Create a PrivateLink Endpoint
Create a PrivateLink endpoint using the following Heroku CLI command and substitute the values:
$ heroku data:privatelink:create POSTGRESQL_ADDON_NAME --aws-account-id ACCOUNT_ID --app APP_NAME
- Replace
POSTGRESQL_ADDON_NAMEwith the name of your Heroku Postgres database, for example,postgresql-simply-12345. - Replace
APP_NAMEwith your app’s name. - Replace
ACCOUNT_IDwith the AWS account that receives access to your Heroku Postgres database. This ID can match any of the following patterns:- account-id
- account-id:user/username
- account-id:role/rolename
You can specify the --aws-account-id flag multiple times to include multiple accounts.
Here’s an example command with the output:
$ heroku data:privatelink:create postgresql-simply-12345 --aws-account-id 123456789101:user/abc.xyz --app privatelink-vpc-endpoint-demo
Creating privatelink... done

Service Name: Provisioning
Status:       Provisioning

The privatelink is now being provisioned for postgresql-simply-12345.
Run heroku data:privatelink:wait postgresql-simply-12345 -a APP to check the creation process.
New PrivateLink endpoints typically take 5–10 minutes to become available. You can track your progress with heroku data:privatelink:wait postgresql-simply-12345 --app APP_NAME.
Step 4: Obtain Your Endpoint’s Service Name
When the PrivateLink endpoint finishes provisioning, use the command to view its details:
$ heroku data:privatelink POSTGRESQL_ADDON_NAME --app APP_NAME
Replace POSTGRESQL_ADDON_NAME with the name of your Heroku Postgres database, and replace APP_NAME with your app’s name.
Here’s an example command with the output:
$ heroku data:privatelink postgresql-simply-12345 --app privatelink-vpc-endpoint-demo
=== privatelinks for postgresql-simply-12345
Service Name:         com.amazonaws.vpce.us-east-1.vpce-svc-0410a2e25933fe8ec
Status:               Operational

=== Allowed Accounts
ARN                                    Status
arn:aws:iam::123456789101:user/abc.xyz Active

Your privatelink is now operational.
You must now copy the Service Name and follow the rest of the steps listed in https://devcenter.heroku.com/articles/heroku-postgres-via-privatelink.
Copy the value of the Service Name field from the command’s output. In the previous example, the service name is com.amazonaws.vpce.us-east-1.vpce-svc-0410a2e25933fe8ec. You need this value to provision the Amazon VPC endpoint.
Provisioning the Amazon VPC Endpoint
You perform the steps in this section from your Amazon VPC dashboard.
Step 1: Create and Configure a Security Group
Your endpoint requires a security group with appropriate ingress security rules. To create a security group:
- Click
Create security groupin theSecurity Groupstab of your VPC dashboard. - In the
Basic detailssection, specify a security group name and description, and select your desired VPC. - In the
Inbound rulessection, click toAdd rule. - Enable TCP access to ports
5432–5433from any valid IP address. - Click
Create security group.

Step 2: Create the Endpoint
To create an endpoint:
- Navigate to the
Endpointstab of your VPC dashboard and clickCreate Endpoint. - Give a name for your endpoint in the
Name tagfield. - In the
Typesection, select thePrivateLink Ready partner servicescategory. - In the
Service settingssection, paste theService namevalue you obtained earlier. - Click
Verify serviceto display the list of available subnets.
- In the
Network Settingssection, select the VPC you specified when creating the Security Group. - In the
Subnetssection, select the subnets to enable and the Subnet ID, and select the IP address type to use. - In the
Security groupsection, select the security group you created in the previous step, and clickCreate endpoint.
You see the endpoint you created with an initial status of pending acceptance, which transitions to available after 5-10 minutes.
You can also confirm it’s available from the Heroku Dashboard. Navigate to the Settings tab in your database and click Show Configuration under the Heroku Postgres via PrivateLink section. You can see the connection status under Connections.
Connecting the Heroku and Amazon VPC Endpoints
After the Amazon VPC endpoint becomes available, you can obtain the URLs from the config vars that Heroku creates to allow your VPC to communicate with your Heroku Postgres database (DATABASE_ENDPOINT_ID_URL) and PgBouncer (DATABASE_ENDPOINT_ID_PGBOUNCER_URL).
First, obtain your PrivateLink endpoint’s endpoint ID and extract the 17-character string that appears at the end of it. Convert that string to upper case and use it in the following command. For example, if the endpoint ID is vpce-01c87ae3c05563935, the endpoint ID is 01C87AE3C05563935.
Run the command, substituting the the string in ENDPOINT_ID_HERE:
$ heroku config --app your_app_name | grep ENDPOINT_ID_HERE
This command displays the AWS VPC endpoint connection URL and the corresponding connection string for your Heroku Postgres database. The connection string has the following format:
postgres://user:password@vpc-endpoint-dns-name:5432/database
You can now use this connection string to connect the applications in your AWS VPC to your private Heroku Postgres database and PgBouncer instance. Here’s an example command with the output:
$ heroku config --app privatelink-vpc-endpoint-demo | grep 01C87AE3C05563935

DATABASE_ENDPOINT_01C87AE3C05563935_URL:           postgres://abcdefghijklmn:abcdefghijklmnopqrstuvwxyz123456789101112131415161718192021222324@ec2-3-83-63-168.compute-1.amazonaws.com:5432/dd0k757ojc5qt
DATABASE_ENDPOINT_01C87AE3C05563935_PGBOUNCER_URL: postgres://abcdefghijklmn:abcdefghijklmnopqrstuvwxyz123456789101112131415161718192021222324@ec2-3-83-63-168.compute-1.amazonaws.com:5433/dd0k757ojc5qt
You can also get the endpoint ID from the Heroku Dashboard:
- Navigate to your database in the Heroku Dashboard and click the
Settingstab. - Click
Show Configurationnext toHeroku Postgres via PrivateLinksection. - Click
Reveal Credentialsto show the endpoint ID.
For any issues or concerns with using this feature, open a support ticket.
Connecting to Heroku Postgres from EC2 via VPC Endpoints
After you configure your VPC endpoints, you can create an EC2 instance in your AWS VPC to connect to Heroku Postgres.
In your EC2 dashboard, click Launch an instance. Give your instance a name and select the AMI type.

Then, select the instance type and key pair name. The example creates an Ubuntu t2.micro instance.

When configuring the network settings, select the VPC network with the security group you created earlier and pick an appropriate subnet. Review the summary of your instance and click Launch instance.

After the instance’s status transitions to running and all status checks have passed, connect to the instance using the SSH key pair you specified during instance creation.
After it’s connected, install Postgres on your EC2 instance with the commands:
$ sudo apt-get -qq update && sudo apt-get install -y curl ca-certificates
$ curl -s https://www.postgresql.org/media/keys/ACCC4CF8.asc | sudo apt-key add -
$ sudo sh -c 'echo "deb http://apt.postgresql.org/pub/repos/apt/ $(lsb_release -cs)-pgdg main" > /etc/apt/sources.list.d/pgdg.list'
$ sudo apt-get -qq update
$ sudo apt-get install -y postgresql-client-16
You can then connect to your Heroku Postgres database from the EC2 instance using the command:
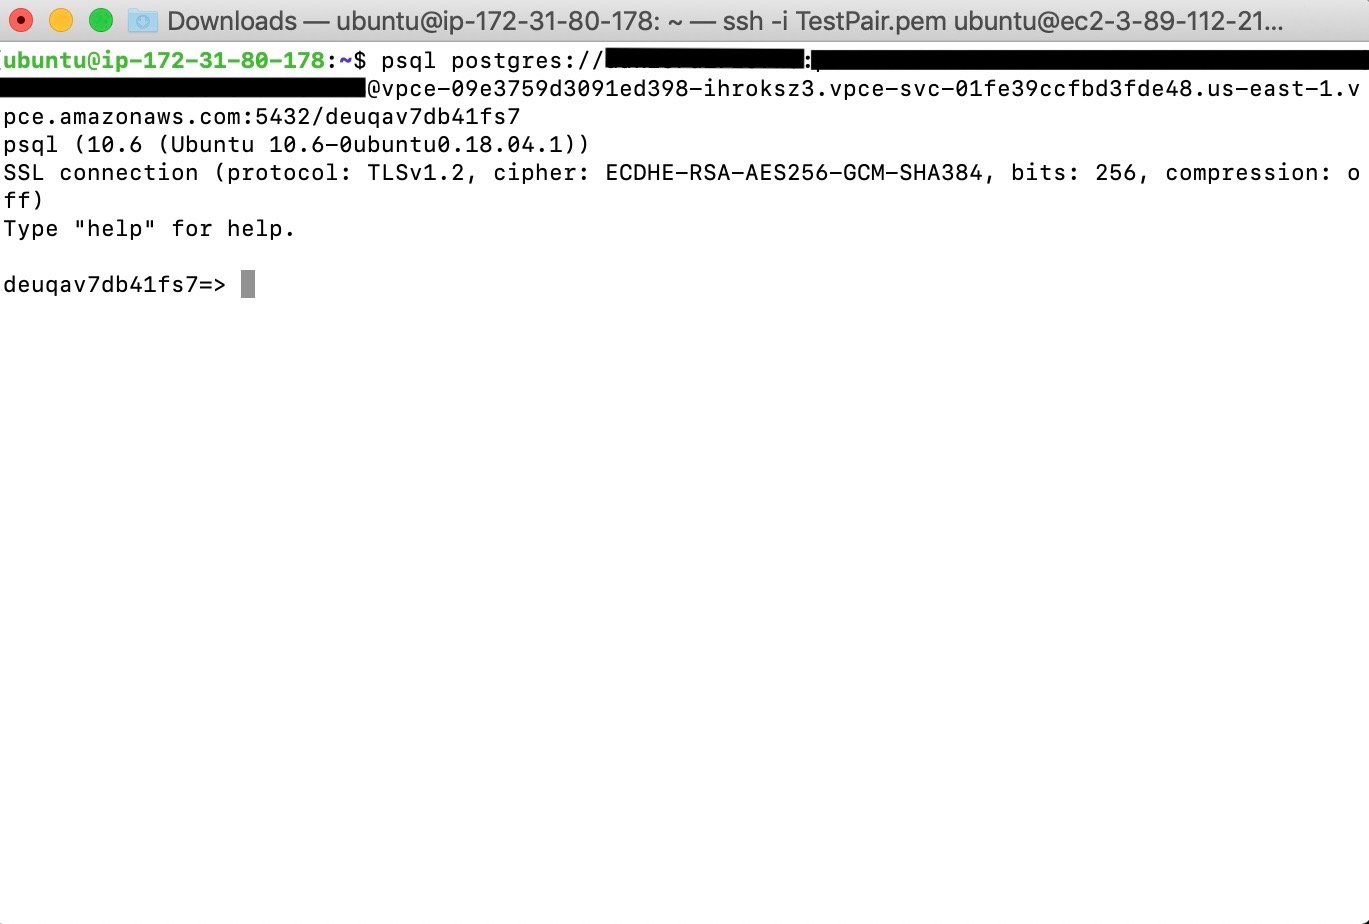
$ psql postgres://user:password@vpc-endpoint-dns-name:5432/database
The following screenshot shows the connection string being used to connect to a Heroku Postgres database from within a sample EC2 instance:
Limitations
- You must provision the Amazon VPC endpoint you create in a subnet that’s in the same region as your Heroku Postgres database.
- It’s your responsibility to verify the security of your VPC to ensure fully secure access to your Heroku Postgres database.
Comparison to Private Space Trusted IP Ranges
Private Spaces support trusted IP ranges for data services as a beta feature. This feature is an option if you must connect to a Heroku Postgres database from outside the Private Space boundary. You must contact Heroku to enable this feature, and granular access control isn’t available for it.
By connecting via AWS PrivateLink, your database is treated as part of your own VPC, and you can restrict access to a set of users and roles. Consequently, this method is recommended whenever it’s available for your use case.