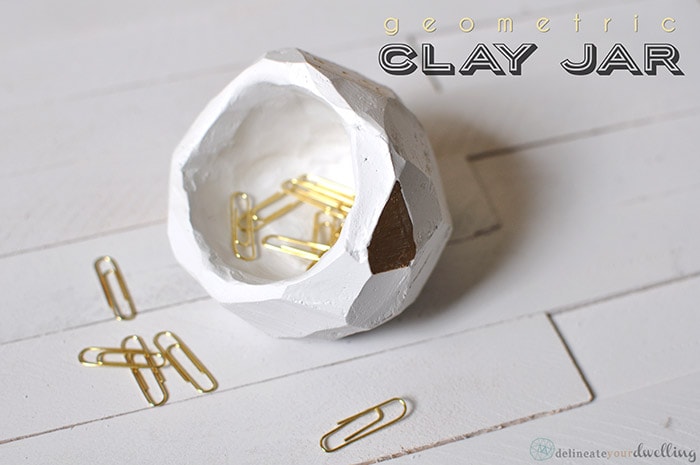
Geometric Clay Jar (original) (raw)

INSIDE : Learn how to create a beautiful geometric clay jar using air dry clay! It is the perfect desk accessory or gift idea, too.
This post may contain affiliate links. See full disclosure here.
This post has been updated since it’s original May 2014 publish date.
This upcoming father’s day, we will be celebrating my husband and all he does for our family. And to celebrate him, we wanted to make something personal that I know he would enjoy. My guy knows cool and he keeps up-to-date with the trends going on. I decided to make him a simple but classy Geometric Clay Jar to hold odds and ends.
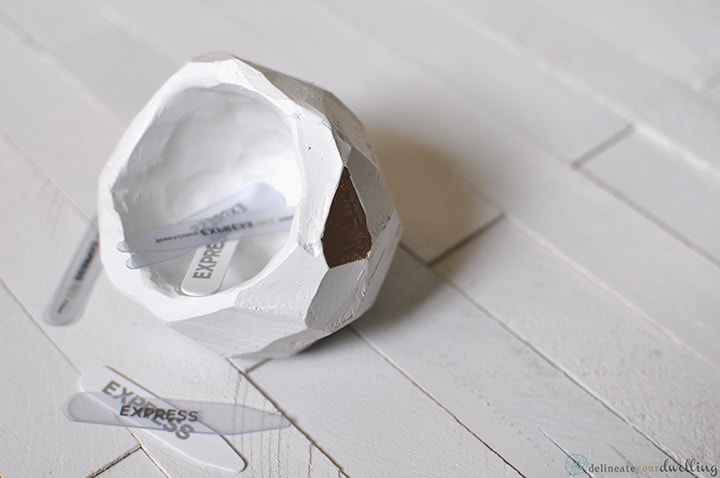
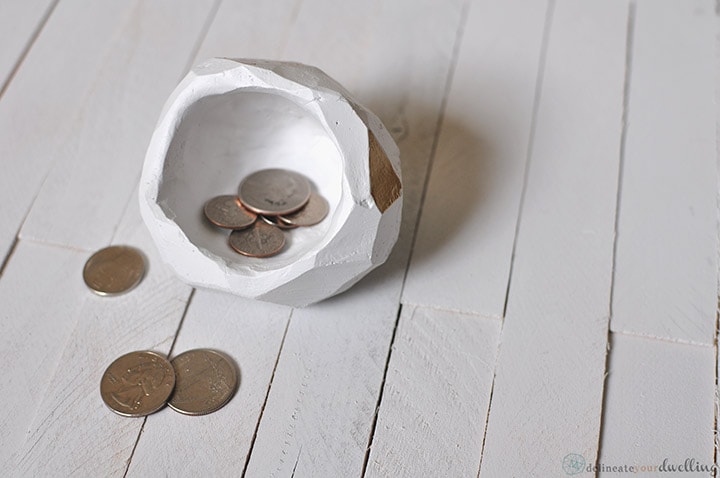
It felt trendy without trying too hard and the cool shape can hold paper clips, spare coins, rubber bands or even tie clips.
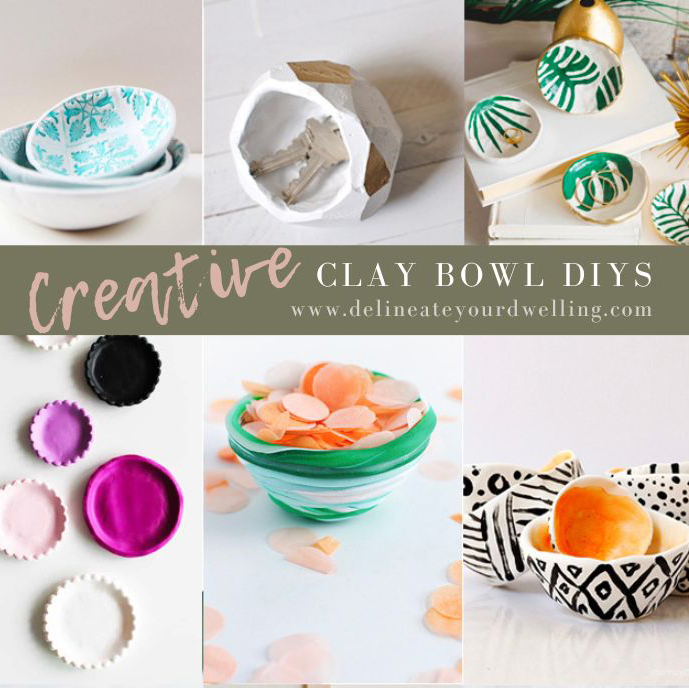
If you are looking for more information about Creative DIY Clay Bowl Ideas, check out my post here.
Let’s get into how to make one!
What supplies do I need to make a Geometric Clay Jar?
- Air Dry Clay (white)
- Kitchen Knife
- White Matte Spray Paint
- Gold Foil Paint Pen
- Cutting Board
How to make a geometric dish out of Air Dry Clay?
First, purchase yourself some white Air Dry Clay. I have been a long time fan of DAS Air Hardening clay. I think it has a very pure clean white color. You could also use Crayola Air Dry clay for this project. You can read more about my Best Tips for Air Dry Clay, here.
Next, remove a medium sized chunk of clay from the container. Be sure to put lid back on, so as to not dry all the clay out. If it does start to dry out, you can add a few drops of water to the clay and put the lid back on.
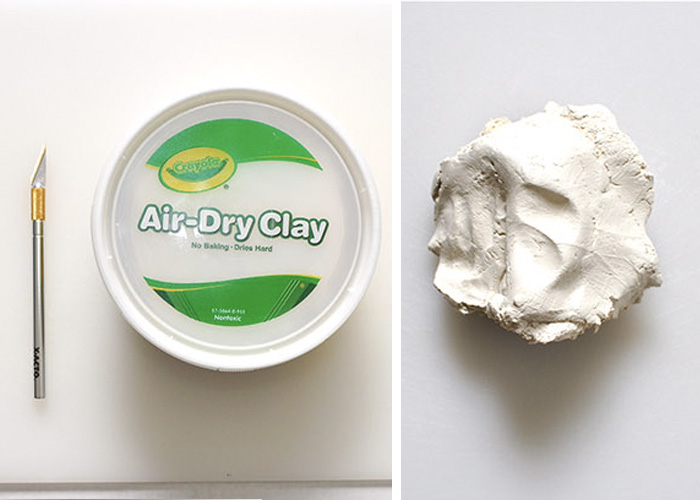
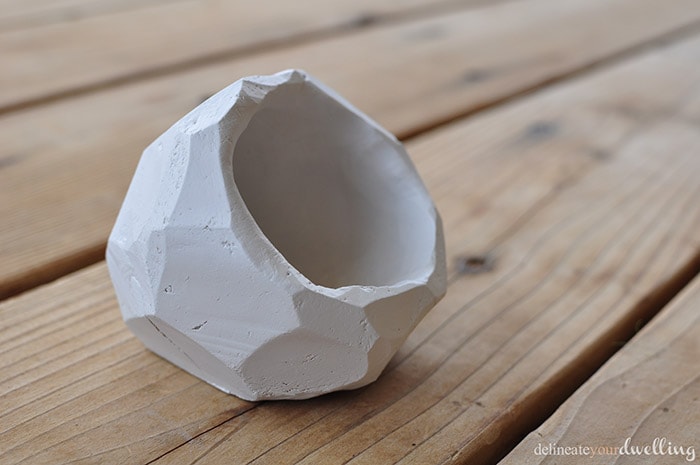
Then, using a cutting board as your base, form the clay into a small side jar type shape, like below.
Next, set your clay in a safe place and wait 12 or so hours to allow for slight drying. Do not let your shape completely dry out!
Once the clay has slightly dried, but still is cool to the touch, use a kitchen knife to carefully cut away at the clay jar until you receive your desired shape.
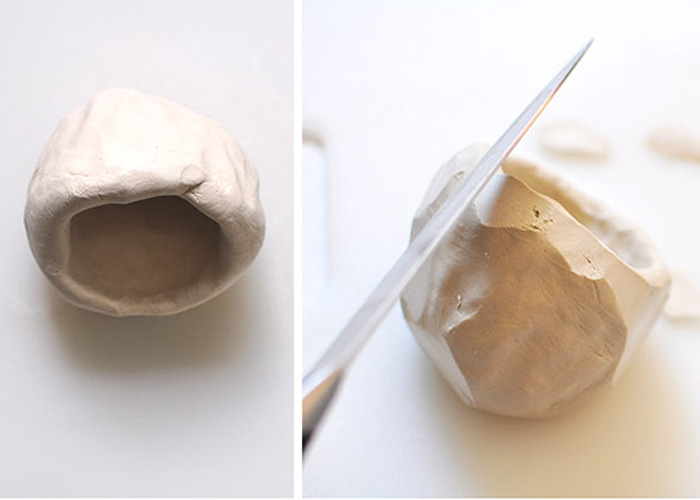
Once you are happy with the shape and geode style cuts you’ve created, set your bowl aside and allow it fully dry. If you notice any cracks starting to form, try to repair them right away. You can read more about ways to keep Air Dry Clay from Cracking here.
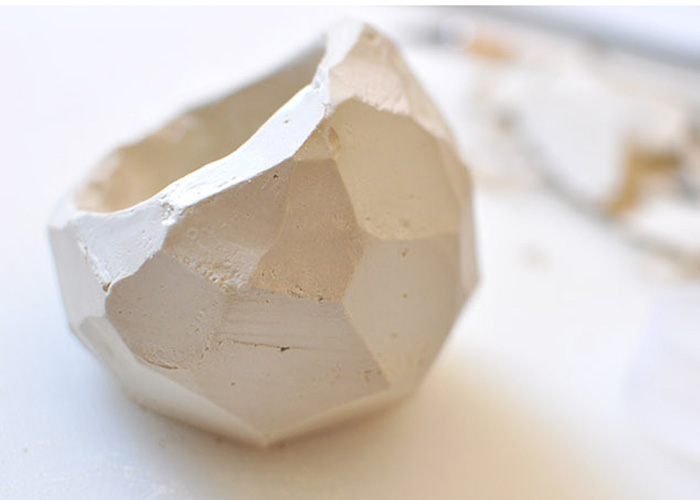
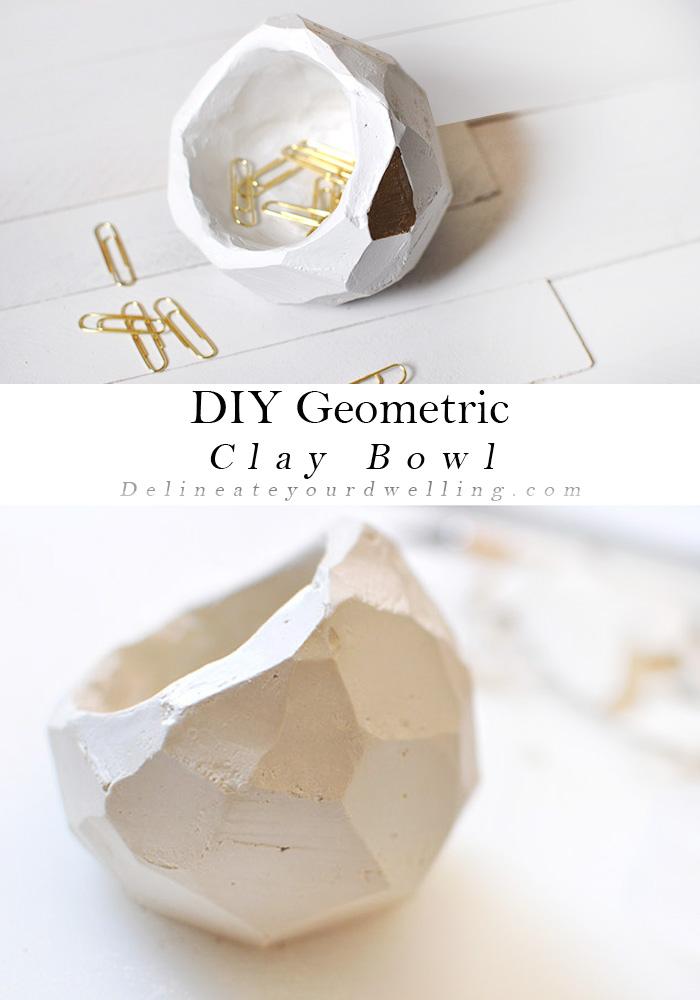
This is what my geometric clay bowl looked like once completely dried. It had a slight gray/white color to it, so I used a white flat spray paint to brighten it up. Two light coats of paint and it was crisp and white!
Geode Clay Bowl
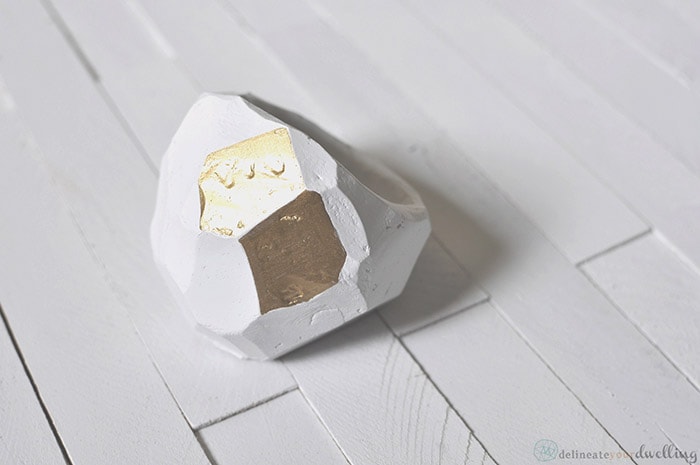
I also add three small gold foil paint sections to the jar for a little added interest and shine.
No matter the use you select for your geode style clay bowl, this is a project that would warm any father’s heart!
Regardless if you have a wonderful father or less than desirable father (me), take these words to heart and know you have a Father who will never disappoint.
………………………………
2 Corinthians 4:7 But we have this treasure in jars of clay to show that this all-surpassing power is from God and not from us.
Looking for MORE Air Dry Clay projects? Hope you are inspired by them!
TIPS, TECHNIQUES + TRICKS FOR USING AIR DRY CLAY.
Colorful Clay Animal Heads | DIY Clay Garland | Geometric Place card Holders | Clay Rings | Clay TDAY Banner | Colorful Clay Animal Heads | Geometric Clay Jar | Fourth of July Tea Light Holder
And you can see where I used this beautiful project here, in my Guest Room and Office Makeover!
