Spring Data JPA @Table Annotation (original) (raw)
Last Updated : 9 Apr, 2026
Spring Data JPA allows entity classes to be mapped to relational database tables. The @Table annotation helps customize this mapping by explicitly defining table-related metadata instead of relying on default naming.
- Specify a custom table name using name
- Define schema and catalog using schema and catalog
- Apply constraints like unique constraints using uniqueConstraints
Purpose
The @Table annotation is part of the Jakarta Persistence (JPA) specification and is placed above the @Entity annotation in a class. It is mainly used when:
- The table name in the database differs from the entity class name
- A schema or catalog needs to be defined for database organization
- Unique constraints must be enforced on specific columns
**Syntax:
import jakarta.persistence.*;
@Entity
@Table(name = "student") // Defines custom table name
public class Student {
// Fields and methods
}
By default, JPA would create a table named Student (matching the class name). Using @Table(name = "student"), the table name is explicitly set to student.
Attributes of @Table Annotation
- **name: Specifies the name of the database table (default: entity class name)
- **catalog: Defines the database catalog name
- **schema: Defines the schema name for the table
- **uniqueConstraints: Enforces unique constraints on one or more columns
**Example: Using @Table with Unique Constraint
Java `
import jakarta.persistence.*;
@Entity @Table( name = "EMPLOYEE", uniqueConstraints = { @UniqueConstraint(columnNames = "email") } ) public class Employee {
@Id
@GeneratedValue(strategy = GenerationType.IDENTITY)
private int id;

@Column(nullable = false, unique = true)
private String email;
}
`
- The table name is explicitly set to EMPLOYEE.
- A unique constraint is added on the email column, ensuring no two records share the same email address.
- @Column(unique = true) ensures column-level uniqueness, while @UniqueConstraint applies at the table level.
Implementation Steps of @Table Annotation
Step 1: Create a Spring Boot Project
Use Spring Initializr and include dependencies:
- Spring Web
- Spring Data JPA
- MySQL Driver
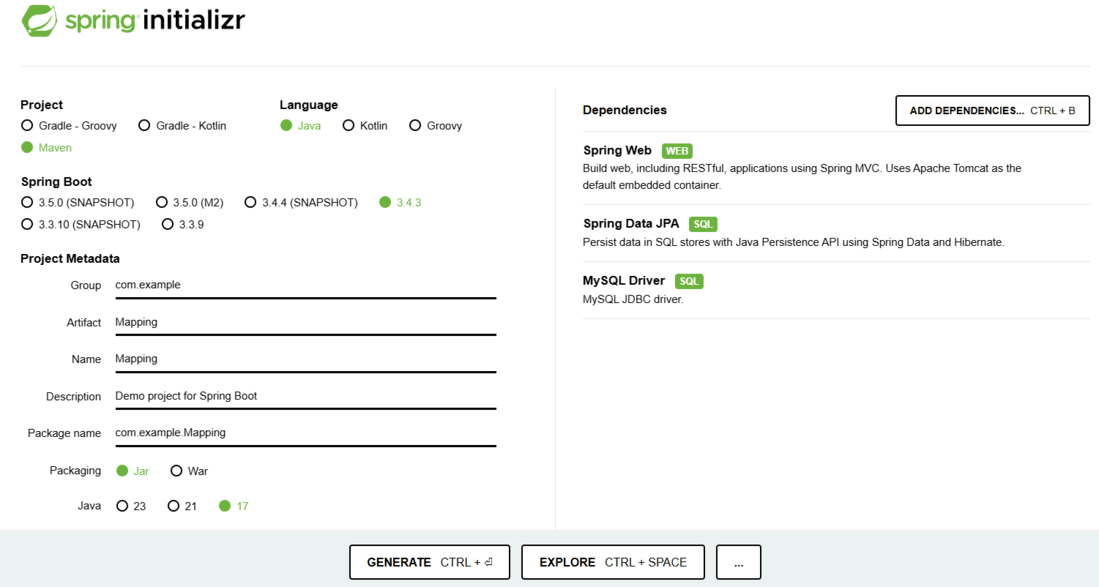
spring initializr
Click on Generate, download, and extract the project.
Step 2: Configure Database in application.properties
spring.datasource.url=jdbc:mysql://localhost:3306/mapping
spring.datasource.username=root
spring.datasource.password=your_password
spring.jpa.hibernate.ddl-auto=update
**Note: Use environment variables to protect sensitive credentials:
spring:
datasource:
username: ${DB_USER}
password: ${DB_PASS}
Step 3: Create the Entity Class
**StudentInformation.java:
Java `
package com.example.mapping.model;
import jakarta.persistence.*;
@Entity @Table(name = "student") public class StudentInformation {
@Id
@GeneratedValue(strategy = GenerationType.IDENTITY)
private int rollno;
private String name;

public StudentInformation() {}
public StudentInformation(int rollno, String name) {
    this.rollno = rollno;
    this.name = name;
}

public int getRollno() { return rollno; }
public void setRollno(int rollno) { this.rollno = rollno; }
public String getName() { return name; }
public void setName(String name) { this.name = name; }
}
`
Step 4: Running the Application
Run the main Spring Boot application class. If everything is configured correctly, Hibernate will generate a table named student in the mapping database.
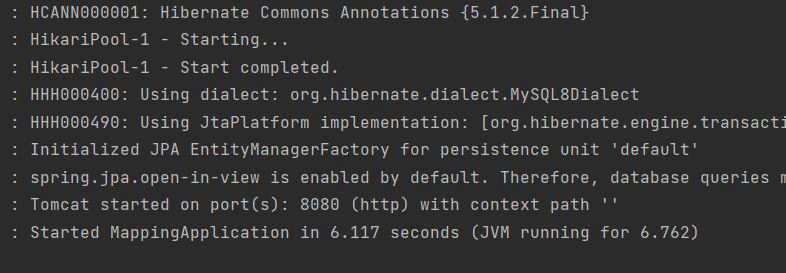
Application running
Database Output:

Output