Deploying An Application Using Jenkinsfile (original) (raw)
Last Updated : 22 Aug, 2025
Deploying an application with a Jenkinsfile automates building, testing, and deploying the app. It ensures consistent and repeatable deployments, making CI/CD more efficient. Jenkins Pipeline Components:
- **Pipeline: A series of stages and tasks for automated CI/CD defined in a Jenkinsfile.
- **Stage: A part of the pipeline representing a phase, like build, test, or deploy.
- **Trigger: An event, like a commit or manual action, that starts the pipeline.
- **Workspace: A directory on the Jenkins agent for executing code, building artifacts, and storing temporary files.
Deploying An Application Using Jenkinsfile
Here are the steps for deploying an application.
**Step 1: Log in to an AWS Account
- Navigate to AWS Console and login in with your credentials.
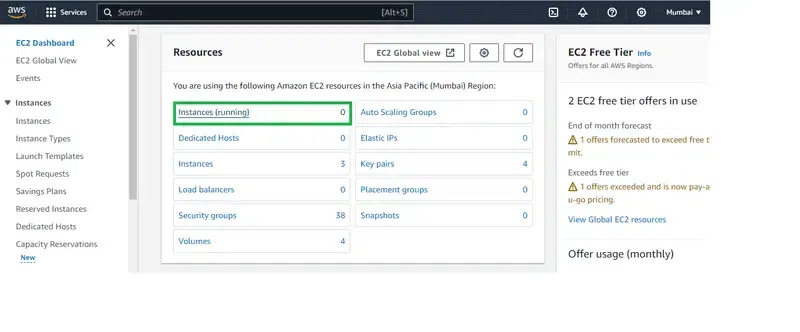
- Click on EC2 to go for EC2 Dashboard.

**Step 2: Navigate to EC2 Dashboard
- Click on Running Instance to create a running instance.
- After landing, click on Create Instance.
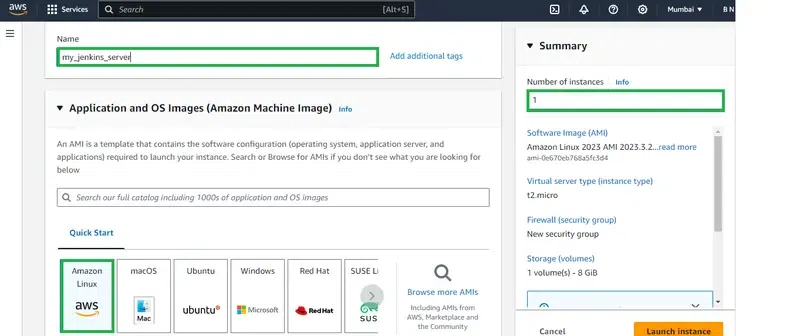
**Step 3: Launch Instance
- Define the sections such as providing the instance name as "my_jenkins_server" , no of instance as 1 and Choose the AMI as **Amazon Linux 2 latest AMI.
Step 4: Configure Instance
- Choose the instance type as t2.micro and choose the existing key pair.
- If you don't have any key pair, click on create key pair and choose the key pair format type.

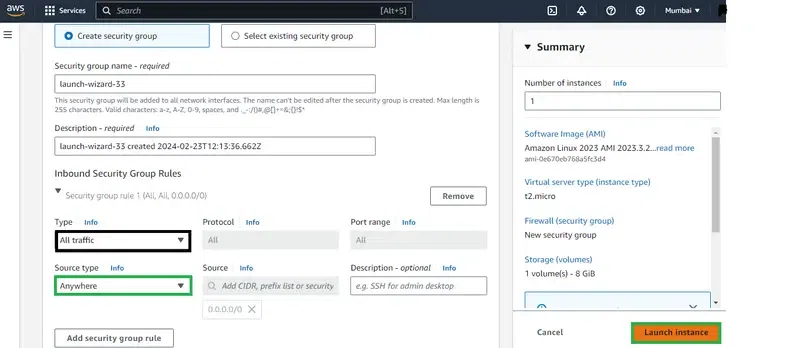
**Step 5: Configure Network Security Groups
- Provide the network security groups by configuring them with allowing all traffic, so that they will no restrict of traffic from AWS. The following screenshot clearly illustrates that.
**Step 6: Connect To Instance
- Review the provided definition and value. Once you confirmed with defined value click on Launch Instances.
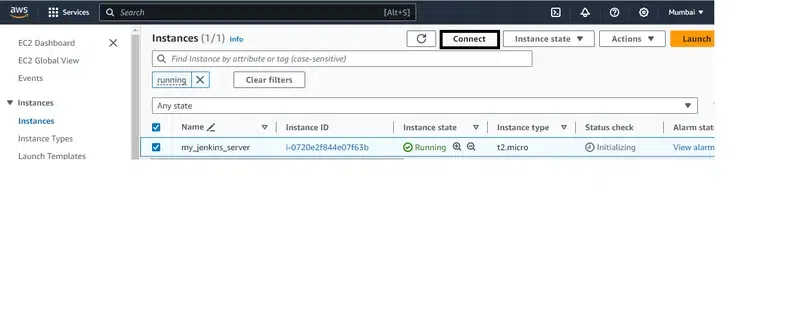
**Step 7: Connect To EC2 Console
- Wait till the instance come to running state, Once it been into the running state, Go through it and navigate to EC2 Console section.
- In the EC2 Console section click on connect.

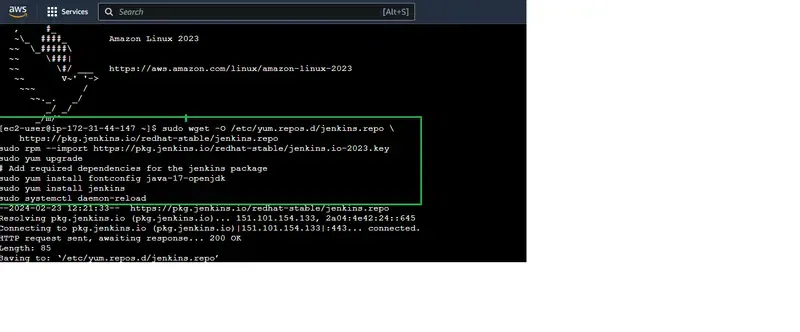
**Step 8: Install Jenkins
Now Install the jenkins and Java, with the following commands:
sudo wget -O /etc/yum.repos.d/jenkins.repo \
https://pkg.jenkins.io/redhat-stable/jenkins.repo
sudo rpm --import https://pkg.jenkins.io/redhat-stable/jenkins.io-2023.key
sudo yum upgrade
Add required dependencies for the jenkins package
sudo yum install java* -y
sudo yum install jenkins
sudo systemctl daemon-reload
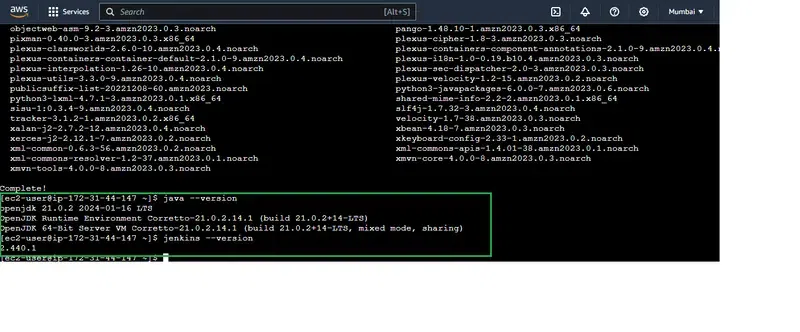
**Step 9: Verify Java And Jenkins
Verify the successful installation of jenkins and java with following commands:
java --version
jenkins --version
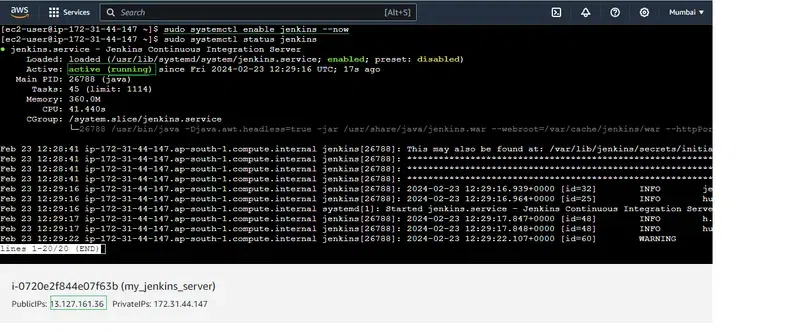
**Step 10: Start Jenkins Server
- Now, start the jenkins server with the following command:
systemctl enable jenkins --now
**Step 11: Access Jenkins Server
After successfully starting the jenkins server, go to the browser and enter the following url, you will the see the below jenkins server page.
http:[IP_Address]:8080
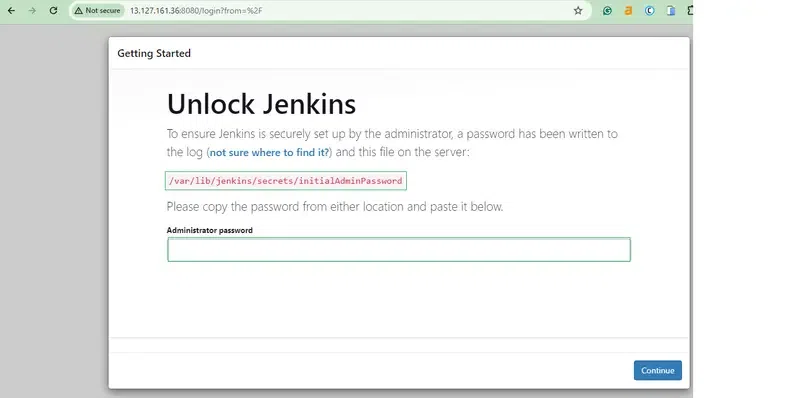
**Step 12: Copy Jenkins Password
- The jenkins server asks for password as for authentication, go through provided directory in the console and copy the password from their and paste in this url.
- After successful authentication, you will landed to Inside the Jenkins Server.

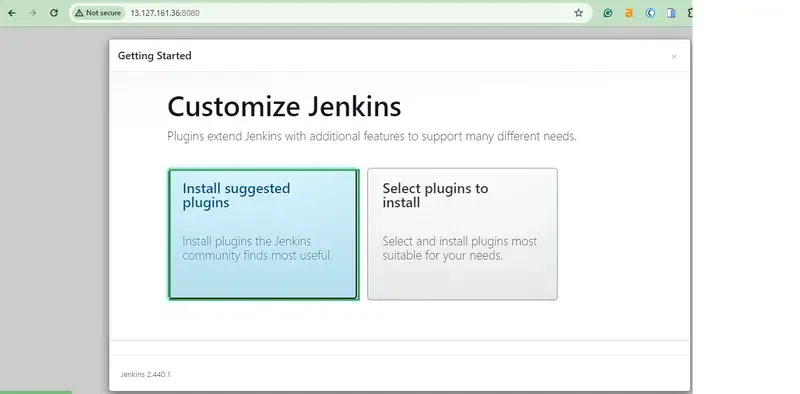
**Step 13: Install Suggested Plugins
- Click on Install Suggest Plugins options, so it will help you in installing the required plugins already pre available before going for the jobs.
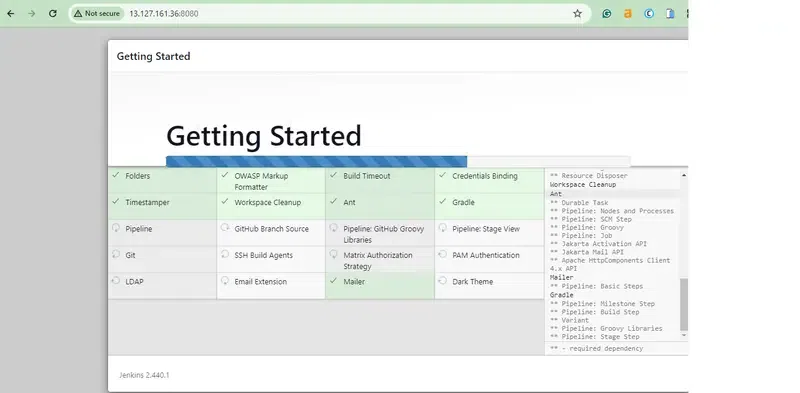
**Step 14: Installation Of Plugins Completely
- The installation of suggested plugins takes some time, In the above page you can see the what are the plugins you are installing.
**Step 15: Using Default Admin User
- After successfully installing the suggested plugins, It will ask for creating Admin user or go with default admin user. Here we are going with default admin user.

**Step 16: Instance Configuration
- In the **Instance Configuration page, you will see the url of the jenkins server page. With that provided url you can open the jenkins server from anywhere publicly.

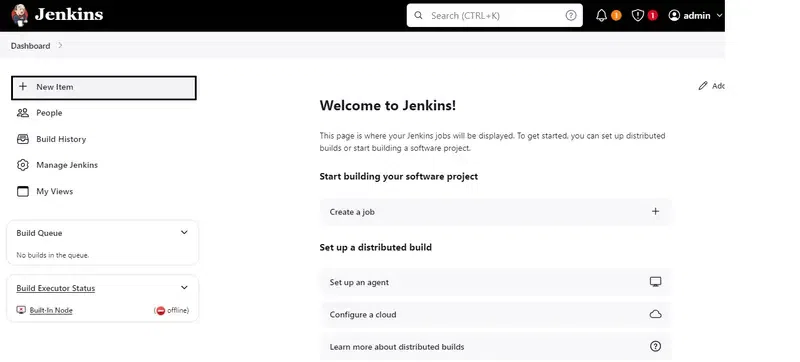
**Step 17: Create A Job
Now, create an item clicking on **New Item in this Jenkins Web page.
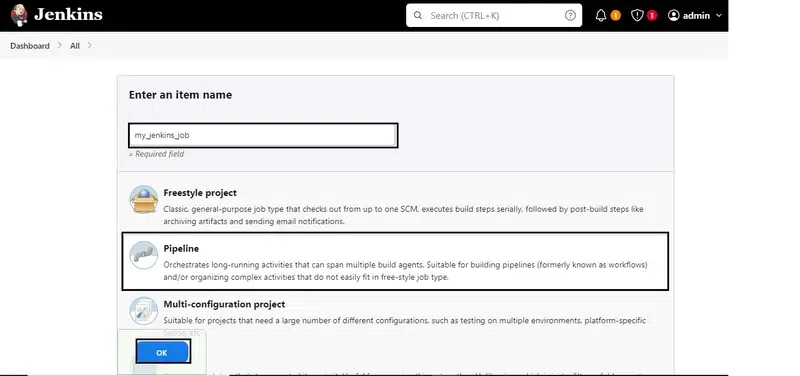
**Step 18: Configure The Job
- Now, Configure the jenkins item with defining the values such as Item name, And style such Pipeline project.
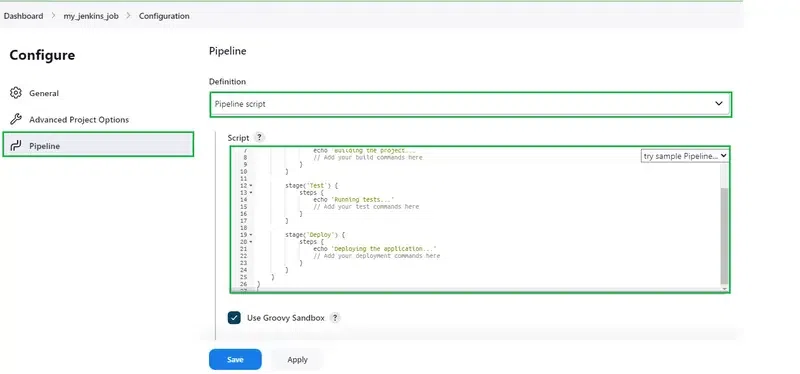
**Step 19: Configure The Pipeline Job
- After navigating to Configure page, Enter into the Pipeline and then provided your application code their.
- Here, We are using the following code as a Jenkinsfile code. This code contains the stages such as Build, Test, Deploy Stages. After the execution of stages it mails status of pipeline whether it is successful or failure.
Note: Change the mail id with your one.
pipeline {
agent any
stages {
    stage('Build') {
        steps {
            sh 'echo "Building..."'
            sh 'mvn clean package'
        }
    }

    stage('Test') {
        steps {
            sh 'echo "Testing..."'
            sh 'mvn test'
        }
    }

    stage('Deploy') {
        steps {
            sh 'echo "Deploying..."'
            // Add deployment steps here
        }
    }
}

post {
    always {
        sh 'echo "Cleaning up..."'
    }

    success {
        mail to: 'developer@example.com',
             subject: 'Pipeline Succeeded',
             body: 'Your Jenkins Pipeline has completed successfully.'
    }

    failure {
        mail to: 'admin@example.com',
             subject: 'Pipeline Failed',
             body: 'Your Jenkins Pipeline has failed. Please investigate.'
    }
}
}
- Once you configured the Jenkinfile application code, click on apply button.
**Step 20: Successfully Jenkins Build
- After building the created jenkin job, you can see the successful running of the job with the below screenshot.
