How to Deploy a Django Application in Kubernetes (original) (raw)
Last Updated : 23 Jul, 2025
In this article, we will study how we can deploy Django web applications to Kubernetes. We will also see how to dockerize and build an image of the Django application using Dockerfile. For this article, you should know about setting up a VM in Azure. We will see how to deploy applications on Linux Server.
Introduction to Django
Django is a Python framework for developing web applications and APIs. It is most commonly used for Content Management Systems and APIs but it also supports microservices. Django is based on Python, which allows integrations with the most used Python libraries and AI/ML libraries.
Steps to Deploy Django Application in Kubernetes
Step 1: Create and set up a Django Project
Create a new Django project or use an existing one using django-admin. For this article, you can use the project from the below link
GitHub Link
Once the project is done, start the project and test it in the browser
python manage.py runserver
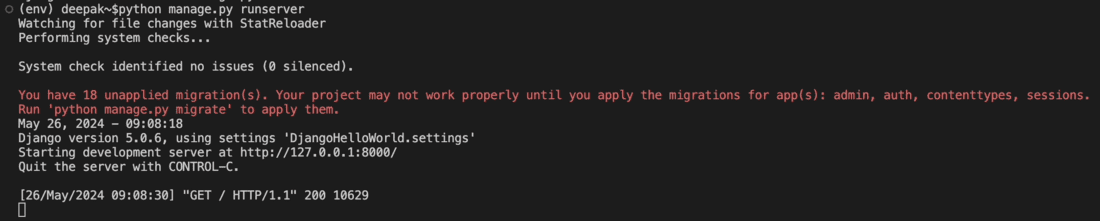
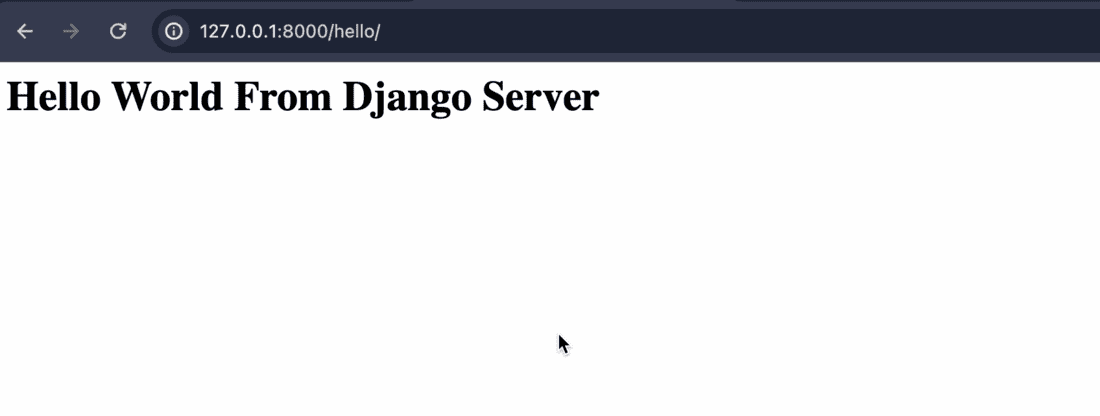
Hit the URL in the browser to get the desired output.
If the project is working correctly, then freeze the pip modules in requirements.txt file.
pip freeze > "requirements.txt"
As Docker currently supports python version 3.9.19, make sure your requirements contains module versions according to python version.
**Step 2: Create Dockerfile and build Docker image
- Now create a new Dockerfile inside root folder of project where manage.py is located.
- The file will look like below.
FROM python:3.9.19-alpine
RUN mkdir /DjangoHelloWorld
WORKDIR /DjangoHelloWorld
COPY / .
RUN pip install -r requirements.txt
EXPOSE 8000
CMD python manage.py runserver 0.0.0.0:8000
- In above file, we have added python image version from which the image should be built. Then we added a new project directory and copied project data to that folder.
- Then we have installed all modules from requirements.txt and exposed port 8000.
- Modify the file according to your project requirements. Once the file is ready, we can build the image using below command.
docker build -t /: .
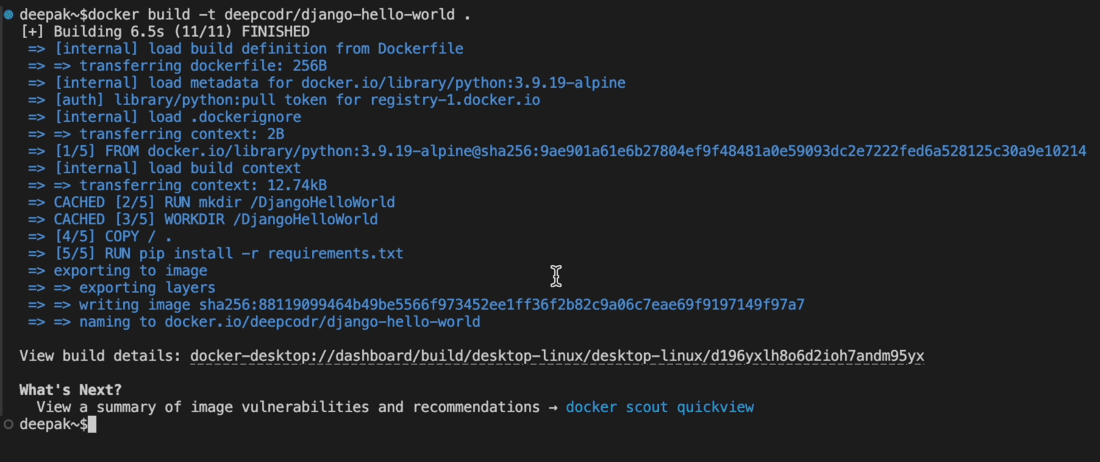
- Wait for the build to be complete. If the build is successful, you can spin up a new container from image using below command.
docker run -dp : IMAGE-NAME

If everything is correct, you should be able to view the application in the browser. After you are satisfied with the output, kill the container.
Step 3: Create Deployment configuration and deploy to Kubernetes
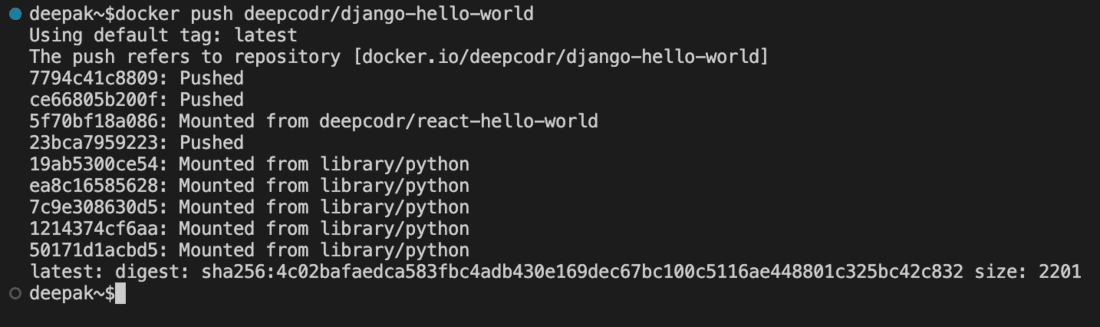
Before going to Kubernetes, push the docker image to the docker Hub.
docker push
- Now create a new YAML file with any name. for e.g., djangohelloworld.yaml
- Now lets add configuration for creating Kubernetes deployments and services.
apiVersion : v1
kind : Service
metadata :
name : djangohelloworld
spec :
selector :
app : djangohelloworld
type : LoadBalancer
ports :
- port : 8000
targetPort : 8000
apiVersion : apps/v1
kind : Deployment
metadata :
name : djangohelloworld
spec :
replicas : 1
selector :
matchLabels :
app : djangohelloworld
template :
metadata :
labels :
app : djangohelloworld
spec :
containers :
- name : djangohelloworld
image : deepcodr/django-hello-world
ports :
- containerPort : 8000
imagePullPolicy : Always
- We have added two set of configurations, one for service and other for deployment. We have specified kind of deployment and the metadata to be used.
- In the containers section, we have added port and image to be used by container. Similarly for service, we have added listening and forwarding port.
- Now apply the configuration using kubectl.
kubectl apply -f

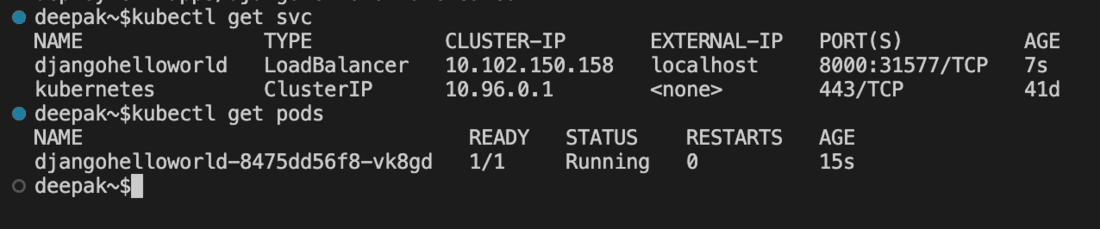
- Check if the service and pods are created and running successfully using below commands.
kubectl get svc
kubectl get pods
Step 4: Test the application
- Now that the service and pods are running successfully, we can use the localhost IP address to test the application.
- If you see the result page, then the deployment is successful.
