How to Change the Default Port in Jenkins? (original) (raw)
Last Updated : 23 Jul, 2025
Configuring the port in Jenkins is a fundamental aspect of managing the Jenkins server. By **default, **Jenkins runs on **port 8080, but there are scenarios where you may need to change this port to avoid conflicts with other services or security reasons. Understanding how to configure the port in Jenkins ensures smooth operation and accessibility of the Jenkins server. This article will guide you through changing the port in Jenkins, providing step-by-step instructions.
Understanding Default Jenkins Port
Jenkins typically runs on port 8080 by default. This port serves as the entry point for accessing the Jenkins web interface. It's like the front door to your Jenkins server, where you can manage jobs, view build status, and configure settings. Port 8080 is chosen because it's commonly available and not usually occupied by other services. When you type ****"http://localhost:8080"** in your web browser, Jenkins listens on this port and responds, allowing you to interact with the Jenkins server through its user interface.
Changing Default Port in Jenkins in Linux OS
**Step 1: Ensure Jenkins is Installed and Running
Firstly ensure that you have already set up the Jenkins software and the Jenkins server is running. For the installation of Jenkins refer to this - Install Jenkins
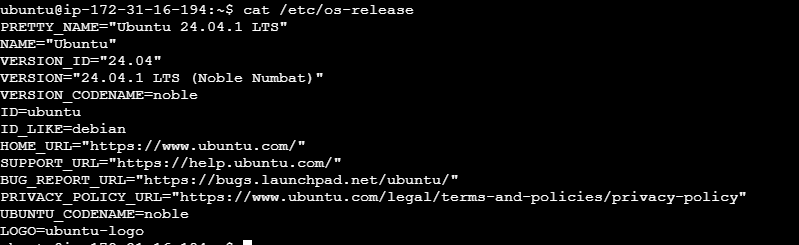
**Step 2: Verify Operating System
Verify the OS of the current VM. To change the default port on which Jenkins runs, you typically need to modify the Jenkins configuration file. The steps may vary depending on your installation method and operating system. Here, we are using Ubuntu OS.
**Step 3: Access Jenkins Using the Default Port
**Step 4: Verify Jenkins Port
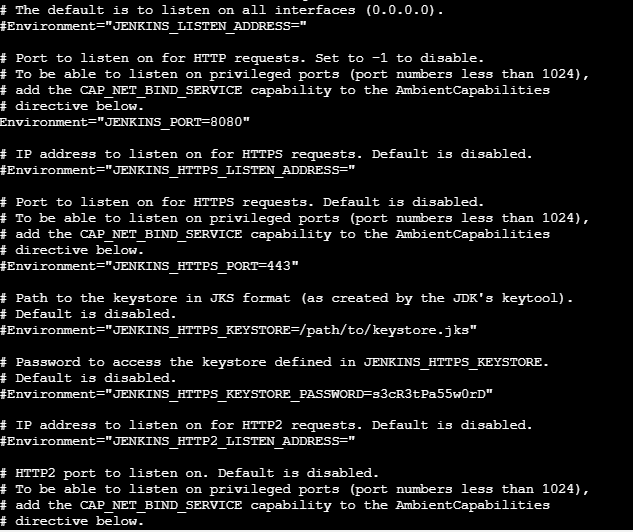
- Locate the Jenkins service file and check the which port currently using the jenkins. Verify the below image and the current port number is 8080.
- For best practice initially we need to stop the service and after change the service again start using the below commands.
sudo systemctl stop jenkins.service
sudo systemctl start jenkins.service
cat /lib/systemd/system/jenkins.service
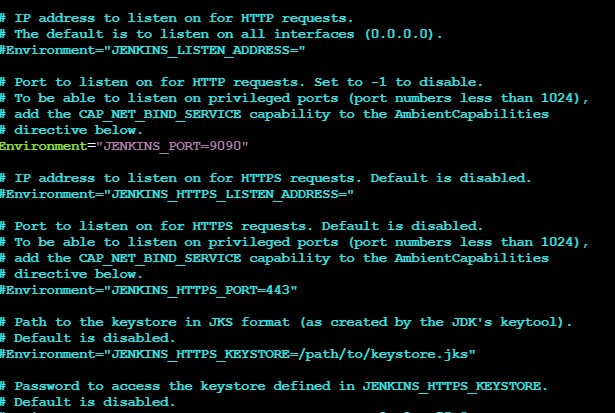
**Step 5: Modify the Jenkins Service File
We have changed the port number to 9090. Using the below command we can change the port number of the jenkins on service file.
vi /lib/systemd/system/jenkins.service
**Step 6: Verify New Port
Accessing the changed port through the browser.
**For other os like Ubuntu, RedHat etc. you can modify by uisng the below procedure.
sudo vi /etc/default/jenkins
Identify the below one and change the port
port for HTTP connector (default 8080; disable with -1)
HTTP_PORT=8080
Change like below
HTTP_PORT=9090
After changing restart the jenkins server using the below command.
sudo systemctl restart jenkins.service.
Changing Default Port of Jenkins in Windows OS
Let's see how to installing Jenkins on Windows using the Command Prompt (CMD) with your existing OpenJDK 17.
**Step 1: Ensure Java is Installed and Available in PATH
**Verify Java Installation: Open a Command Prompt and run
java -version
You should see the version you already provided, confirming Java is installed correctly.

**Ensure JAVA_HOME is Set: If you haven’t already, set the **`JAVA_HOME` environment variable.
- Open CMD as Administrator.
- Set the `JAVA_HOME` to point to your JDK directory:
setx JAVA_HOME "C:\Program Files\OpenJDK\jdk-17.0.12"
You can adjust the path to match the exact location of your JDK installation. This is optional if it is already set.
Step 2: Download and Configure Jenkins
**Download Jenkins
- Open a web browser and go to the official Jenkins download page: [Jenkins Downloads](https://www.jenkins.io/download/).
- Under **Generic Java Package (.war), click the link to download the `.war` file.
**Move the File
- Once downloaded, move the **`jenkins.war` file to a folder where you want to keep Jenkins files ****(e.g., `C:\Jenkins`).**

Step 3: Start Jenkins Using CMD
- Open Command Prompt as Administrator.
- Use `cd` to change to the directory where you placed the `jenkins.war` file.
**Example:
cd C:\Jenkins
**Start Jenkins
java -jar jenkins.war
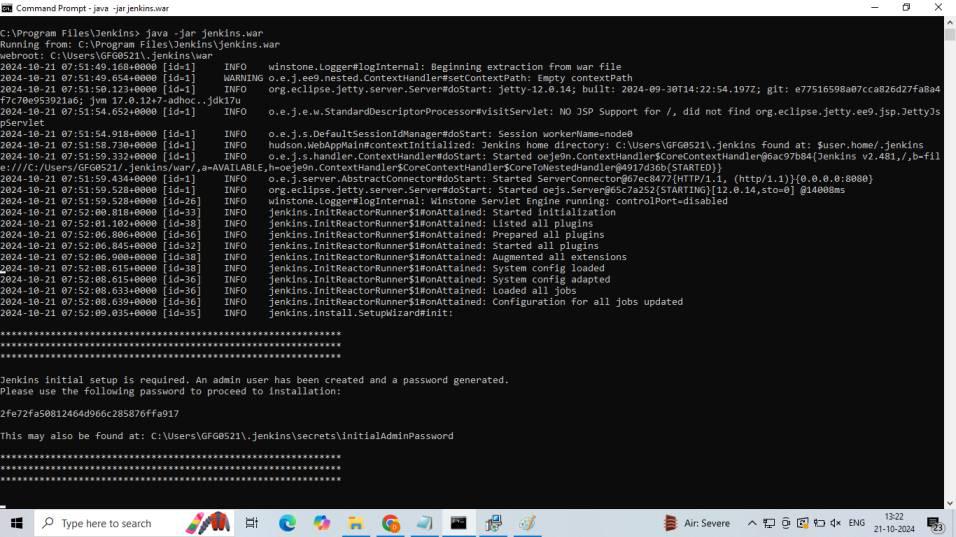
Jenkins will now start, and you will see logs in the CMD window. By default, Jenkins uses port '8080' unless specified otherwise.
Step 4: Access Jenkins in Your Browser
After Jenkins has started, open your browser and go to:

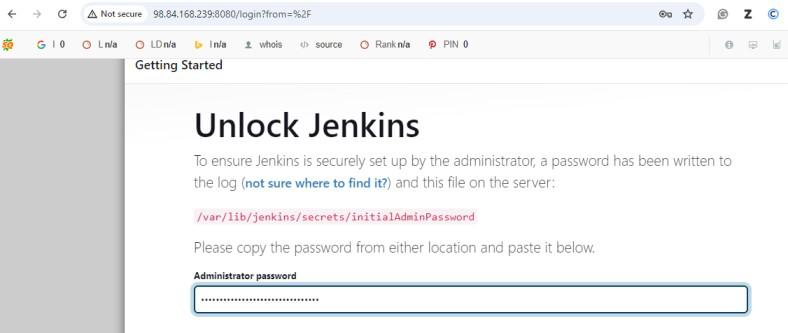
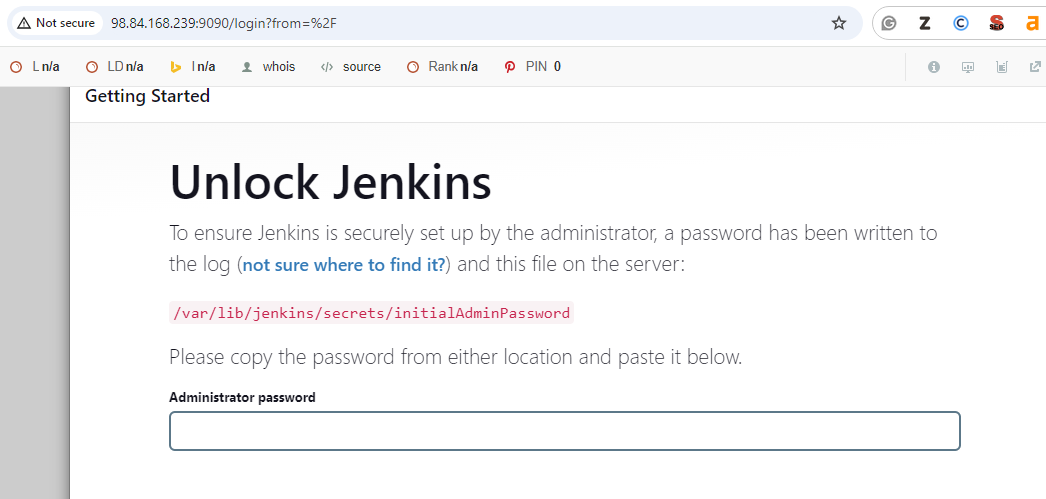
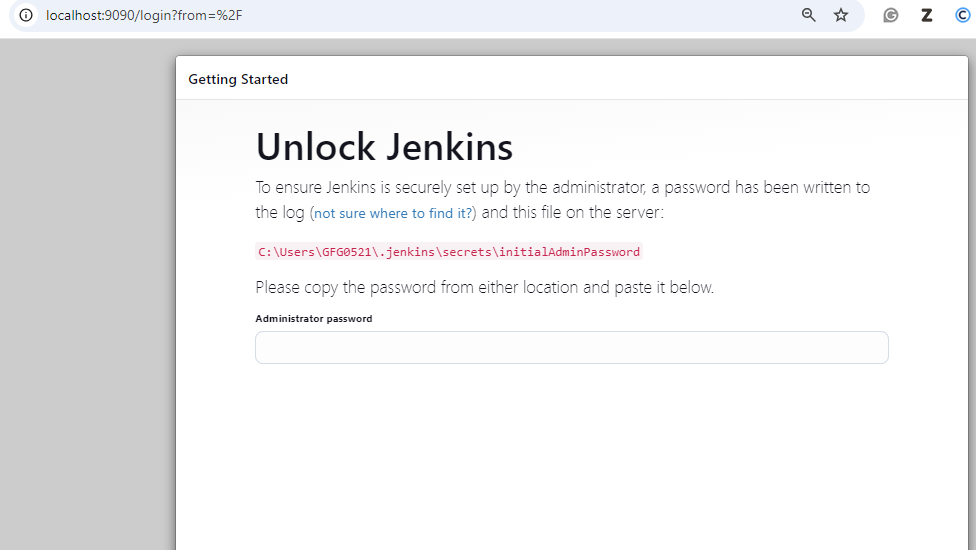
**Unlock Jenkins
- Jenkins will prompt you to unlock it. To do this, you need the initial administrator password.
**Retrieve the Initial Admin Password
Go back to the CMD window and find the part in the Jenkins logs that says:
Please use the following password to proceed to installation:
xxxxxxxxxxxxxxxxxxxxxxCopy that password.
Paste the password into the Jenkins setup page in your browser to unlock Jenkins.
Now you can start using Jenkins.
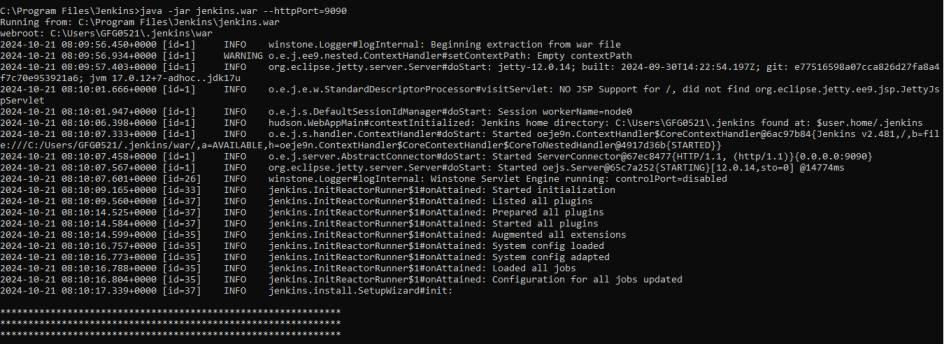
Step 5: Change Jenkins Port
To modify the port number when using Jenkins WAR file version, type the following command at the command prompt:
java -jar jenkins.war --httpPort=[port-number]
java -jar jenkins.war --httpPort=9090
- Check the services and locate the jenkins and click on right click and restart the service. Now you can check by refreshing the jenkins page localhost:8080 is able to open jenkins.
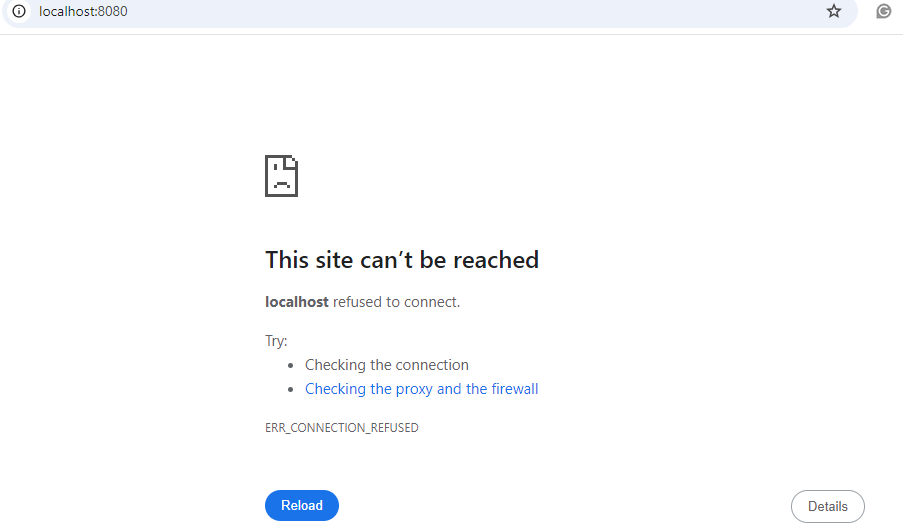
- Now you can access the jenkins by using new port 9090.
Now Jenkins should be installed and running on your Windows machine, accessible with change port at 'http://localhost:9090'!