Installation of Jenkins in Ubuntu (original) (raw)
Last Updated : 9 Feb, 2026
Jenkins is an open-source automation tool used to implement Continuous Integration and Continuous Delivery (CI/CD) in software projects. It is built in Java and helps automate tasks such as building, testing, and deploying applications.
- Written in Java and runs on the Java Virtual Machine (JVM).
- Can be installed using system packages or by running the WAR file.
- Automates repetitive development and deployment tasks to improve efficiency.
Install Jenkins on Ubuntu: A Step-by-Step Guide
Before installing Jenkins, ensure that the following requirements are met:
- An Ubuntu server (22.04)
- Root or sudo privileges
- 1 GB RAM works, but 2 GB RAM is recommended for smooth usage. and 1 CPU core
- Jenkins LTS officially supports Java 17 and Java 21
Step 1: Update your system
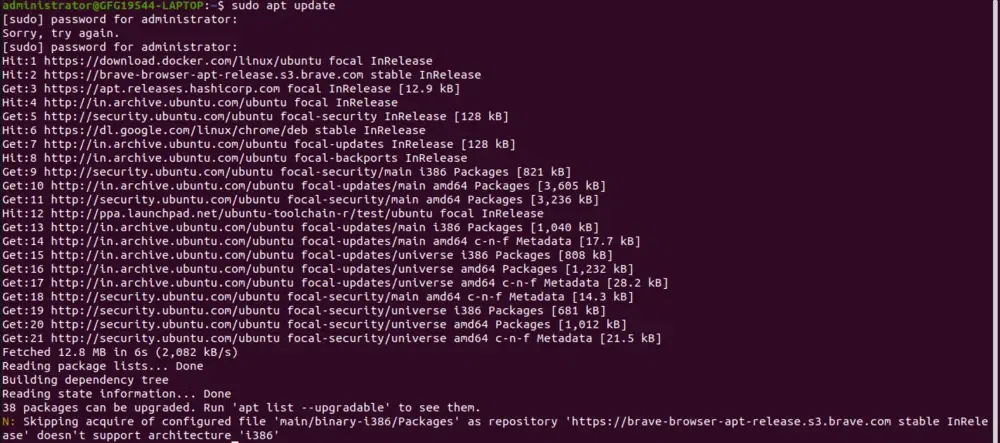
Before installing any packages, ensure your system is up to date. Open a terminal and run:
sudo apt update
sudo apt upgrade -y
Step 2: Install Java
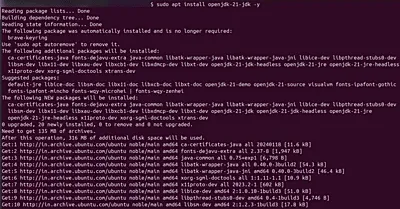
Jenkins requires Java to run. Jenkins LTS officially supports Java 17 and Java 21. Install the OpenJDK 21 package: (Skip this step if Java is already installed).
sudo apt install openjdk-21-jdk -y
Verify the Java installation by running:
java -version
**Output:

Step 3: Add Jenkins Repository
Import Jenkins key to authenticate the repository:
curl -fsSL https://pkg.origin.jenkins.io/debian-stable/jenkins.io-2026.key | sudo tee /usr/share/keyrings/jenkins-keyring.asc > /dev/null
Add Jenkins repository to your system's package list:
echo "deb [signed-by=/usr/share/keyrings/jenkins-keyring.asc] https://pkg.origin.jenkins.io/debian-stable/ binary/" | sudo tee /etc/apt/sources.list.d/jenkins.list > /dev/null

Step 4: Install Jenkins
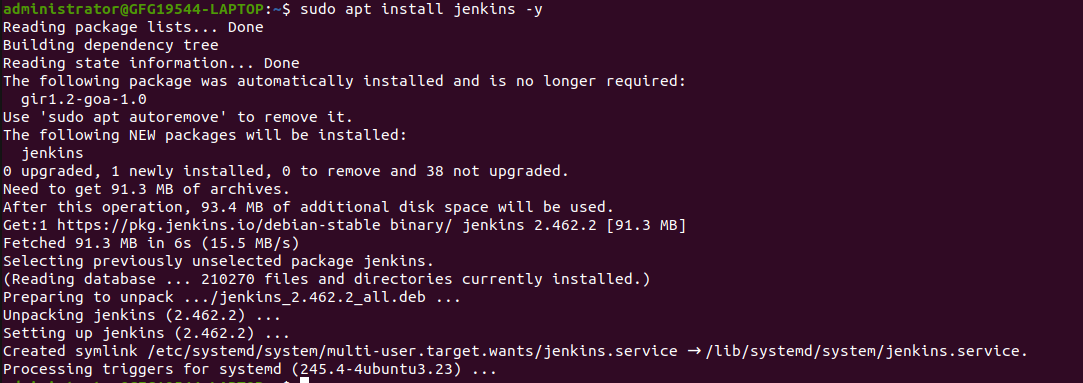
Now that Jenkins' repository is added, update the package list again:
sudo apt update
Then install Jenkins:
sudo apt install jenkins -y
Step 5: Start and Enable Jenkins
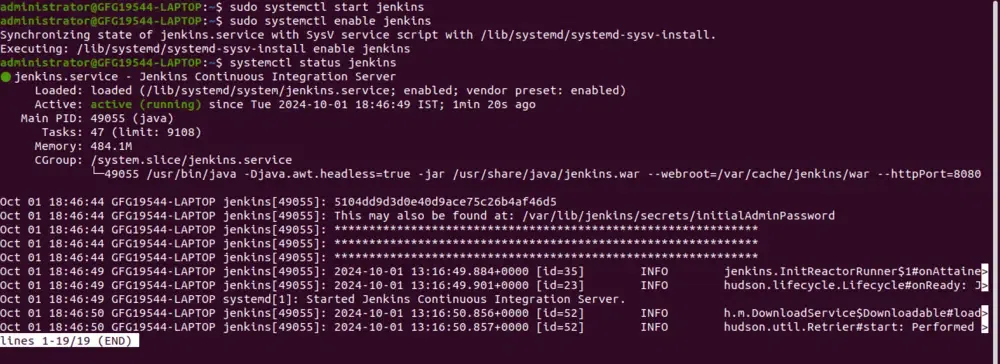
Once the installation is complete, start the Jenkins service:
sudo systemctl start jenkins
Enable the Jenkins service to start on boot:
sudo systemctl enable jenkins
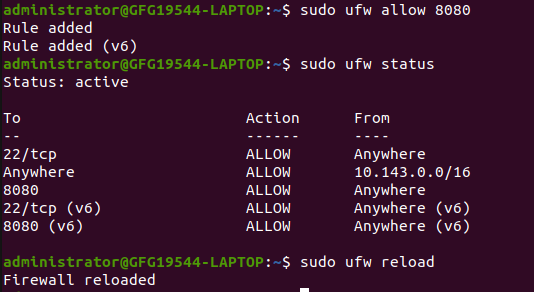
Step 6: Adjust the Firewall
Jenkins runs on port 8080 by default. If you are using a firewall (e.g., ufw), you'll need to allow traffic on that port.
- Allow port 8080 through the firewall:
sudo ufw allow 8080
- Reload the firewall to apply changes:
sudo ufw reload
Step 7: Access Jenkins Web Interface
To access Jenkins, open your web browser and enter your server's IP address or domain name, followed by port 8080:
http://your_server_ip_or_domain:8080
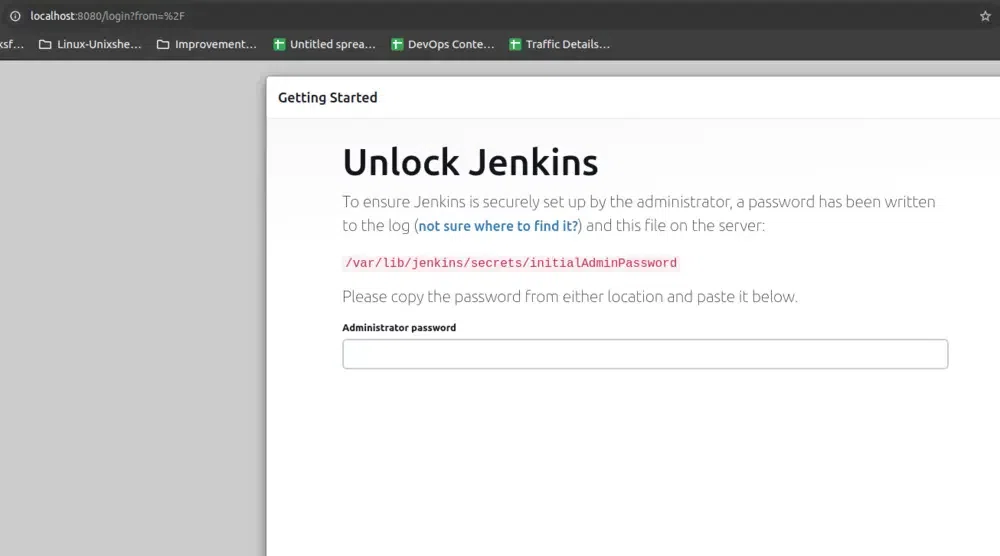
Step 8: Unlock Jenkins
- When you first access Jenkins, it will ask you for an admin password.
- Retrieve the password by running this command:
sudo cat /var/lib/jenkins/secrets/initialAdminPassword
- Copy the password from the terminal and paste it into the "Administrator password" field in the Jenkins web interface.
Step 9: Install Suggested Plugins
After entering the password, Jenkins will guide you through the initial setup.
- Click Install suggested plugins for a default setup.
- Wait while Jenkins installs the plugins.
Step 10: Create an Admin User
Once the plugins are installed, Jenkins will prompt you to create your first admin user.
- Fill in the required fields (username, password, etc.) to create the admin user.
- Click Save and Finish.
Step 11: Start Using Jenkins
After completing the setup, Jenkins will be ready to use. You should see the Jenkins dashboard where you can start creating jobs, configuring builds, and more.