Introduction and Setup of Cloud Firestore in Your Project (original) (raw)
Last Updated : 23 Jul, 2025
**Cloud Firestore is a versatile and **scalable database for developing mobile, **web and **server applications, provided by Firebase and **Google Cloud Platform.
It offers easy integration with other Firebase and Google Cloud products and features like real-time updates, offline support and efficient queries. In this article, We will learn about the **Introduction and Setup of Cloud Firestore in Your Project in detail.
Key Features of Cloud Firestore
- **Real-time updates: Data changes are instantly **synchronized across all clients.
- **Offline support: Data is accessible and can be modified while offline and changes will be synced when back online.
- **Scalability: Automatically scales to handle any level of traffic.
- **Structured data: Organize data into **collections and documents for better management and querying.
- **Rich querying: Perform complex **queries and transactions with ease.
Setting Up Cloud Firestore in Your Project
In this section, we'll go through the steps to set up Cloud Firestore in a web project, including initializing Firebase, setting up Firestore, and performing basic read and write operations.
**Prerequisites
Before we begin, ensure we have:
- A Google Firebase account.
- Node.js installed (if we are using Node.js).
- Basic knowledge of **JavaScript.
Step 1: Create and Configure a Firebase Project
**Create a Firebase Project
- Go to Firebase Console: Navigate to the Firebase Console.
- Add a New Project: Click on "**Add project" enter your project name, configure Google Analytics (optional), and click "**Create Project."
**Register Your Web App
- **Add Firebase to Your Web App: In the Firebase console, click on the **Web icon (</>) to register your web app.
- **Enter a Name: Give your app a nickname and click "**Register app."
- **Firebase SDK Setup: Firebase will provide a code snippet to add to your project. This snippet includes our project's configuration.
Step 2: Set Up Your Web Project
Make a new folder for your project and set it up. If we are using **Node.js, we can initialize a new project using **npm:
mkdir firestore-js-project
cd firestore-js-project
npm init -y
npm install firebase
**Create the HTML Structure
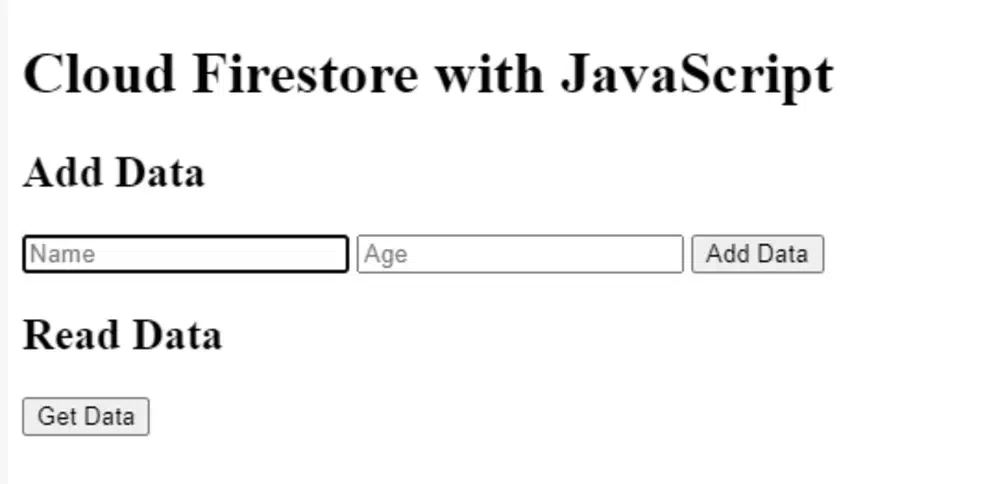
Create an **index.html file in your project directory with the following structure:
Firestore ProjectCloud Firestore with JavaScript
Add Data
Add DataRead Data
Get Data**Output:
**Add Firebase SDK to Your Project
Add the Firebase SDK to your project by including the provided Firebase configuration snippet in a firebase-config.js file:
// firebase-config.js
const firebaseConfig = {
apiKey: "YOUR_API_KEY",
authDomain: "YOUR_AUTH_DOMAIN",
projectId: "YOUR_PROJECT_ID",
storageBucket: "YOUR_STORAGE_BUCKET",
messagingSenderId: "YOUR_MESSAGING_SENDER_ID",
appId: "YOUR_APP_ID"
};
// Initialize Firebase
firebase.initializeApp(firebaseConfig);
**Create the Main JavaScript File
Create an **app.js file to handle Firestore interactions:
import { initializeApp } from "firebase/app";
import { getFirestore, collection, addDoc, getDocs } from "firebase/firestore";
import firebaseConfig from './firebase-config.js';
// Initialize Firebase
const app = initializeApp(firebaseConfig);
const db = getFirestore(app);
// Add data to Firestore
async function addData() {
const name = document.getElementById('name').value;
const age = document.getElementById('age').value;
try {
const docRef = await addDoc(collection(db, 'users'), {
name: name,
age: parseInt(age)
});
console.log('Document written with ID: ', docRef.id);
} catch (e) {
console.error('Error adding document: ', e);
}
}
// Get data from Firestore
async function getData() {
const querySnapshot = await getDocs(collection(db, 'users'));
const dataList = document.getElementById('data-list');
dataList.innerHTML = '';
querySnapshot.forEach((doc) => {
const data = doc.data();
const listItem = document.createElement('li');
listItem.textContent = ${data.name}, ${data.age};
dataList.appendChild(listItem);
});
}
// Expose functions to the global scope
window.addData = addData;
window.getData = getData;
**Running the Project
To view our project, we can use a local server. If we have Node.js installed, we can use a simple HTTP server like http-server:
npm install -g http-server
http-server .
Open your browser and navigate to the address provided by the server ****(usually http://localhost:8080)**.
Step 3: Adding Data to Firestore
The **addData function allows us to add user data ****(name** and **age) to the Firestore database:
async function addData() {
const name = document.getElementById('name').value;
const age = document.getElementById('age').value;
try {
const docRef = await addDoc(collection(db, 'users'), {
name: name,
age: parseInt(age)
});
console.log('Document written with ID: ', docRef.id);
} catch (e) {
console.error('Error adding document: ', e);
}
}
When the user enters their name and age and clicks the ****"Add Data**" button, this function is called, adding a new document to the users collection in Firestore.
**Output
{
"name": "John Doe",
"age": 30
}
When we successfully add data, we should see a message in the console like:
Document written with ID: ABC123
Step 4: Reading Data from Firestore
The **getData function retrieves all documents from the **users collection and displays them:
async function getData() {
const querySnapshot = await getDocs(collection(db, 'users'));
const dataList = document.getElementById('data-list');
dataList.innerHTML = '';
querySnapshot.forEach((doc) => {
const data = doc.data();
const listItem = document.createElement('li');
listItem.textContent = ${data.name}, ${data.age};
dataList.appendChild(listItem);
});
}
When the user clicks the "Get Data" button, this function is called, retrieving all documents from the users collection and displaying them in an unordered list.
**Example Output
If we have added the following data:
John Doe, 30Jane Smith, 25
**The output will be:
John Doe, 30Jane Smith, 25
Conclusion
Overall, we have learned about Cloud Firestore's key features such as real-time updates, offline support, scalability and querying. We also walked through setting up Cloud Firestore in a web project, covering Firebase project creation, web app registration, and performing basic read and write operations. By following these steps, you can integrate Cloud Firestore into your web projects for efficient and scalable data management.