Git Fork (original) (raw)
Last Updated : 7 Apr, 2026
Git fork is a personal copy of another user’s repository that allows you to experiment and make changes independently without affecting the original project.
- Creates an independent copy in your account.
- Includes all files, commit history, and branches.
- Commonly used for contributing to open-source projects.
Usage of Forking
Forking is useful in the following scenarios:
- Work on your own copy without affecting the original.
- Enables maintainers to review and approve changes.
- Required for contributing without direct push access.
Steps to Fork a Repository
A simple process to create your own copy of a repository, make changes, and contribute back to the original project.
Step 1: Navigate to the Repository
Open the repository you want to fork on GitHub and locate the Fork button at the top right.

Git Fork
Step 2: Click on the Fork Button
Click Fork to create a copy of the repository in your GitHub account.

Git Repo
Step 3: Confirm the Fork
- The forked repository appears as your-username/repository-name
- It still links back to the original repository.

Fork button
- Click on Fork

Forking a repo
Step 4: Make Changes and Create a Pull Request
- Make changes in your forked repository.
- Create a Pull Request (PR) to contribute.
- Maintainers will review and accept or reject your changes.

Create a Pull Request
Fork Using Command Line
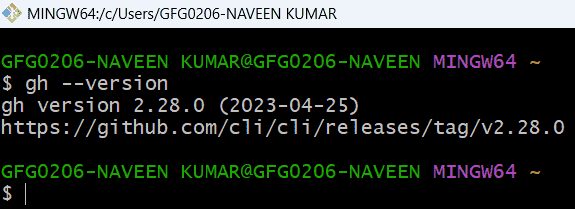
Step 1: Install and Verify GitHub CLI
Open the terminal or gitbash and type the below command.
gh --version
If a version appears, CLI is installed otherwise, install GitHub CLI.
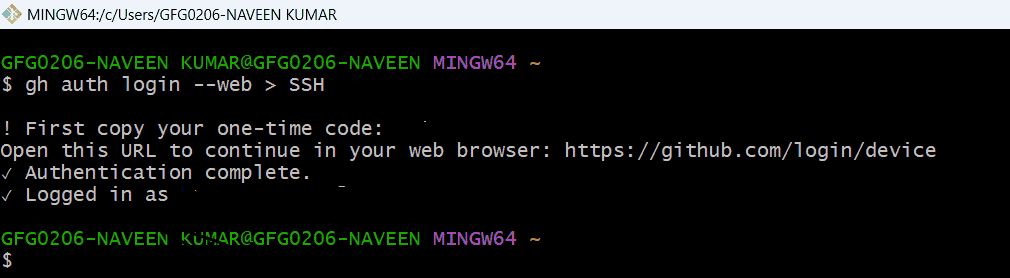
Step 2: Authenticate GitHub CLI
Before forking, log in to GitHub using the CLI:
gh auth login --web > SSH
Follow the authentication steps in the browser.
Step 3: Fork the Repository
Once authentication is done. Copy the Repo URL that we want to fork into our repo and use the below command.
gh repo fork --clone
This creates a fork in your account and clones it locally.
.png)
Fork the repo
Sync Fork with Upstream Repository
After forking a repository, we might want to keep it updated with the original project. Follow these steps to sync the fork:
Step 1: Clone the Fork
Clone the repository that we forked to the directory where we want to store the repository by using the following command.
git clone
Step 2: Add the upstream Repository
Add the upstream repository as a remote to the fork repository. By using the following command we can do this.
cd
git remote add upstream
Step 3: Fetch the upstream Changes
Use the Git fetch command and fetch the branch required from the upstream repository.
git fetch upstream
Step 4: Merge Upstream Changes into the Branch
Switch to the branch you want to update, then merge changes fetched from the upstream repository.
git checkout main
git merge upstream/main
Step 5: Push the changes to the fork repository
With the help of the following command, we can push the changes to the fork repository.
git push origin main
Now the forked repository is in sync with the original repository.
Git Fork Vs Git Clone
| Git Fork | Git Clone |
|---|---|
| Creates an independent copy of a repository under the account. | Creates a local copy of an existing remote repository. |
| We own the forked repository. | We do not own the cloned repository. |
| Changes can be proposed to the original repository via pull requests | Changes remain local unless pushed to a remote repository |
| Used for contributing to open-source or external projects | Used for local development, testing, and version control |