Guide to Setting Up a Git Server on Ubuntu (original) (raw)
Last Updated : 11 May, 2026
Git is a distributed version control system used to track code changes and enable collaboration in software development projects. Setting up a Git server on Ubuntu allows you to host and manage Git repositories securely for team or open-source collaboration.
- Install Git on Ubuntu 20.04 LTS to enable version control features.
- Create a dedicated user to manage and secure Git repositories.
- Set up a repository directory and initialize a bare Git repository.
- Configure proper permissions so multiple users can access and contribute safely
Steps to setup a Git server on Ubuntu
**Step 1: Install Git
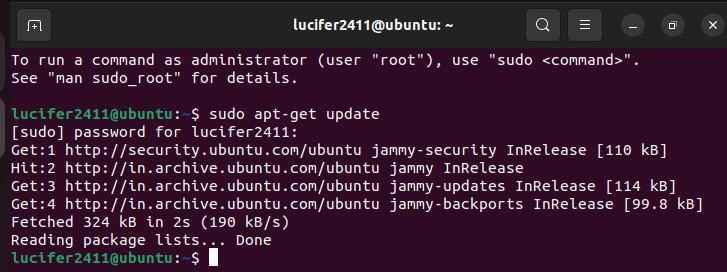
The first step is to install Git on your Ubuntu server. To do this, open a terminal and run the following command to update the package list:
sudo apt-get update
Updating APT repository
sudo apt-get install git

Installing Git on Ubuntu
This command will install the latest version of Git on your server. You can verify that Git has been installed correctly by running the following command:
git --version

Checking Current Git version
This should display the version number of Git that has been installed.
**Step 2: Create a Git User
Next, create a new user account that will be used to manage the Git repositories. This is considered a best practice because it keeps the repositories separate from your main user account. To create the new user, run the following command:
sudo adduser git

Creating a user account for Git
You will be prompted to enter a password and provide some personal information for the user. Once you have completed these steps, a new user will be created.
**Step 3: Create a Repository Directory.
Next, create a directory on your server to store your Git repositories. This is typically done in the /usr/local/ directory. Run the following command to create the directory:
sudo mkdir /usr/local/git

Creating Directory to store Git Repositories
**Step 4: Change the ownership of the directory to the git user
Now that you’ve created the directory for the Git repositories, you need to change its ownership to the git user. This ensures that the git user has the necessary permissions to read, write, and execute files in the directory. Run the following command:
sudo chown git:git /usr/local/git

Changing ownership using chown
**Step 5: Switch to the git user
To complete the setup of the Git server, switch to the git user account by running the following command:
su -l git

Switching to the git user
You should now see the command prompt change to the git user's account.
**Step 6: Initialize a new bare repository
To initialize a new bare repository, navigate to the /usr/local/git directory and run the following command:
git init --bare myproject.git

Initializing Bare Repository
This command will create a new bare repository named "my projectTo.git" in the /usr/local/git directory.
Step 7: Configure SSH access for the git user
To add the git user's public key to the authorized_keys file in the git user's .ssh directory. You can generate a new ssh key by running ssh-keygen -t rsa -b 4096 on your local machine, type the command:
ssh-keygen -t rsa -b 4096

Generating SSH keys
- The SSH public key (id_rsa.pub) is generated on your local machine and stored in the ~/.ssh/ directory (e.g., ~/.ssh/id_rsa.pub).
- This public key will be used to authorize SSH login to the server.
- Navigate to the directory and copy the key using cp or clipboard to use it in the next command.
Then copy the contents of the public key file `~/.ssh/id_rsa.pub to the authorized_keys file on the server by running the following command:
echo "ssh-rsa " >> ~/.ssh/authorized_keys

copying ssh key to authorized_keys directory
This will add your public key to the authorized_keys file, allowing you to connect to the server via SSH.
**Step 8: Allow the git user to connect to the server via SSH
Next, you will need to allow the git user to connect to the server via SSH. You can do this by adding the git user to the SSH AllowUsers list in the /etc/ssh/sshd_config file. Open the file by running sudo nano /etc/ssh/sshd_config and add the following line at the end of the file:
AllowUsers git

giving user permission to access SSH
**Note: Do not add AllowUsers git to the SSH configuration file if you are currently connected to the server via SSH using a different user. This setting will block all SSH access except for the git user.
**Step 9: Restart the SSH service
After making the changes to the SSH configuration file, you'll need to restart the SSH service for the changes to take effect. You can restart the SSH service by running the following command:
sudo service ssh restart

Restarting ssh service and checking it's status
**Step 10: Clone the repository from the server
Finally, you can clone the repository from the server by running the following command on your local machine:
git clone git@server:/usr/local/git/myproject.git

Cloning Git Repository