Installation of MongoDB Atlas (original) (raw)
Last Updated : 5 May, 2026
MongoDB Atlas is a fully managed cloud-based MongoDB service that simplifies database deployment, scaling, and management.
- Hosted and managed in the cloud by MongoDB.
- Eliminates the need for local database setup.
- Provides scalability, security, and analytics features.
- Beginner-friendly with easy setup and strong support.
Features of MongoDB Atlas
Here are some features of MongoDB Atlas:
- **Strong Security: Built-in security features, including encryption at rest and end-to-end encryption, provide protection for our data.
- **Precise Data Analytics: Advanced analytics tools for real-time insights and efficient decision-making.
- **Easy Scalability: Automatically scale your database based on your application's needs, from small projects to large enterprise applications.
Steps to Install MongoDB Atlas
Follow the steps below to install MongoDB Atlas and set up our cloud database.
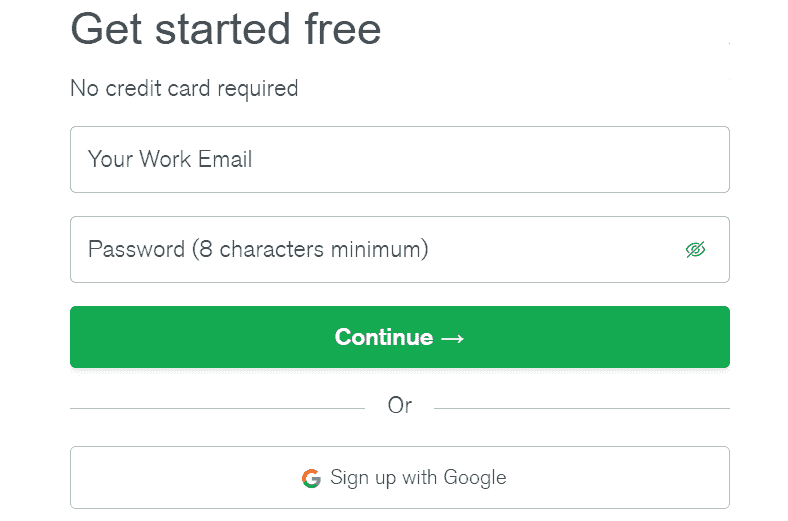
Step 1: Sign Up for MongoDB Atlas
- **Visit the MongoDB Atlas website: Go to MongoDB Atlas.
- **Create an Account: Click Sign Up and register using your email or the Sign Up with Google option.
- **Verify Your Account: After entering your credentials, follow the instructions to verify your account.
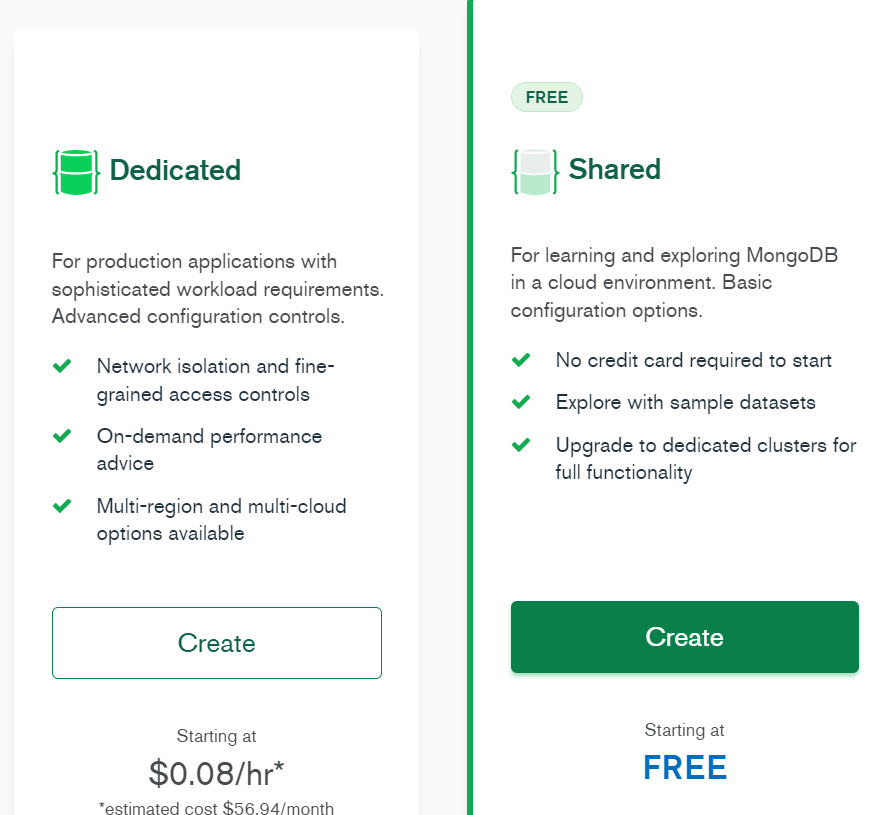
Step 2: Choose a Free Cluster
- **Select the Shared Cluster Option: After signing up, choose the "Shared" option for free usage.
- **Click on 'Create for Free': This will initiate the creation of a free-tier cluster (M0 Sandbox).
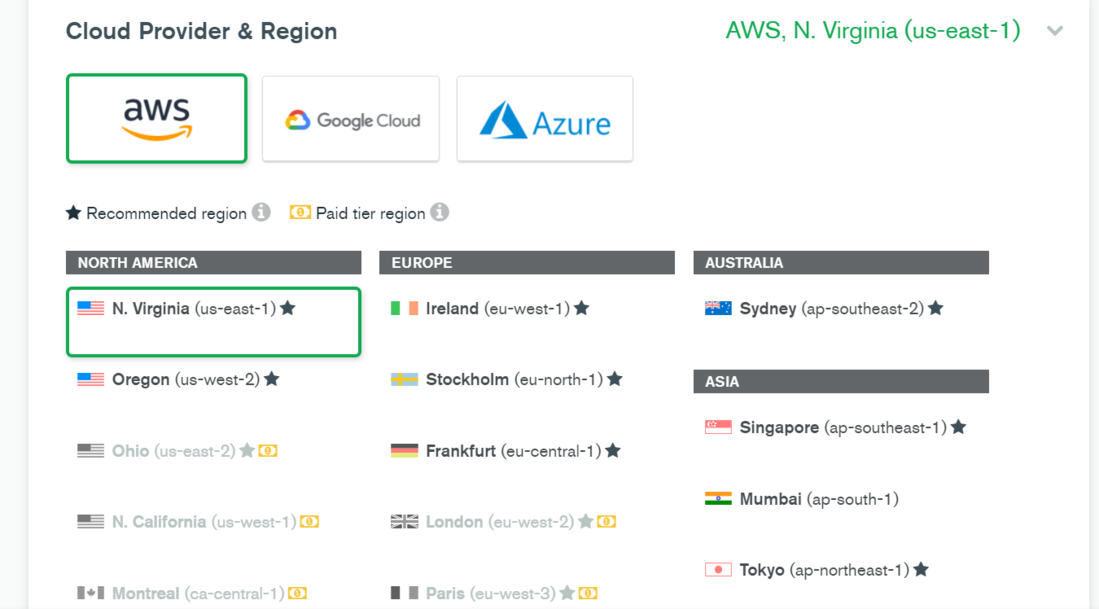
Step 3: Configure Your Cloud Provider and Region
- **Select Your Cloud Provider: Select a cloud provider (AWS, Google Cloud, or Azure) based on availability and region support.
- **Choose a Region: Select a region close to your users for better performance.
- **Choose the Cluster Tier: For free usage, select the M0 Sandbox tier.
- **Name Your Cluster: Optionally, you can rename your cluster to something more recognizable. The setup may take 4-5 minutes to complete.
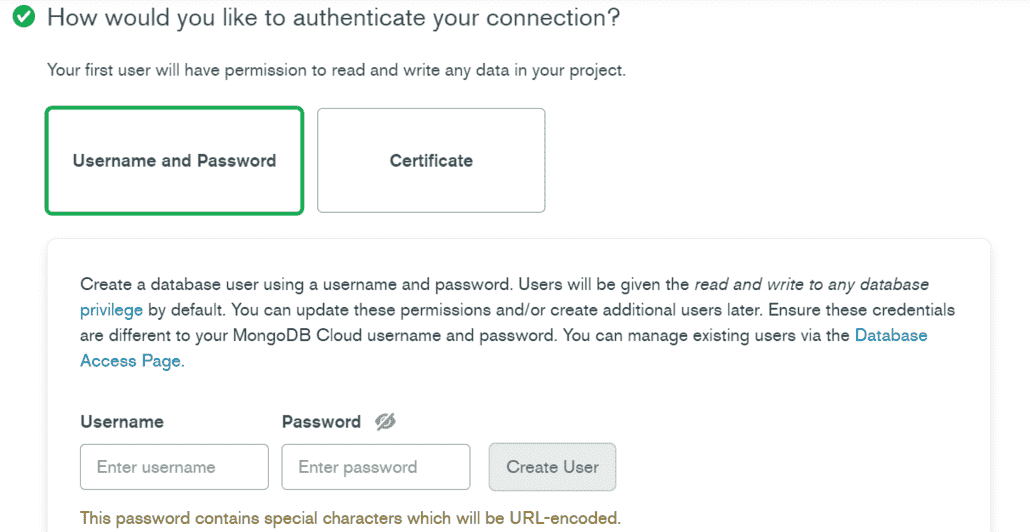
Step 4: Set Up Database Access
- **Create a Username and Password: Set a username and password to authenticate access to your MongoDB Atlas database.
- **Set Permissions: Select "atlasAdmin" for database access, and ensure network access is configured to allow connections from anywhere.
Step 5: Connect Using MongoDB Shell
- **Connect to the Database: Click on "Connect" and select "Connect with MongoDB Shell".
- **Install MongoDB Shell: If you haven't installed MongoDB shell, follow the prompts to install it.
- **Run the Command: After installation, copy the MongoDB Atlas connection string, paste it into the terminal, replace with your password, and execute it.
- **Enter Your Password: After entering the command, type in the password that you set earlier for your database user.
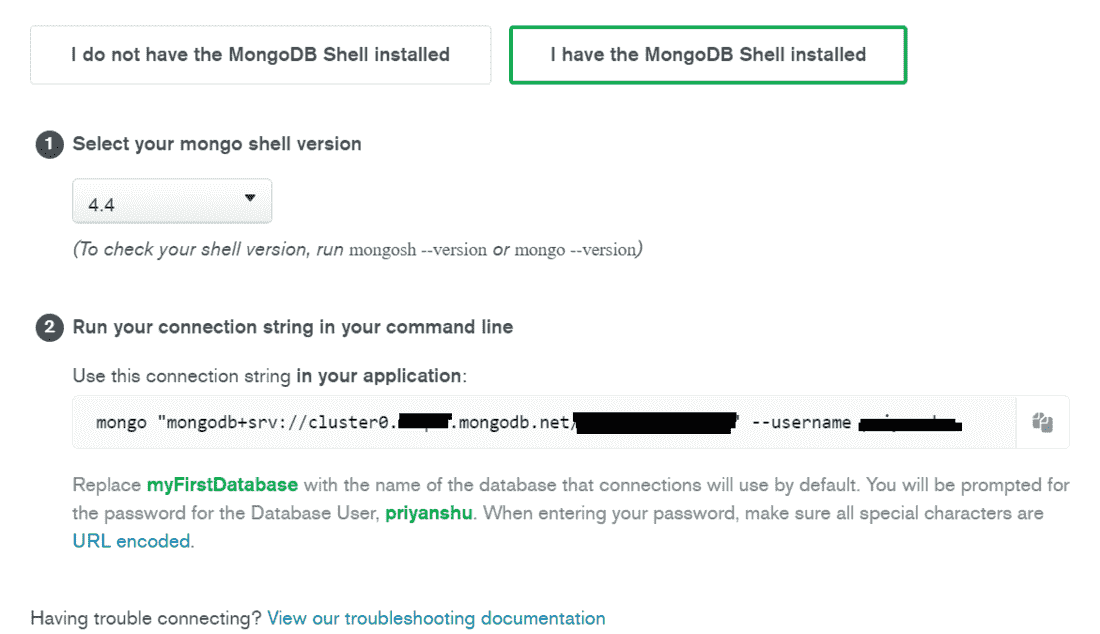
**Note: The
mongoshell is deprecated and has been replaced by mongosh in modern MongoDB versions.
Step 6: Connect Your Application to MongoDB Atlas
- **Connect Your Application: To use MongoDB Atlas in your application, go to the "Connect" tab and select "Connect Your Application".
- **Choose Your Node.js Version: Select the appropriate version of Node.js or your preferred driver.
- **Copy the Connection String: Paste the MongoDB Atlas connection string into your application and replace
<password>with your database user password.
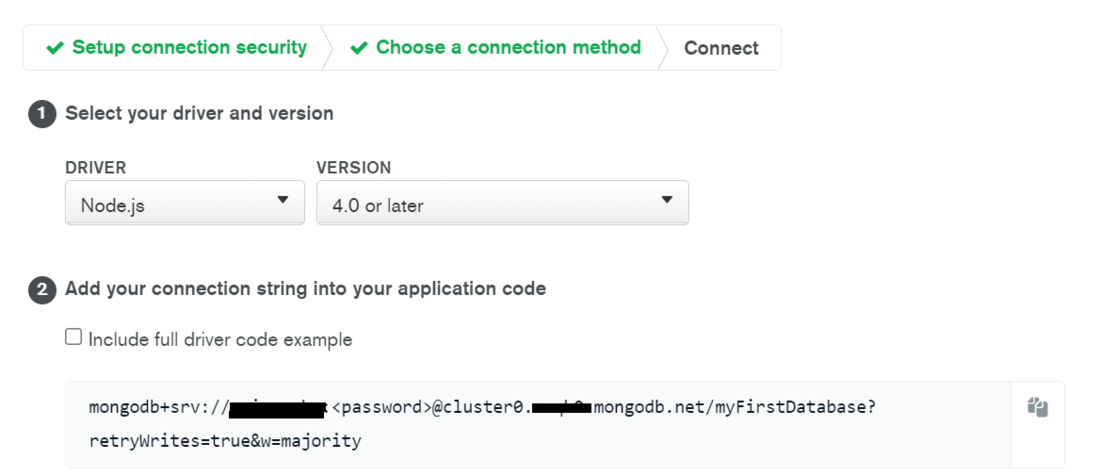
Now your application is connected to MongoDB Atlas, and you can begin using the cloud-hosted database for your project.