How to Install Power BI on Windows? (original) (raw)
Last Updated : 23 Jul, 2025
**Power BI is a business analytics tool developed by Microsoft where "BI" stands for Business Intelligence. It is used to connect, visualize and analyze data from various sources. You can create interactive dashboards, reports, graphs and charts with just a few clicks. Power BI also helps with data cleaning, preparation and discovery.
**Note: Power BI Desktop is available only for Windows operating systems.
Steps to Install Power BI on Windows
Follow these simple steps to install Power BI on your Windows computer:
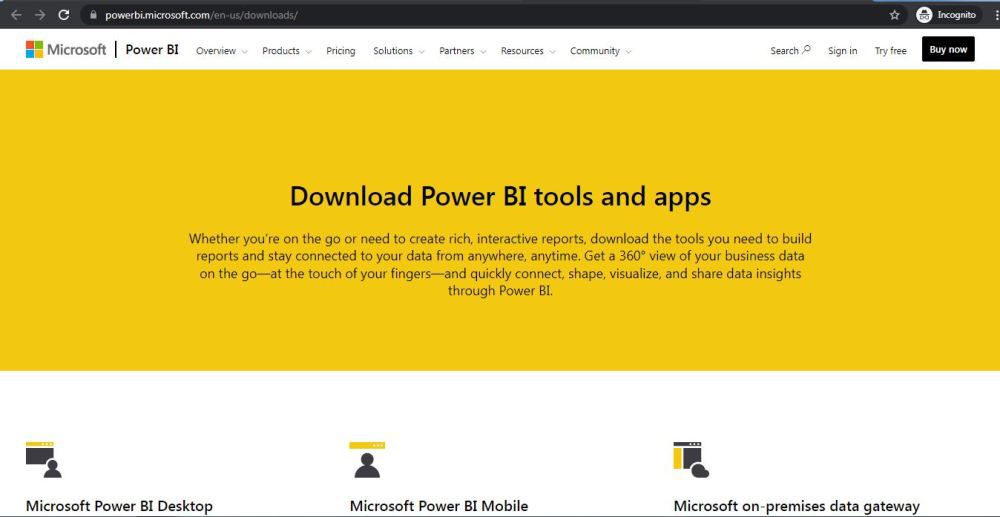
**Step 1: Open the Official Power BI Website
Open any web browser like Chrome or Edge and go to the official Power BI website.
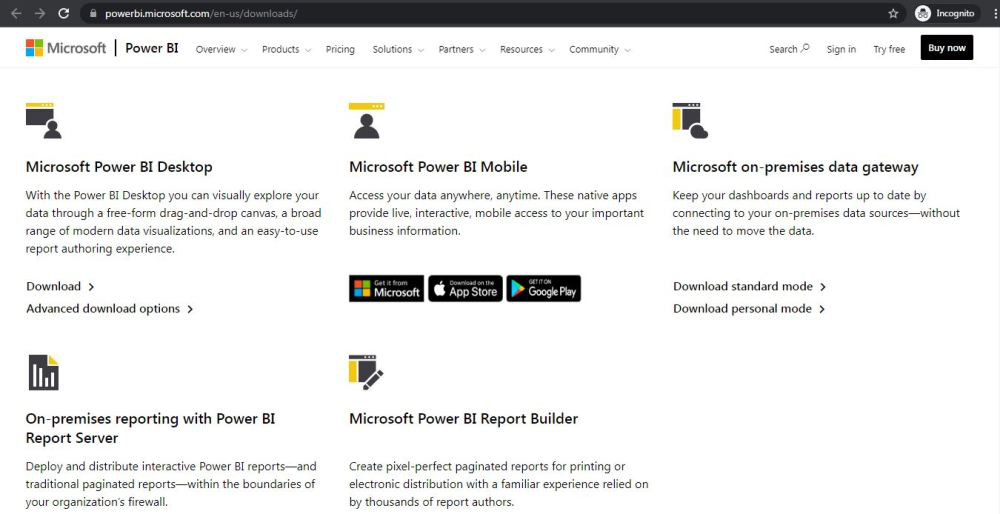
**Step 2: Go to the Power BI Desktop Section
On the homepage click on the “Download Power BI Desktop” option.
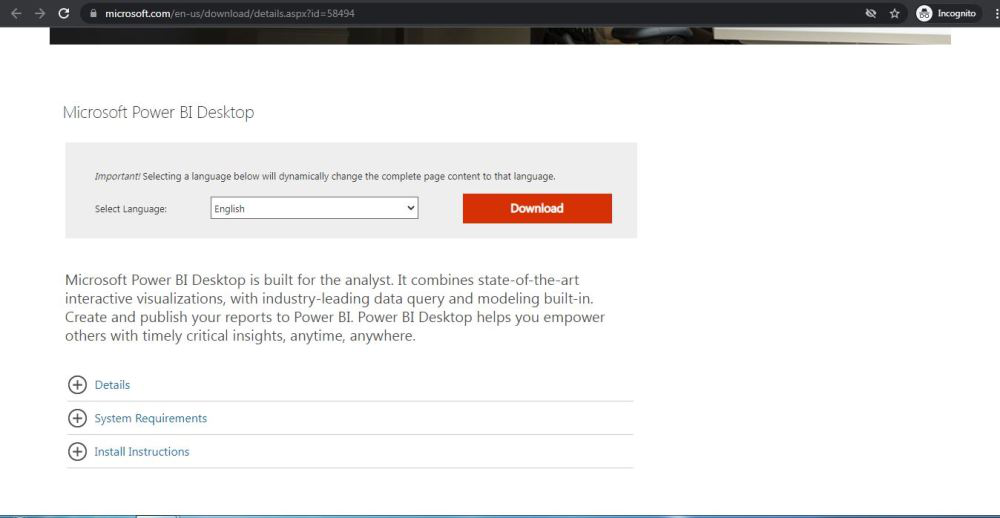
**Step 3: Click on the Download Button
You will be taken to a new page. Click on the Download button to start the process.
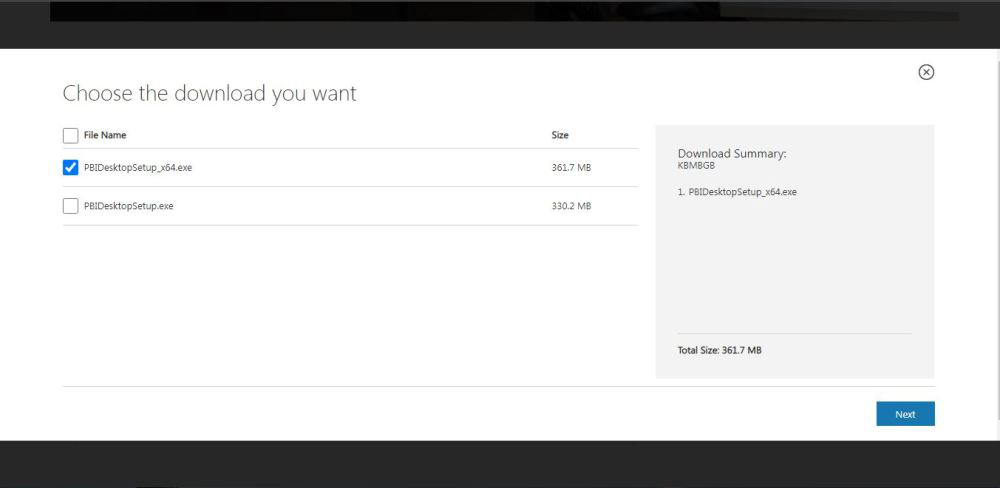
**Step 4: Choose the Installer Based on Your System
On the next webpage choose the setup option according to your system configuration, let's take the first setup click on the Next button. Downloading of the executable file will start shortly. It is a big 361.7 MB file that will take some minutes.
Step 5: Find the Downloaded File
Now check for the executable file in downloads in your system and run it.
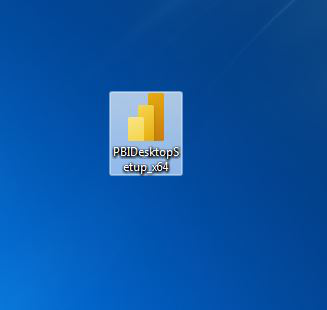
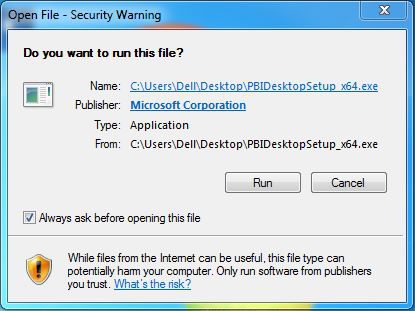
Step 6: Run the Installer
Double-click on the file. If prompted with a security warning click Run.
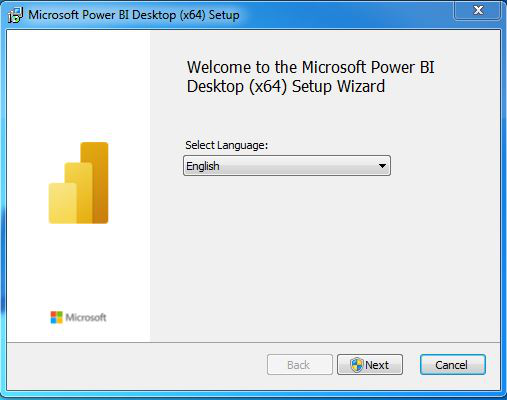
**Step 7: Select Your Language
Choose your preferred language and click Next.
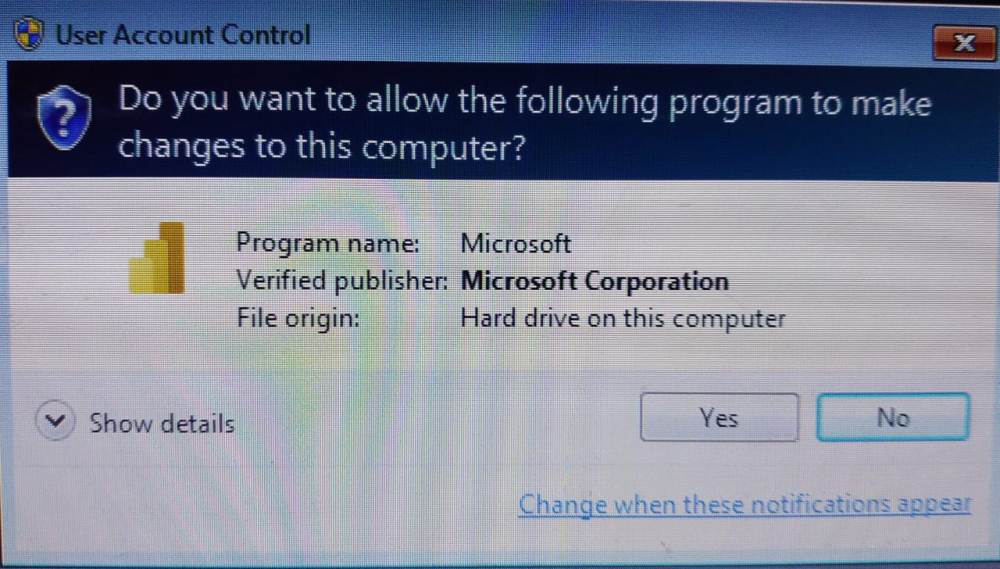
**Step 8: Allow Changes to Your System
A pop-up will ask for permission to make changes to your system. Click Yes.
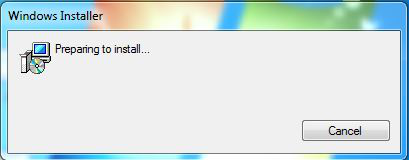
**Step 9: Setup Will Start
Power BI will now begin preparing for the installation.
**Step 10: Start Installation Setup
Click Next on the setup welcome screen.

**Step 11: Accept the License Agreement
Check the box that says “I accept the terms in the License Agreement” and click Next.

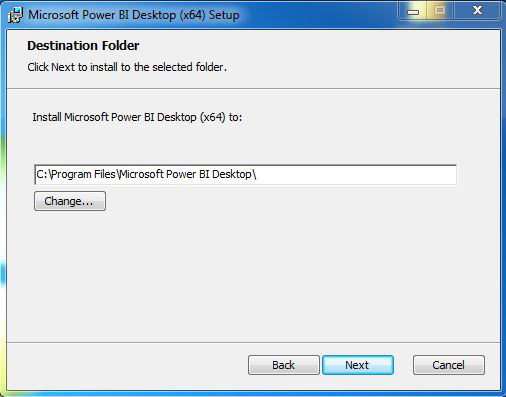
**Step 12: Choose Installation Folder
You can either keep the default location or choose a different one. Then click Next.
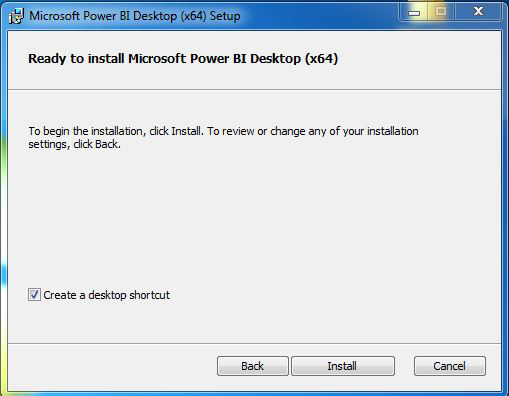
**Step 13: Begin Installation
Click on the Install button. Installation will start and usually takes a minute or two.
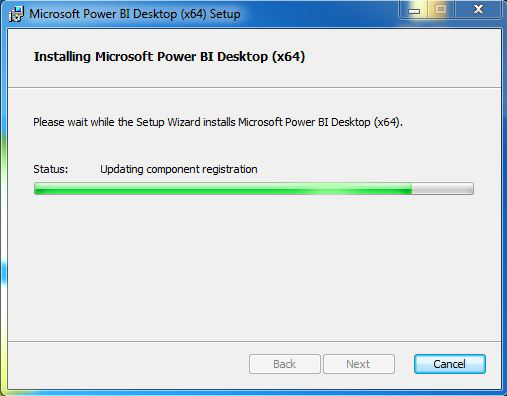
As you can see the installation is started in the below image
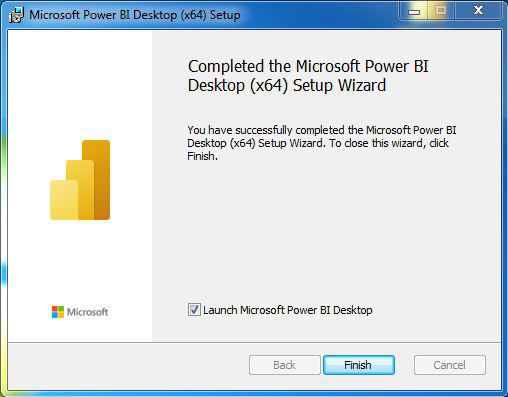
**Step 14: Complete Installation
Once done click on the Finish button.
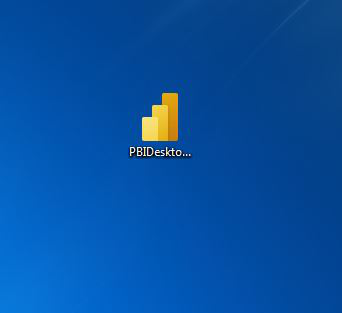
**Step 15: Launch Power BI
A shortcut icon will appear on your desktop. Double-click it to open Power BI Desktop.
Now we run the software and see the interface.
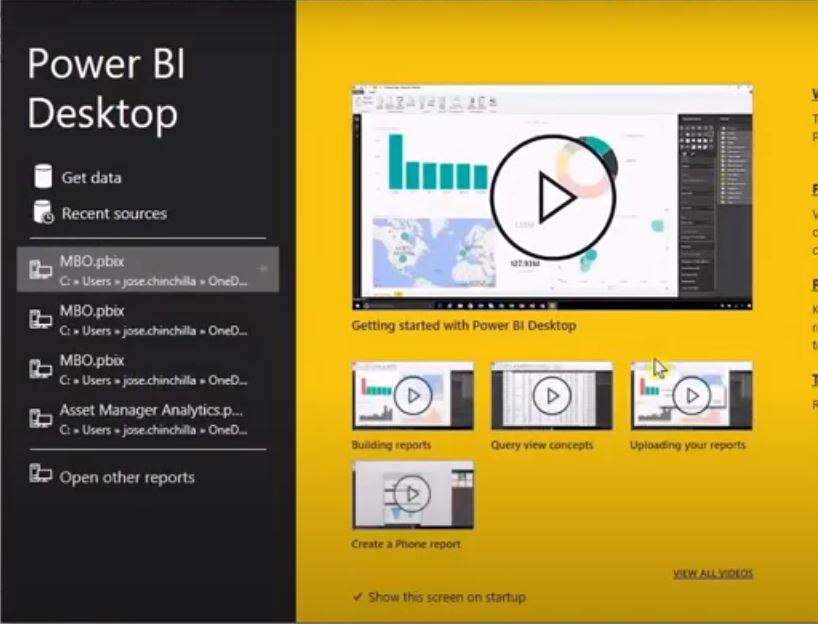
Congratulations! At this point you have successfully installed Power BI on your windows system. You can now start exploring your data and building reports in easy manner.