How to Install Jupyter Notebook on Windows (original) (raw)
Last Updated : 12 Jan, 2026
Jupyter Notebook is one of the most useful tool among professionals for data science and machine learning to perform data analysis and data visualization and much more. If you're a Windows user and looking for different ways to install Jupyter Notebook, then this guide will help you out.
System Requirements:
1. Python 3.7 or later
2. Windows 7 or later
3. RAM: 4GB (atleast), 8GB or more is recommended
4. Storage: 1GB or more
Using Anaconda
If you're looking to get Jupyter Notebook in your Windows 7, 8, 10 or 11 with data science libraries (such as Matplotlib, Pandas, etc.) then this method is suitable for you. Here's how you can do it:
**Note: You need to install Anaconda in your Windows OS to begin with this method. You can refer to this article: Install Anaconda in your Windows
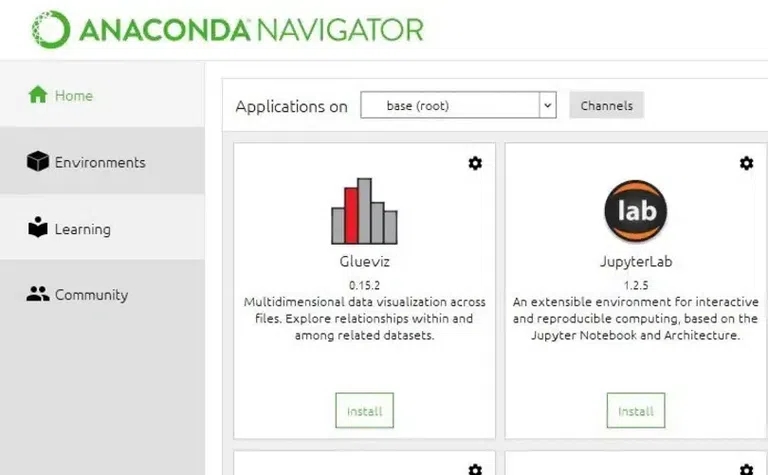
Step 1: Go to Anaconda Navigator
Firstly, Launch anaconda and click on the Install Jupyter Notebook Button.
Installer
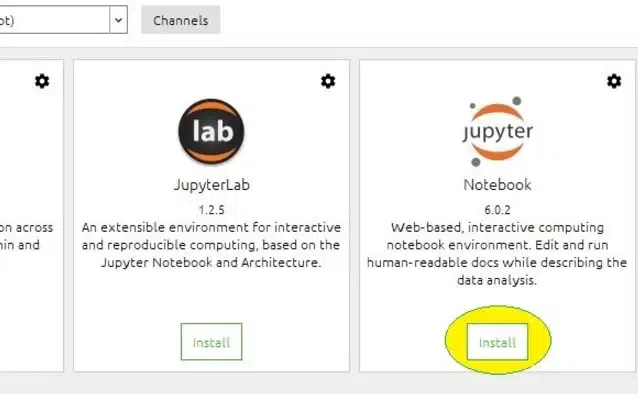
Step 2: Install Jupyter Notebook
Search for Jupyter Notebook and click on the Installbutton to begin with the installation process.
Installer
Step 3: Load Packages
Once the installation is complete, it will start loading the packages that comes along with it and click to finish the Installation.

Setup complete.
Step 4: Launch Jupyter Notebook
Now, click on Launch button to start the Jupyter Notebook.

Launch
Using pip
Using PIP with Python is one of the best method to install Jupyter Notebook in your Windows Operating System. Here's how to perform this action in few steps:
Step 1: Check for any Exisiting Update
Use the following command to update pip (to verify if pip is updated):
python -m pip install --upgrade pip

python pip upgrade
Step 2: Install Jupyter Notebook
After updating the pip version, type the following command to install Jupyter:
python -m pip install jupyter
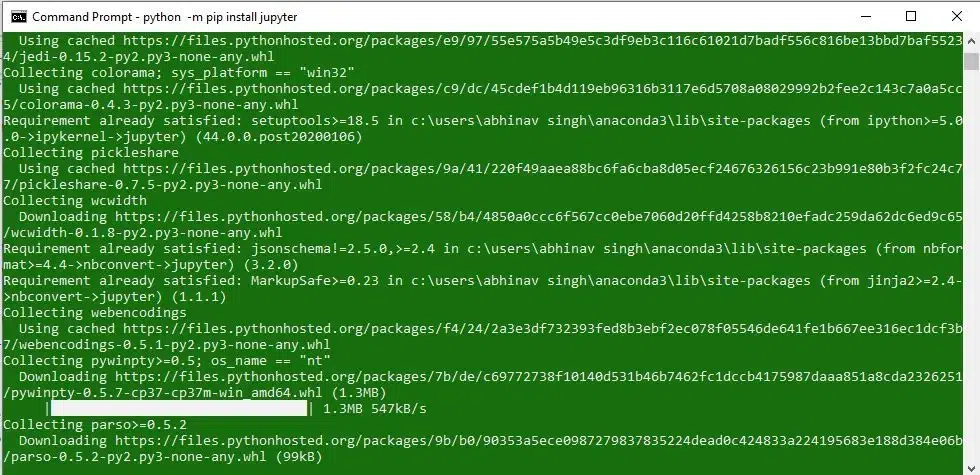
pip jupyter
Now, the supportive packages will start Installing along with it.
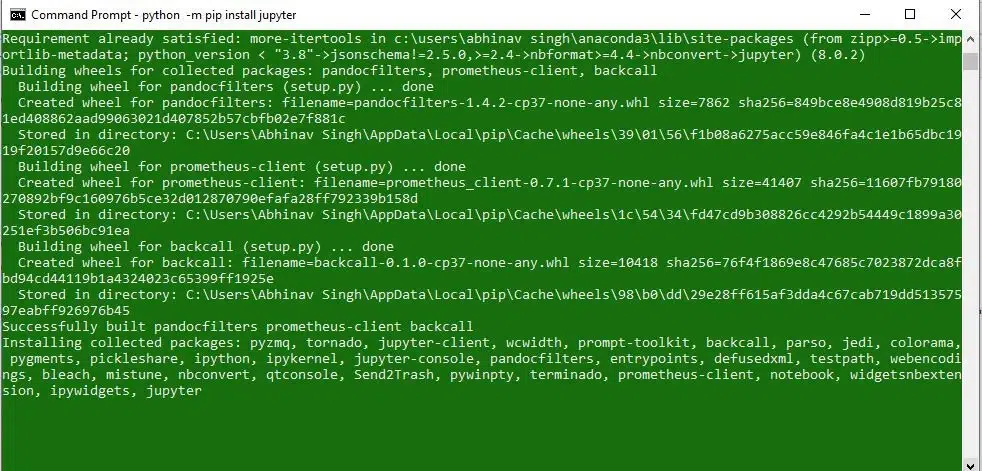
Finish the Installation
Step 3: Launching Jupyter
Use the following command to launch Jupyter using:
jupyter notebook
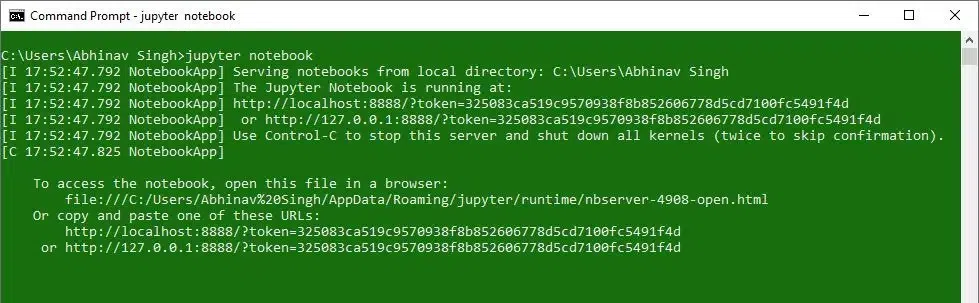
Launch Jupyter
Now, the Jupyter Notebook will launch automatically in your default web browser.
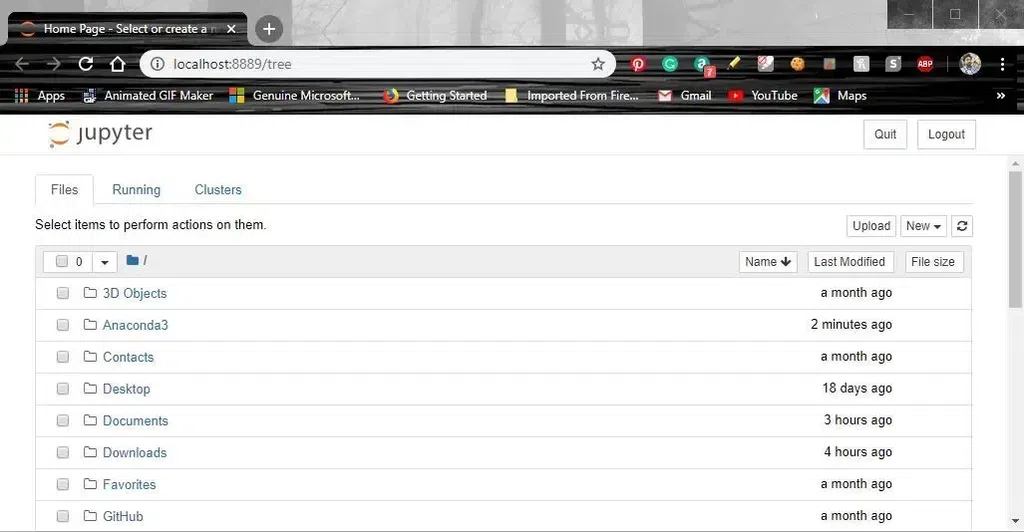
Launcher
Visit the Microsoft Store (Windows 10/11)
As of recent updates,Jupyter Notebook can also be installed directly from the Microsoft Store on Windows 10 and Windows 11by using the following steps:
Step 1: Open Microsoft Store and Search for Jupyter
Select and click to initiate the installation.
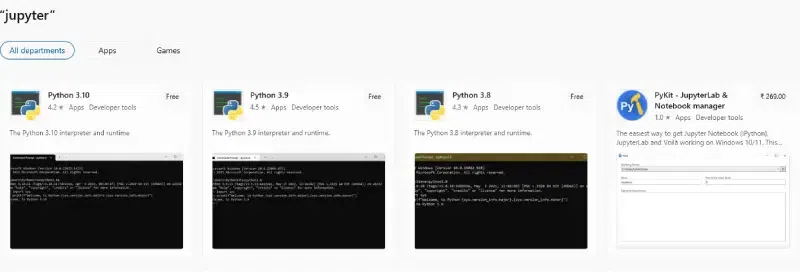
Jupyter Notebook
Step 2: Launch Jupyter Notebook
Once installed, search for Jupyter Notebook in the Start Menu and launch it.
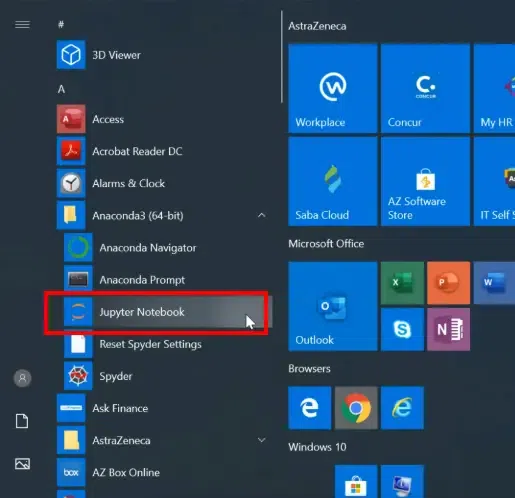
Start > Jupyter Notebook
This will open Jupyter in your Windows 10 or 11.
Using Miniconda (Anaconda Alternative)
If your system is slow or looking out for a light-version alternative to Anaconda, you can use Miniconda. Miniconda is a minimal version of Anaconda and allows you to install only the packages you need.
Step 1: Visit the Official Website to Download & Install Miniconda
Visit the Miniconda website and follow the installation instructions to get Miniconda for Windows.
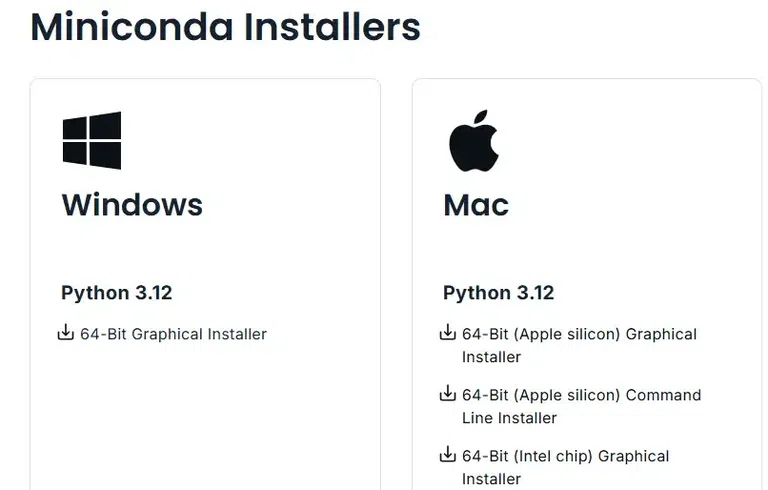
Miniconda
Step 2: Install & Run Jupyter Notebook
Open Anaconda Prompt (which is installed with Miniconda) and run the following command:
conda install jupyter

conda prompt
Now type the following command in the Anaconda Prompt to launch Jupyter:
jupyter notebook
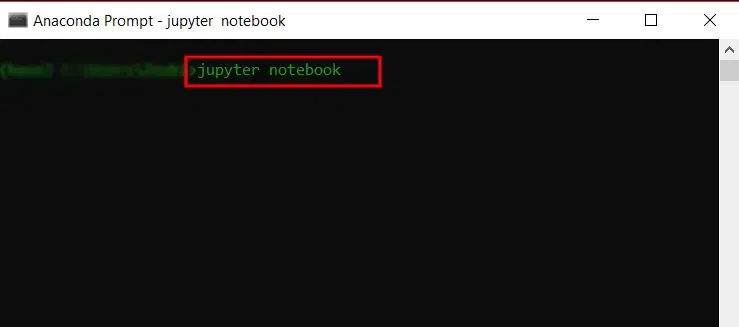
Anaconda Prompt
Jupyter Notebook can be easily installed on Windows using Miniconda (Anaconda alternative), pip, Anaconda or Microsoft Store. Each method has its benefits depending on user preference and requirements. After installation, you can start using Jupyter Notebook for projects, experiments and learning.