Enabling SSH on Ubuntu (original) (raw)
Last Updated : 8 May, 2026
SSH (Secure Shell) allows secure remote access to a system over a network. It is commonly used to manage servers, execute remote commands and transfer files securely. Ubuntu supports SSH through the OpenSSH server package, which can be installed and configured directly from the terminal.
- Securely connect to remote systems over a network
- Manage servers and execute administrative commands remotely
- Configure authentication and access settings
- Allow SSH traffic through the firewall when required
Method 1: Using OpenSSH Server Package
Step 1: Update Repository
**Command:
sudo apt update
**Output:
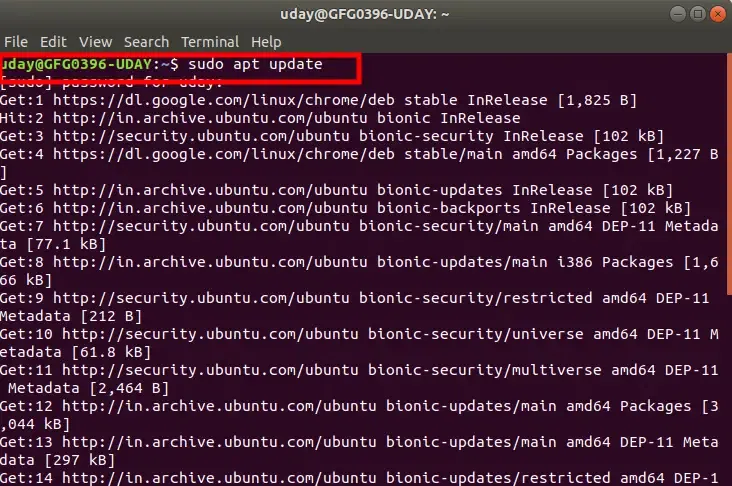
sudo apt update
**Note: While updating the repository it will ask your password enter the password to complete the process
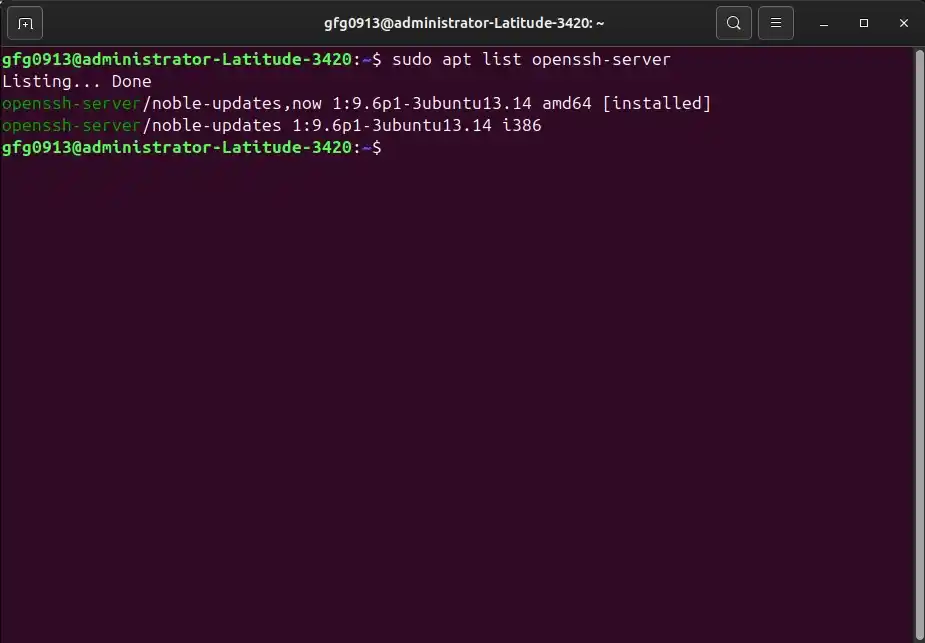
Step 2: Check OpenSSH Server Status
After updating use the following command to verify OpenSSH status
**Command:
sudo apt list openssh-server
**Output:
sudo apt
- If SSH is already installed in your system then output will look similar to
**Output:
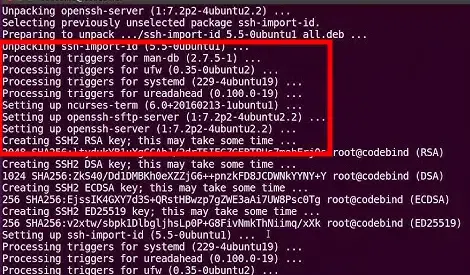
- If it's not installed then you can install using the following command:
**Command:
sudo apt install openssh-server
**Output:

install openssh server
**Note: Once the installation process ends the SSH service will start automatically.
Step 3: Start and Enable SSH Service
Although the SSH service starts automatically after installation. But if the SSH server is not started then by using the following command you can start the SSH server.
**Command:
sudo service ssh start
**Output:

Start and Enable SSH Service
- To ensure it starts on boot, enable the service using following command
**Command:
sudo systemctl enable ssh
**Output:

Enable SSH Service
Step 4: Check SSH Status
After enable the SSH server now check the SSH server status to ensure the SSH service are running.
**Command:
sudo service ssh status
**Output:

Check SSH Status
- SSH is now enabled on your Ubuntu system.
**Note: Press Q to return to the command prompt.
Method 2: Configure SSH via Config File
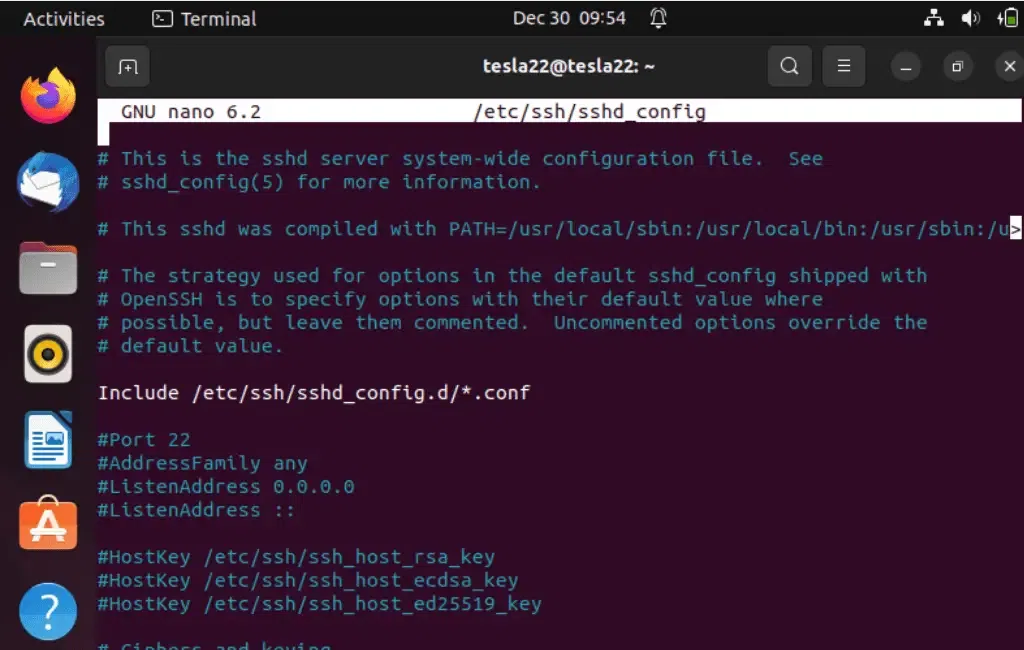
Step 1: Open SSH Configuration File
Open the SSH configuration file using a text editor.
**Command:
sudo nano /etc/ssh/sshd_config
**Output:
Open SSH Config File
Locate the line #PermitRootLogin prohibit-password and uncomment it by removing the # at the beginning then save and exit.
**Note: Incorrect SSH configuration can lock you out of the server. Keep an active session open and ensure you have alternative access before making changes.
**Uncomment:
#PermitRootLogin prohibit-password
**Output:

- Restart the SSH service to apply the changes.
**Command:
sudo service ssh restart
**Output:
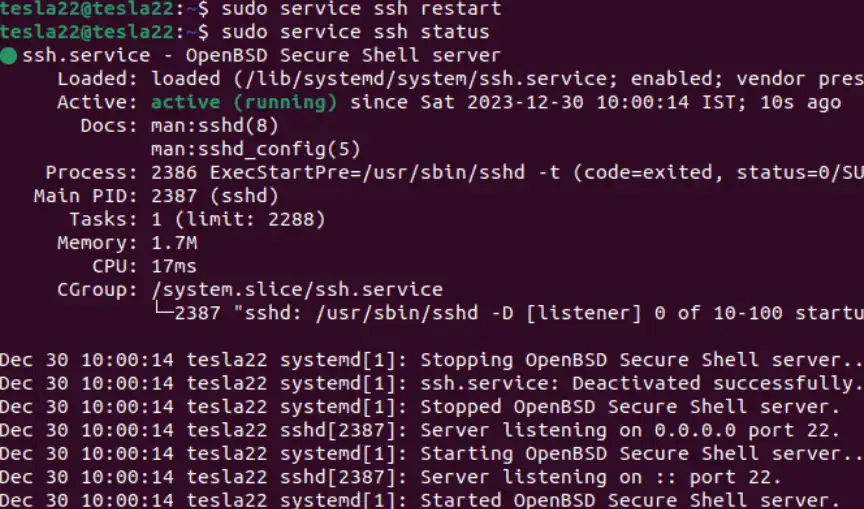
Restart SSH Service
Method 3: Configure Firewall Using UFW
Step 1: Allow SSH Through UFW (Uncomplicated Firewall)
If we have a firewall turned on, we can allow SSH traffic. If we are using UFW, we can allow SSH by executing the following command:
**Command:
sudo ufw allow ssh
**Output:
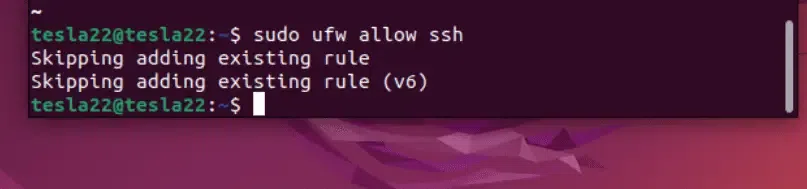
Configuration firewall
Step 2: Enable UFW (Uncomplicated Firewall)
Enable UFW to start at boot.
**Command:
sudo ufw enable
**Output:

Enable UFW
Step 3: Verify Firewall Status
Now Verify the status of UFW to confirm that SSH is allowed.
**Command:
sudo ufw status
**Output:
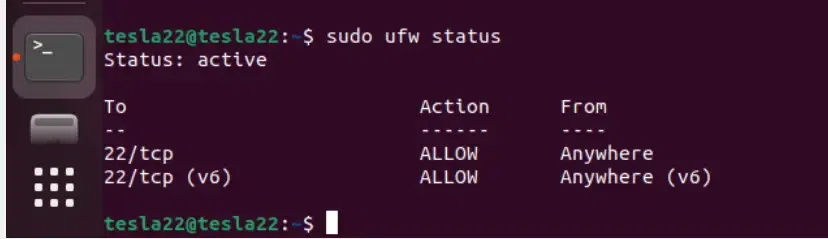
Check UFW Status
Now, as you can see the SSH is enabled and UFW is configured to allow SSH traffic.
Step 4: Access SSH
Now this is final steps to check the Access of SSH whether it is Enabled or not. We can also access our Ubuntu machine via SSH using its IP address or hostname.
- Use the following command from another system:
**Command:
ssh username@your_ubuntu_ip
**Output:
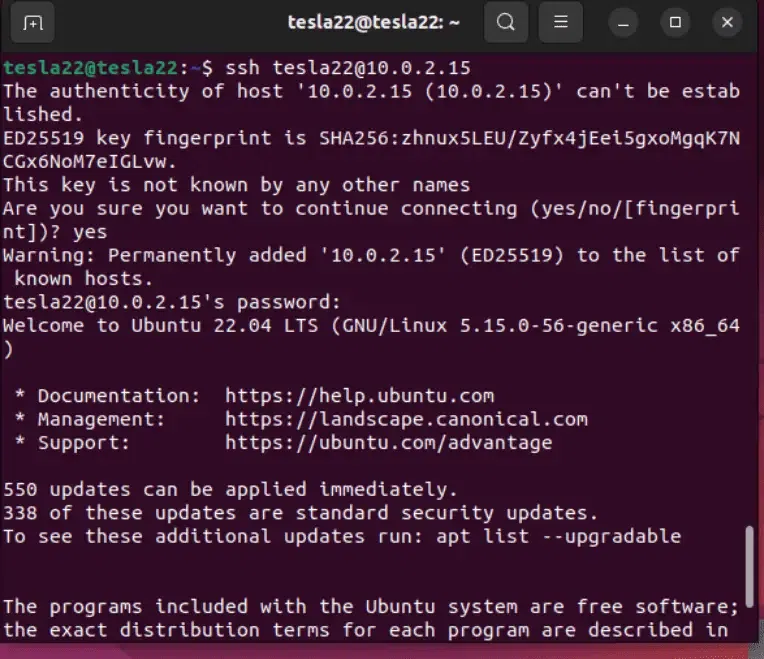
Access SSH
Troubleshooting SSH
1. Check SSH Service
Run the following command to restart or check the status:
**Command:
sudo systemctl status ssh
sudo systemctl restart ssh
2. Allow SSH in Firewall
If your Firewall is blocking, run the following command:
**Command:
sudo ufw allow ssh
3. Fix Permission Denied Issue
If SSH key is properly not set, ensure to allow the permission by using the following command:
**Command:
chmod 600 ~/.ssh/authorized_keys
4. Connection Timeout
This might occur due to network issues or a misconfigured firewall. Try fixing any blockage between client and the server.