How to Create a Python Virtual Environment(StepbyStep Guide) (original) (raw)
Last Updated : 12 Jul, 2025
A Python virtual environment is like a personal workspace for your project. It lets you create a separate space where you can install and manage packages without affecting other Python projects on your system. This is especially useful when you're working on multiple projects with different dependencies or package versions.
The built-in **venv module in Python makes it easy to set up these isolated environments so your projects don't clash with each other.
Check if venv is Installed
To check if venv is installed, enter the following command:
python -m venv --help
If venv is not available, we might need to install it. On Debian-based systems (like Ubuntu), we can install it using:
sudo apt-get install python3-venv
If venv is not available on your Windows system, it's likely because the required components were not included during the Python installation.
Create a Virtual Environment Using venv
To create a virtual environment, you can use the venv module, which is included in the Python standard library.
**Steps to Create a Virtual Environment
**1. Open a Terminal or Command Prompt:
Depending on your operating system, you can use the terminal (macOS/Linux) or Command Prompt (Windows).
**2. Navigate to Your Project Directory:
Use the cd command to change the directory to your project's folder. For example:
cd path/to/your/project
**3. Create the Virtual Environment:
Use the **python -m venv command followed by the name you want to give to your virtual environment. It's common to name the environment venv or env.
To create a virtualenv use the following command:
python -m venv venv
After running this command, a directory named venv will be created. This is where Python packages will be installed. To list the files in the folder type below command in the terminal:
dir venv
**Output:

**4. Activate the Virtual Environment:
Activating a virtual environment sets up your terminal to use the specific Python and package settings for that environment, ensuring isolation from other projects. This prevents dependency conflicts and ensures consistency in package versions. Different operating systems and shells require different activation commands.
Activation commands vary by operating system and shell.
| OS | Shell | Activation Command |
|---|---|---|
| Windows | Command Prompt | path\to\venv\Scripts\activate |
| Windows | PowerShell | .\path\to\venv\Scripts\Activate |
| macOS/Linux | Bash | source path/to/venv/bin/activate |
| macOS/Linux | Fish | source path/to/venv/bin/activate.fish |
| macOS/Linux | PowerShell | path\to\venv\Scripts\Activate |
To ensure the pip command uses the virtual environment, you need to activate it. Follow these steps:
**Change Directory to Scripts:
cd venv\Scripts
**Activate the Virtual Environment:
activate.bat
After activation, the virtual environment name appears on the left side of the terminal, indicating it's active. For example, if your virtual environment is named venv, you'll see (venv) in your terminal prompt.
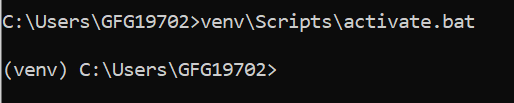
Output
**5. Install Packages:
Now that the virtual environment is activated, you can install packages using pip and they will be installed only in this environment:
pip install requests
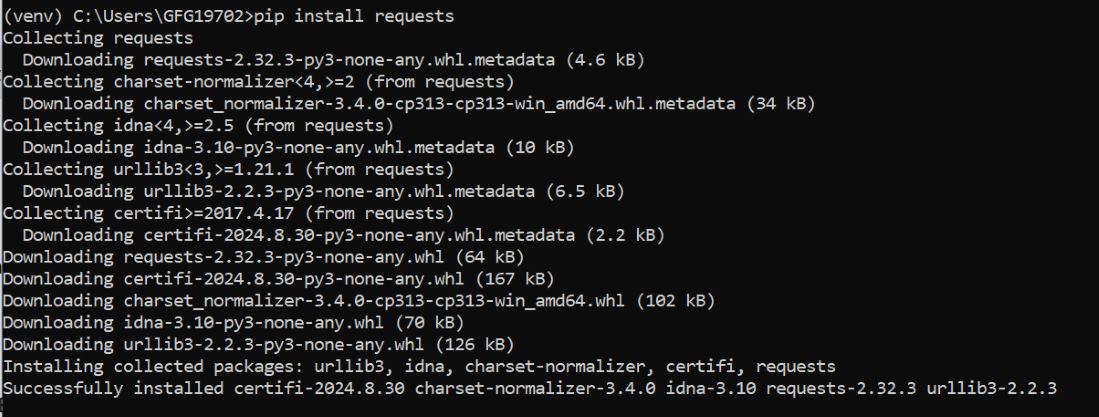
Output
6. Deactivate the Virtual Environment:
When you are done working, you can deactivate the environment by simply typing:
deactivate

Output
Conclusion
Using Python's **venv module to create a virtual environment is a best practice that helps you manage dependencies and avoid conflicts across projects. It keeps your development environment clean, organized, and easier to maintain. Now that you know how to create, activate, and use virtual environments, you're ready to build python applications with confidence and clarity.