Spring Security Project Example using Java Configuration (original) (raw)
Last Updated : 23 Jul, 2025
**Spring Security is a powerful framework for securing Java web applications. It provides **authentication (verifying users) and **authorization (controlling access) to protect our app from threats like **CSRF attacks, session fixation, and brute-force attacks.
With easy integration into **Spring Boot and support for modern standards like **OAuth2 and JWT, Spring Security is used for building secure applications. Its Java-based configuration makes it simple to customize security settings without XML.
Spring Security allows custom security configuration, which can be done in two ways:
- XML-based Configuration
- Java Configuration
In this article, we will **create a login form using a custom Java-based security configuration and add authentication and authorization to our application.
**Prerequisites: Introduction to spring, spring boot
Steps to Create a Java-Based Security Form
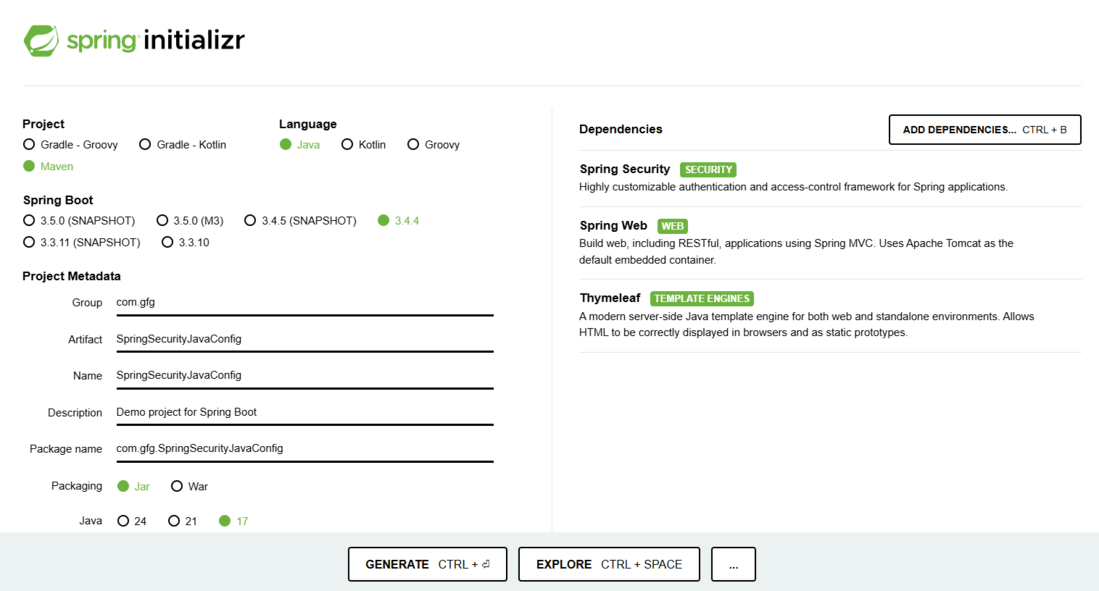
**Step 1: Create a Spring Boot Project
Create a Spring boot project using spring initializr and provide a **Group and an Artifact Id, choose the spring boot version. Add **Spring Web, Spring Security, and **Thymeleaf as the dependencies.
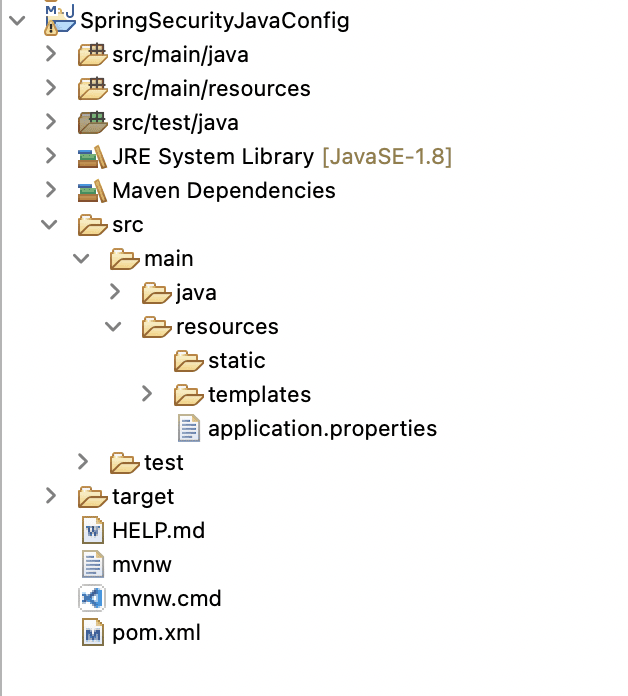
**Step 2: Project Structure
Extract the downloaded file and import it into Eclipse as Maven project, the project structure would look something like this:
**Step 3: Update pom.xml
The created project should have a pom.xml where the configuration and all the dependencies are defined. We are using spring boot so we don't need to define anything extra right now.
**pom.xml:
XML `
4.0.0 org.springframework.boot spring-boot-starter-parent 3.1.0 com.gfg SpringSecurityJavaConfig 0.0.1-SNAPSHOT SpringSecurityJavaConfig Demo project for Spring Boot <java.version>17</java.version> org.springframework.boot spring-boot-starter-security org.springframework.boot spring-boot-starter-thymeleaf org.springframework.boot spring-boot-starter-web org.thymeleaf.extras thymeleaf-extras-springsecurity6 org.springframework.boot spring-boot-starter-test test org.springframework.security spring-security-test test
<build>
    <plugins>
        <plugin>
            <groupId>org.springframework.boot</groupId>
            <artifactId>spring-boot-maven-plugin</artifactId>
        </plugin>
    </plugins>
</build>
`
**Step 4: Main Application Class
This class is responsible to build everything up and run your spring boot application.
Java `
// Java program to Illustrate Configuration Java Application // In Spring Security package com.gfg.SpringSecurityJavaConfig;
// Importing required classes import org.springframework.boot.SpringApplication; import org.springframework.boot.autoconfigure.SpringBootApplication;
// Annotation @SpringBootApplication
// Class public class SpringSecurityJavaConfigApplication {
// Main driver method
public static void main(String[] args)
{

    SpringApplication.run(
        SpringSecurityJavaConfigApplication.class,
        args);
}
}
`
**Step 5: Controller Class
The **LoginController class handles incoming requests and maps them to the appropriate view pages.
Java `
// Java Program to Illustrate LoginController Class package com.gfg.SpringSecurityJavaConfig.cotroller;
// Importing required classes import org.springframework.stereotype.Controller; import org.springframework.web.bind.annotation.GetMapping;
// Annotation @Controller
// Class public class LoginController {
@GetMapping("/welcome") public String welcome()
{
    return "welcome.html";
}

@GetMapping("/admin") public String user()
{
    return "admin.html";
}

@GetMapping("/basic") public String basic()
{
    return "basic.html";
}

@GetMapping("/login") public String login()
{
    return "login.html";
}
}
`
**Explanation: The Controller class handles the incoming requests by redirecting them to the appropriate view page, any URL must be defined in the controller class in order to send a request. The LoginController class is present in the com.gfg.SpringSecurityJavaConfig.controller package has four method for mapping to four different view pages. All these view pages are accessible according to the role of the user. Now, let's see how to define different roles for different users.
Step 6: Security Configuration Class
Java `
// Java Program to Illustrate Spring Security package com.gfg.SpringSecurityJavaConfig.security;
// Importing required classes import org.springframework.context.annotation.Bean; import org.springframework.security.config.annotation.authentication.builders.AuthenticationManagerBuilder; import org.springframework.security.config.annotation.web.builders.HttpSecurity; import org.springframework.security.config.annotation.web.configuration.EnableWebSecurity; import org.springframework.security.config.annotation.web.configuration.WebSecurityConfigurerAdapter; import org.springframework.security.crypto.bcrypt.BCryptPasswordEncoder; import org.springframework.security.crypto.password.PasswordEncoder; import org.springframework.security.web.util.matcher.AntPathRequestMatcher;
// Annotation @EnableWebSecurity
// Class public class SpringSecurityConfig extends WebSecurityConfigurerAdapter {
// Annotation
@Override
protected void
configure(AuthenticationManagerBuilder auth)
    throws Exception
{
    auth.inMemoryAuthentication()
        .passwordEncoder(passwordEncoder())
        .withUser("gfg")
        .password(passwordEncoder().encode("pass"))
        .roles("ADMIN")
        .and()
        .passwordEncoder(passwordEncoder())
        .withUser("user")
        .password(passwordEncoder().encode("pass"))
        .roles("BASIC");
}

// Annotation
@Bean

// Method
public PasswordEncoder passwordEncoder()
{
    return new BCryptPasswordEncoder();
}

// Annotation
@Override

// Method
protected void configure(HttpSecurity http)
    throws Exception
{

    http.authorizeRequests()
        .antMatchers("/basic")
        .hasAnyRole("BASIC", "ADMIN")
        .antMatchers("/admin")
        .hasRole("ADMIN")
        .antMatchers("/")
        .permitAll()
        .anyRequest()
        .authenticated()
        .and()
        .formLogin()
        .permitAll()
        .loginPage("/login")
        .usernameParameter("username")
        .and()
        .logout()
        .logoutRequestMatcher(
            new AntPathRequestMatcher("/logout"))
        .permitAll();
}
}
`
**Explanation:
- The SpringSecurityConfig class in the com.gfg.SpringSecurityJavaConfig.security package is where the configuration of your spring security is defined.
- This class extends the WebSecurityConfigureAdapter class which provides methods like configure to add custom authentication and authorization for the user.
- The first configure method has the parameter of AuthenticationManagerBuilder which defines the authentication of the user. We'll use a hard-coded user id and password for simplicity.
- The passwordEncoder encrypts the password using BCryptPasswordEncoder.
- The second configure method defines the authorization for the user, it defines the mapping for a user with a particular role, as you can see we have defined that all the users with roles "BASIC" are allowed to access only the welcome and basic page whereas the user with role "ADMIN" is allowed to access all the URLs. We have also defined a custom login page which will be the redirect point of any URL requested.
**Note: If you want to use the latest approach (recommended), replace the above class with a SecurityFilterChain bean. Here’s an example:
Java `
@Bean public SecurityFilterChain securityFilterChain(HttpSecurity http) throws Exception { http .authorizeHttpRequests(auth -> auth .requestMatchers("/basic").hasAnyRole("BASIC", "ADMIN") .requestMatchers("/admin").hasRole("ADMIN") .requestMatchers("/").permitAll() .anyRequest().authenticated() ) .formLogin(form -> form .loginPage("/login") .permitAll() ) .logout(logout -> logout .logoutRequestMatcher(new AntPathRequestMatcher("/logout")) .permitAll() ); return http.build(); }
`
**Step 7: HTML Pages
This is the login.html page in the templates folder, it defines the login page for the application.
**login.html:
HTML `
Insert title hereLogin page
`
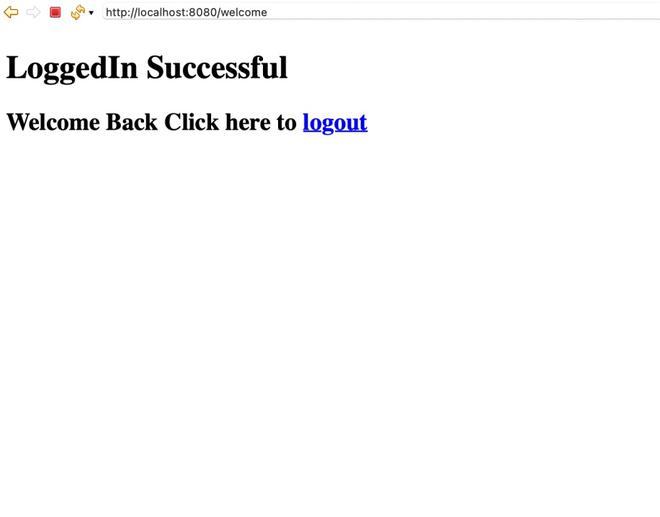
This is the welcome.html page accessible to all the users with any role.
**welcome.html:
HTML `
Insert title hereLoggedIn Successful
Welcome Back Click here to logout
`
This is the basic.html page accessible to "BASIC" as well as "ADMIN" users.
**basic.html:
HTML `
basic pageWelcome Basic User
`
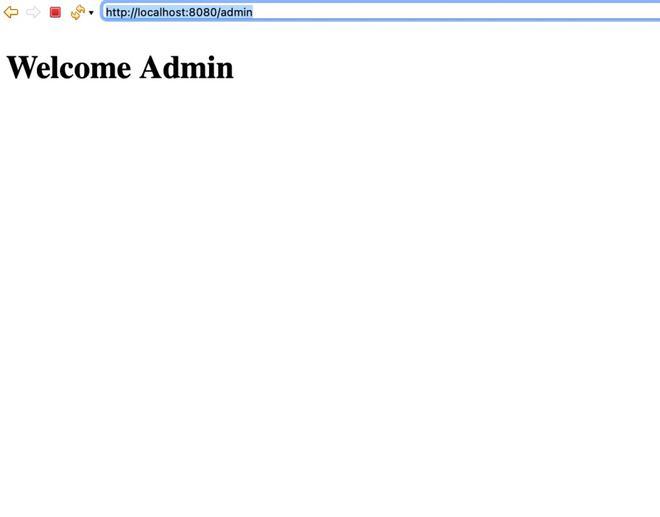
This is the admin.html page accessible to only the users with the "ADMIN" role.
**admin.html:
HTML `
Admin pageWelcome Admin
`
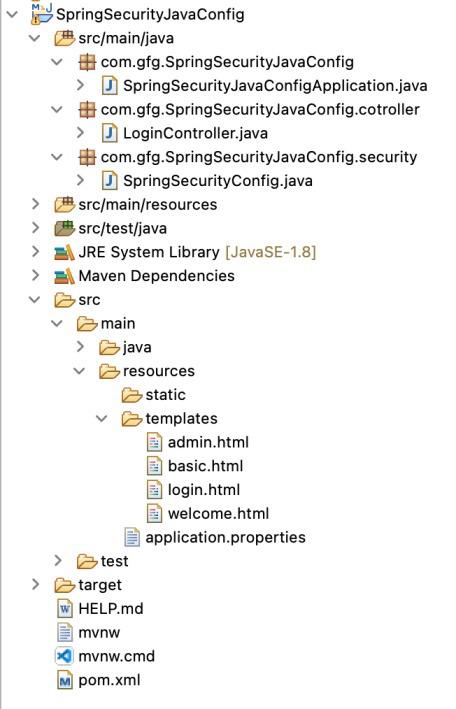
After adding all the classes and the view pages our project structure looks something like this:
**Step 8: Run the Application
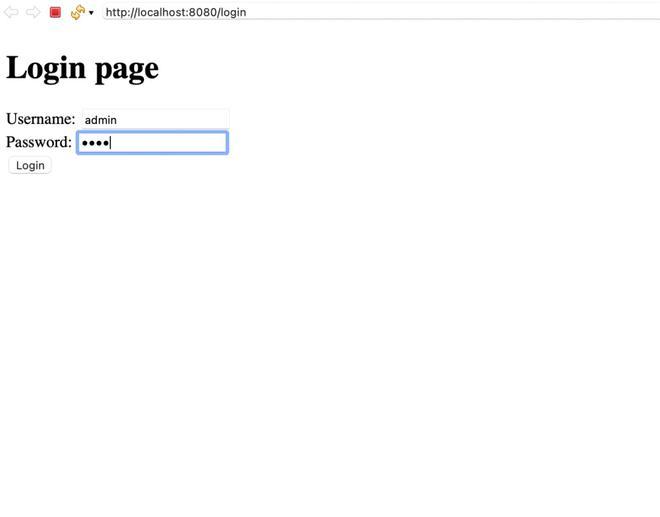
Now it's time to run your application, after running your application type this URL in any of browser
**Login Page: http://localhost:8080/login
**Output:

Provide Username and Password:
After login successful, we will redirect to this Welcome page (Welcome Page: http://localhost:8080/welcome)
Below is the admin page:
So we have created a spring security web application using Java based configuration and added custom authentication and authorization to our application.
This article demonstrates **how to create a Spring Security project using Java configuration. It is important to note that **WebSecurityConfigurerAdapter is deprecated in **Spring Security 6.x. For future-proofing your application, consider using the SecurityFilterChain approach. Spring Security continues to evolve, offering robust features for securing modern applications. Always refer to the official Spring Security documentation for the latest updates and best practices.