Install Apache Web Server on Linux (Ubuntu/Fedora/RHEL) (original) (raw)
Last Updated : 19 Nov, 2025
Apache is one of the most widely used open-source web servers for hosting websites and applications. It is stable, secure, and easy to configure on major Linux distributions like Ubuntu, Fedora, and RHEL. Installing Apache allows you to serve web pages, run applications, and manage HTTP traffic on your server.
- Package name: apache2 (Ubuntu) and httpd (Fedora/RHEL).
- Install using APT or DNF/YUM.
- Managed using systemctl service commands.
- Default web root: /var/www/html.
Install Apache Web Server
Step 1: Check your Linux distribution
Use the following command to check which Linux distribution you are using.
**Command:
grep -E '^(VERSION|NAME)=' /etc/os-release

Checking Linux distribution (Fedora)
Step 2: Update Your System
**1. On Ubuntu/Debian-based systems:
On Ubuntu/Debian systems, install Apache using the APT package manager with the command sudo apt install apache2.
**Command:
sudo apt update && sudo apt upgrade
**2. On Fedora-based systems:
On Fedora systems, install Apache using the DNF package manager with the command sudo dnf install httpd.
**Command:
sudo dnf update -y
**3. On RHEL-based systems:
On RHEL-based systems, install Apache using the YUM package manager with the command sudo yum install httpd.
**Command:
sudo yum update -y

Updating system (fedora)
Step 3: Install Apache Web Server
**1. On Ubuntu/Debian-based systems:
**Command:
sudo apt install apache2 -y
**2. On Fedora-based systems:
**Command:
sudo dnf install httpd -y
**3. On RHEL-based systems:
**Command:
sudo yum install httpd -y
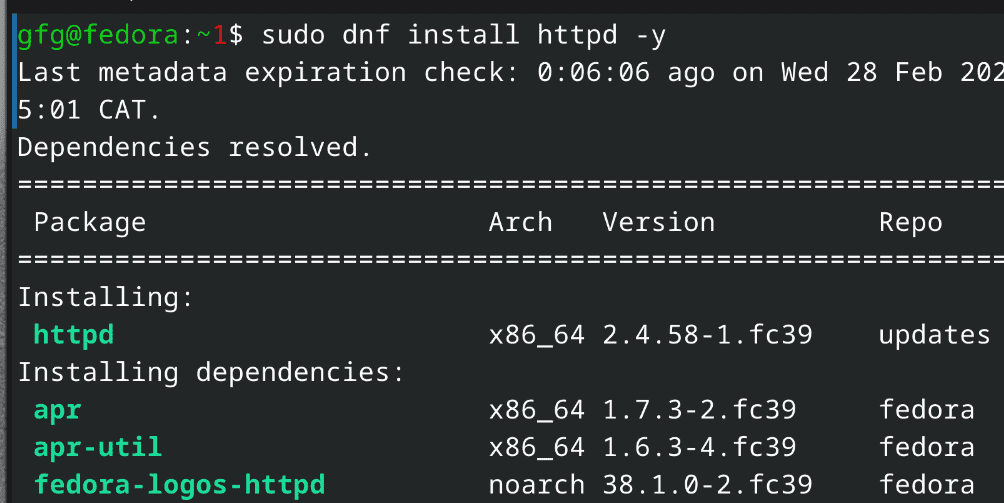
Installing Apache web server
Step 4: Enable the Services in Apache Web Server
**1. On Ubuntu/Debian-based systems:
**command:
sudo systemctl enable apache2
**2. On Fedora-based systems:
**command:
sudo systemctl enable httpd.service
**3. On RHEL-based systems:
**command:
sudo systemctl enable httpd.service
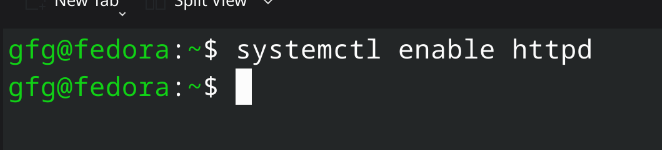
Starting services for the Apache Web Server
Step 5: Test the Server by Hosting a Simple Website
First, we will create a directory for our test website using the following command.
**command:
sudo mkdir /var/www/html/test_website/
Now we will add index.html for our test website along with some testing code using the following command.
**command:
echo 'Example
GFG
This is a test.
' | sudo tee /var/www/html/test_website/index.htmlNow we will add the configuration file using the following **command:
sudo echo '<VirtualHost *:80> ServerName web.testingserver.com DocumentRoot /var/www/html/website DirectoryIndex index.html ErrorLog /var/log/httpd/example.com_error.log CustomLog /var/log/httpd/example.com_requests.log combined ' > /etc/httpd/conf.d/web.conf
Once we create the required config file and test the website, we will need to own the Apache website directory for permissions.
We will use the **chown and **chmod commands as follows:
sudo chown -R apache:apache /var/www/html/test_website sudo chmod -R 755 /var/www/html/test_website
Now you can see the locally hosted website on your **localhost.
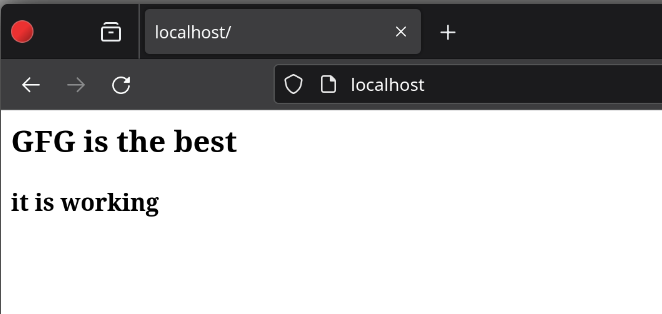
Testing the website on the local server
If the above-mentioned steps are performed correctly, Apache Web Server will run successfully! However, If it doesn't work, then you can uninstall Apache Web Server and start the installation again.
Uninstall Apache Web Server
**1. On Ubuntu/Debian-based systems
**command:
sudo apt remove apache2
**2. On Fedora-based systems
**command:
sudo dnf remove httpd
**3. On RHEL-based systems
**command:
sudo yum remove httpd
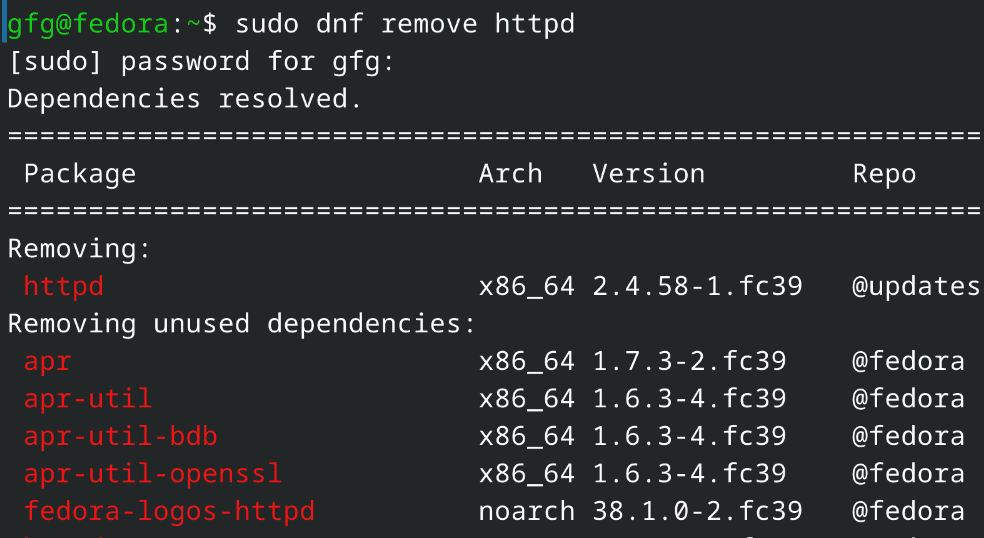
Uninstalling Apache Server
Hence we have successfully uninstalled Apache Web Server in Linux!