Build multi-container apps (MySQL, Docker Compose) (original) (raw)
This article describes how to create multi-container apps with MySQL and Docker Compose. An app with multiple containers allows you to dedicate containers for specialized tasks, so each container can focus on a single task. There are many advantages to using multi-container apps:
- Separate containers allow you to manage APIs and front-end resources differently than databases.
- Multiple containers let you version and update versions in isolation.
- Local databases can be maintained in containers and managed services used for databases in production.
- Multi-container apps are more efficient than running multiple processes with a process manager, which adds complexity to container startup/shutdown.
In this tutorial, you:
- Start MySQL
- Run your multi-container app with MySQL
- Create a Docker Compose file for your app
- Run the application stack with Docker Compose
Prerequisites
- This article is part of a tutorial series. The procedures build on an established example that requires Docker Desktop for Linux containers.
The recommended approach is to complete the first tutorial, Create a Docker container app, including satisfying the prerequisites, and also the tutorial, Persist data in your app. After you work through these tutorials, continue with the procedures described in this article. - The example in this article uses Docker Compose.
docker-compose version Visual Studio Code
This tutorial series describes procedures for Visual Studio Code (VS Code). Review the following considerations for working in this environment:
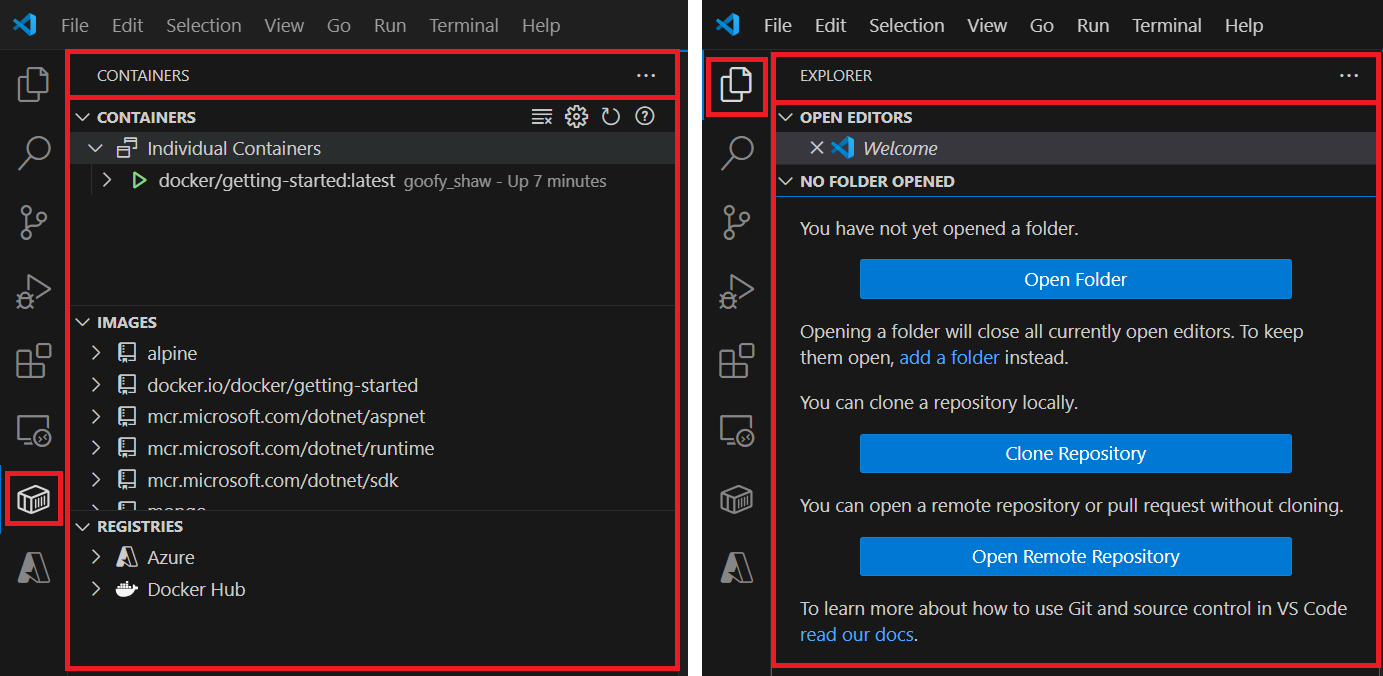
- Use the left menu to switch between DOCKER (Docker extension) view or the EXPLORER (file and folder) view:
- Open a command-line window in VS Code by selecting Terminal > New Terminal. You can also use the Ctrl+Shift+` (back tick) keyboard shortcut.
- Unless otherwise specified, run commands in a Bash window. Most commands labeled for
Bashrun in a Bash window or in the VS Code command-line window.
Start MySQL database management system
By default, containers run in isolation. A container isn't aware of other processes or other containers on the same computer.
To enable communication between containers, they need to attach to the same network. Multiple containers on the same network can share data and process information with each other.
There are two ways to attach a container to a network. You can attach a container to a network during creation, or attach an existing container to a network at a later time.
In this example, you create the network and attach the MySQL container at startup.
- Create a network named
todo-app:
docker network create todo-app - Start a MySQL container named
todo-mysql-dataand attach it to thetodo-appnetwork. The command creates a network aliasmysqlfor the MySQL databasetodos.
When you run the command, enter your MySQL root password for the<your-password>placeholder.
docker run -d
    --network todo-app --network-alias mysql
    -v todo-mysql-data:/var/lib/mysql
    -e MYSQL_ROOT_PASSWORD=<your-password>
    -e MYSQL_DATABASE=todos
    mysql:5.7
This command also defines the MYSQL_ROOT_PASSWORD and MYSQL_DATABASE environment variables. For more information, see MySQL Docker Hub listing.
Warning
This tutorial illustrates password credentials to authenticate with a MySQL database, which is not the most secure method. Refer to the MySQL documentation to learn about more secure methods of authentication.
3. Get your container ID for use in the next step.
docker ps - Confirm you can connect to the container on the
mysqlnetwork.
When you run the command, enter your container ID for the<mysql-container-id>placeholder.
docker exec -it <mysql-container-id> mysql -p At the prompt, enter the password you supplied when you created the todo-mysql-data container.
5. In the MySQL shell, list the databases and verify you see the todos database.
SHOW DATABASES; You should see the following output:
+--------------------+
| Database           |
+--------------------+
| information_schema |
| mysql              |
| performance_schema |
| sys                |
| todos              |
+--------------------+
5 rows in set (0.00 sec) - To end the connection and return to the command-line prompt, enter exit.
Run your app with MySQL
The todo app supports setting certain environment variables to specify your MySQL connection settings. The following table lists the supported variables, and the values used in the example presented in this section.
| Variable name | Example value | Description |
|---|---|---|
| MYSQL_HOST | mysql | The host name for the MySQL server. |
| MYSQL_USER | root | The username to use for the connection. |
| MYSQL_PASSWORD | The password to use for the connection. In this example, substitute your root password for the placeholder. | |
| MYSQL_DATABASE | todos | The name of the database to use after the connection is established. |
Warning
Using environment variables to set connection settings is acceptable for development, but this practice isn't recommended for running applications in production. For more information, see Why you shouldn't use environment variables for secret data.
A more secure mechanism is to use the secret support provided by your container orchestration framework. In most cases, these secrets are mounted as files in the running container.
In the following example, you start your app and connect your app container to your MySQL container.
- Run the following
dockercommand. Notice how the command specifies the environment variables described earlier.
When you run the command, remember to enter your MySQL root password for the<your-password>placeholder.
docker run -dp 3000:3000
  -w /app -v ${PWD}:/app
  --network todo-app
  -e MYSQL_HOST=mysql
  -e MYSQL_USER=root
  -e MYSQL_PASSWORD=<your-password>
  -e MYSQL_DATABASE=todos
  node:20-alpine
sh -c "yarn install && yarn run dev" - In the VS Code editor, open the Docker extension view, right-click your app container, and select View Logs.
You can also view the logs from the command line by using thedocker logscommand. - Review the log output. Notice the line that indicates the app is connected to the MySQL database:
Connected to mysql db at host mysql.
# Previous log messages omitted
$ nodemon src/index.js
[nodemon] 1.19.2
[nodemon] to restart at any time, enter `rs`
[nodemon] watching dir(s): *.*
[nodemon] starting `node src/index.js`
Connected to mysql db at host mysql
Listening on port 3000 - In your internet browser, go to your running application:
http://localhost:3000. - In your running application, add some items to your todo list.
- Connect to the MySQL container database on the
mysqlnetwork so you can check the database.
When you run the command, enter your container ID for the<mysql-container-id>placeholder.
docker exec -ti <mysql-container-id> mysql -p todos At the prompt, enter the password you supplied when you created the todo-mysql-data container.
7. In the MySQL shell, verify that the todo_items you added are written to the todos database.
use todos;
select * from todo_items;
You should see output similar to the following example:
+--------------------------------------+--------------------+-----------+
| id                                   | name               | completed |
+--------------------------------------+--------------------+-----------+
| c906ff08-60e6-44e6-8f49-ed56a0853e85 | Do amazing things! |         0 |
| 2912a79e-8486-4bc3-a4c5-460793a575ab | Be awesome!        |         0 |
+--------------------------------------+--------------------+-----------+
You now have an application that stores data in an external database running in a separate container. This procedure demonstrates how you can enable communication between containers by using networking.
Create Docker Compose file
Docker Compose helps you define and share multi-container applications. A Docker Compose file can specify all your required services, so you can start or end all related processes with a single command. You can define your application stack in a Docker Compose file at the root of your project repo, and maintain your configuration under version control. This approach allows others to contribute to your project when they clone your repo.
In the following example, you configure a Docker Compose file for your multi-container application todo.
- At the root of your
todoapp project, create a Docker Compose file named docker-compose.yml.
Note
By default, the YAML schema version is set to the most recent version. When you run your app, if your schema version is obsolete, you receive a warning message. To review current schema versions and a compatibility matrix, see Overview (Compose file). - In the docker-compose.yml file, add the following elements. Specify your app
nameand start the list ofservices(or containers) that you want to run as part of your application.
name: todo
services:
The list of services is unique for your app. Examples include app, web, db, proxy, and so on. You extend the definition for the services element in a later step.
Tip
Indentation is significant in .yml files. If you're editing in VS Code, Intellisense indicates any errors in the format or syntax.
3. Add the following code to your docker-compose.yml file after the services section.
docker run -dp 3000:3000
  -w /app -v ${PWD}:/app
  --network todo-app
  -e MYSQL_HOST=mysql
  -e MYSQL_USER=root
  -e MYSQL_PASSWORD=<your-password>
  -e MYSQL_DATABASE=todos
  node:20-alpine
  sh -c "yarn install && yarn run dev"
Remember to enter your MySQL root password for the <your-password> placeholder. You used this same command earlier to run your app container with MySQL.
4. Return to the services definition in the docker-compose.yml file. Extend the definition by adding an entry to define the app service element, which includes the image for the container.
services:
  app:
    image: node:20-alpine
You can pick any name for the service. The name automatically becomes a network alias, which is useful when you define the MySQL service.
5. Extend the app element definition to specify a command to execute.
  app:
    image: node:20-alpine
command: sh -c "yarn install && yarn run dev" - Define the
portsto use with theappservice. Notice these ports correspond to the-p 3000:3000argument for the command used to run the app with MySQL.
  app:
    image: node:20-alpine
    command: sh -c "yarn install && yarn run dev"
    ports:
- 3000:3000 - Identify the working directory
working_dirfor theappservice and also the mappedvolumes.
  app:
    image: node:20-alpine
    command: sh -c "yarn install && yarn run dev"
    ports:
      - 3000:3000
    working_dir: /app
    volumes:
      - ./:/app
When you define Docker Compose volumes, you can use relative paths based on the current directory.
8. Specify environment variable definitions to use when you execute commands for the app service.
  app:
    image: node:20-alpine
    command: sh -c "yarn install && yarn run dev"
    ports:
      - 3000:3000
    working_dir: /app
    volumes:
      - ./:/app
    environment:
      MYSQL_HOST: mysql
      MYSQL_USER: root
      MYSQL_PASSWORD: <your-password>
      MYSQL_DATABASE: todos
Remember to enter your MySQL root password for the <your-password> placeholder.
9. Add the definition for the MySQL service mysql after the app service definition. Specify the element names and values as shown and with the same indentation.
services:
  app:
    ...
  mysql:
    image: mysql:5.7
The mysql service definition corresponds to the command you used earlier to start MySQL. When you define the service, it automatically receives the network alias.
10. Identify the mapped volumes for the mysql service.
services:
  app:
    ...
  mysql:
    image: mysql:5.7
    volumes:
- todo-mysql-data:/var/lib/mysql - Specify
environmentvariable definitions to use when you execute commands for themysqlservice.
services:
  app:
    ...
  mysql:
    image: mysql:5.7
    volumes:
      - todo-mysql-data:/var/lib/mysql
    environment:
      MYSQL_ROOT_PASSWORD: <your-password>
      MYSQL_DATABASE: todos
Remember to enter your MySQL root password for the <your-password> placeholder.
12. Define volume mapping for the entire app. Add a volumes: section after the services: section and with the same indentation.
services:
   ...
volumes:
todo-mysql-data: - Confirm your completed docker-compose.yml file looks like the following example. You should see your MySQL root password for the
<your-password>placeholder.
name: todo
services:
  app:
    image: node:20-alpine
    command: sh -c "yarn install && yarn run dev"
    ports:
      - 3000:3000
    working_dir: /app
    volumes:
      - ./:/app
    environment:
      MYSQL_HOST: mysql
      MYSQL_USER: root
      MYSQL_PASSWORD: <your-password>
      MYSQL_DATABASE: todos
  mysql:
    image: mysql:5.7
    volumes:
      - todo-mysql-data:/var/lib/mysql
    environment:
      MYSQL_ROOT_PASSWORD: <your-password>
      MYSQL_DATABASE: todos
volumes:
  todo-mysql-data:
Run the application stack with Docker Compose
Now you can try running your docker-compose.yml file.
- Stop any running instances of your application and database.
- Visual Studio Code
- Command Line
Follow these steps in VS Code:
- Open the DOCKER (Docker extension) view.
- For each running container, right-click the container and select Remove.
- Start your multi-container app and all services.
- Visual Studio Code
- Command Line
Follow these steps in VS Code:
- Open the EXPLORER (file and folder) view.
- Right-click the docker-compose.yml file and select Compose Up.
You should see output similar to the following example:
[+] Building 0.0s (0/0)
[+] Running 2/2
✔ Container app-app-1    Started  0.9s
✔ Container app-mysql-1  Running
This operation creates the mapped volume for the app and the network. By default, Docker Compose creates a network specifically for the application stack. 3. Review the logs for the running container.
- Visual Studio Code
- Command Line
Follow these steps in VS Code:
- Open the DOCKER (Docker extension) view.
- Right-click the app container and select View Logs.
You should see output similar to the following example:
mysql_1  | 2019-10-03T03:07:16.083639Z 0 [Note] mysqld: ready for connections.
mysql_1  | Version: '5.7.27'  socket: '/var/run/mysqld/mysqld.sock'  port: 3306  MySQL Community Server (GPL)
app_1    | Connected to mysql db at host mysql
app_1    | Listening on port 3000
The logs show the service name and instance number, such as app_1 at the start of each line. This format helps you to distinguish messages by service and instance. The logs from each service are interleaved into a single stream. This approach enables you to watch for timing-related issues.
4. You can now go to your running application in your internet browser: http://localhost:3000.
Stop Docker Compose and running containers
When you're done with the app and containers, you can remove them.
Follow these steps in VS Code:
- Open the EXPLORER (file and folder) view.
- Right-click the docker-compose.yml file and select Compose Down.
This operation stops all running containers and removes the network.
By default, named volumes in your compose file aren't removed. If you want to remove these volumes, you can use the docker-compose down --volumes command.
Clean up resources
If you applied the Prerequisites components in this tutorial series to your installation, you can reuse the configuration for future Docker development. It's not essential to delete or uninstall any component.