Python | StackLayout in Kivy (original) (raw)
Last Updated : 12 Jan, 2026
StackLayout in Kivy is used to arrange widgets in rows or columns that automatically wrap when there is no more space. It is mainly used when you want multiple widgets to flow like tiles across the screen.
**Example: In this example, a TextInput box is placed inside a StackLayout.
Python `
from kivy.app import App from kivy.uix.stacklayout import StackLayout from kivy.uix.textinput import TextInput
class Main(StackLayout): def init(self, **kw): super().init(**kw) self.add_widget(TextInput(text="Enter name", size_hint=(.4, .1)))
class Demo(App): def build(self): return Main()
Demo().run()
`
**Output
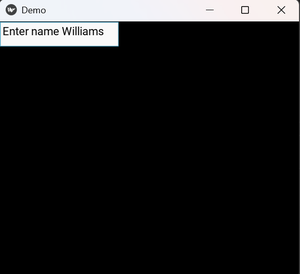
A text input box appears inside the StackLayout.
**Explanation:
- StackLayout() creates the layout container that holds widgets.
- TextInput(text="Enter name") creates the input box.
- self.add_widget(TextInput(...)) adds the text box to the StackLayout.
- build() returns the Main layout to the app.
Syntax
StackLayout(orientation='lr-tb')
**Parameters: **orientation - Controls how widgets are arranged and wrapped
Below table shows how each StackLayout orientation controls the direction in which widgets are placed and wrapped inside the layout:
| Orientation | Direction | Widget Placement |
|---|---|---|
| lr-tb | Left -> Right Top -> Bottom | Widgets fill a row from left to right, then move down to the next row |
| lr-bt | Left -> Right Bottom -> Top | Widgets fill a row from left to right, then move up to the next row |
| rl-tb | Right -> Left Top -> Bottom | Widgets fill a row from right to left, then move down |
| rl-bt | Right -> Left Bottom -> Top | Widgets fill a row from right to left, then move up |
| tb-lr | Top -> BottomLeft -> Right | Widgets fill a column from top to bottom, then move right |
| tb-rl | Top -> BottomRight -> Left | Widgets fill a column from top to bottom, then move left |
| bt-lr | Bottom -> TopLeft -> Right | Widgets fill a column from bottom to top, then move right |
| bt-rl | Bottom -> TopRight -> Left | Widgets fill a column from bottom to top, then move left |
Examples
**Example 1: In this example, several buttons are arranged left to right and wrap to the next row.
Python `
from kivy.app import App from kivy.uix.stacklayout import StackLayout from kivy.uix.button import Button
class Main(StackLayout): def init(self, **kw): super().init(orientation='lr-tb', **kw) for i in range(1, 7): self.add_widget(Button(text=f"B{i}", size_hint=(.3, .2)))
class Demo(App): def build(self): return Main()
Demo().run()
`
**Output
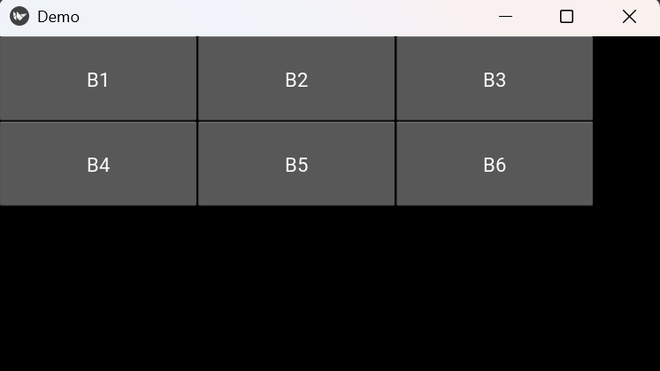
Buttons appear in rows and wrap when space runs out.
**Explanation:
- orientation='lr-tb' makes widgets flow from left to right and then move to the next row.
- for i in range(1, 7) runs a loop to create multiple buttons.
- Button(text=f"B{i}") creates each button.
- self.add_widget(Button(...)) places every button into the StackLayout.
- When there is no space in a row, StackLayout wraps buttons to the next line.
**Example 2: In this example, small text boxes are placed in a flowing grid style.
Python `
from kivy.app import App from kivy.uix.stacklayout import StackLayout from kivy.uix.textinput import TextInput
class Main(StackLayout): def init(self, **kw): super().init(orientation='lr-tb', **kw) for i in range(4): self.add_widget(TextInput(text=f"T{i+1}", size_hint=(.4, .2)))
class Demo(App): def build(self): return Main()
Demo().run()
`
**Output
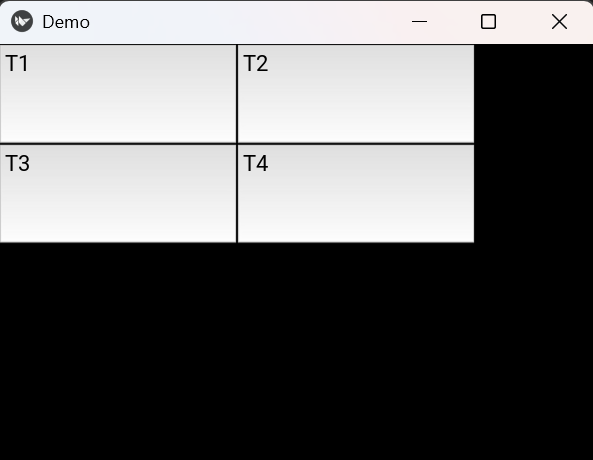
Multiple text boxes appear in rows.
**Explanation:
- StackLayout(orientation='lr-tb') arranges widgets in rows from left to right.
- for i in range(4) creates multiple input boxes.
- TextInput(text=f"T{i+1}") creates a new text box on each loop.
- self.add_widget(TextInput(...)) adds each text box to the layout.
- StackLayout automatically wraps the text boxes when the row is full.