Python | Working with buttons in Kivy with .kv file (original) (raw)
Last Updated : 27 Jan, 2026
Buttons in Kivy are used to perform actions when clicked. ".kv" file is used to design the button layout while Python handles the logic.
**Example: In this example, a TextInput is added to a Kivy window to show how widgets are placed using a .kv file.
Python `
main.py
from kivy.app import App from kivy.uix.floatlayout import FloatLayout
class Main(FloatLayout): pass
class Demo(App): def build(self): return Main()
Demo().run()
Python
demo.kv
`
**Output
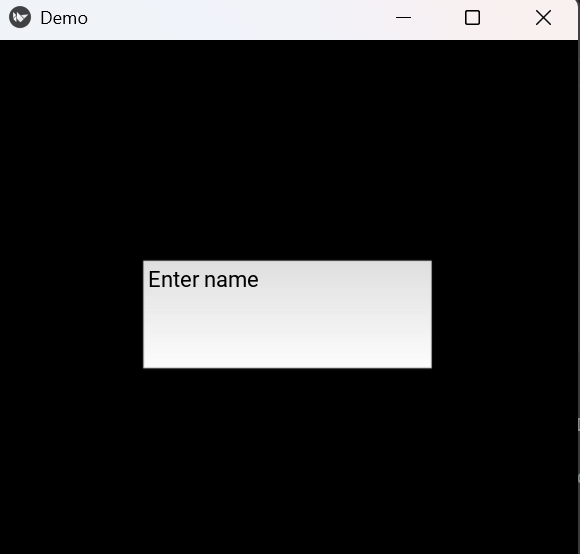
A window appears with a text input box at the center.
Syntax
Button(text="", size_hint=(x, y), pos_hint={}, on_press=function)
**Parameters:
- **text: label shown on the button
- **size_hint: width and height (0 to 1)
- **pos_hint: position using x, y, center_x, center_y
- **on_press: function called when button is clicked
Examples
**Example 1: In this example, a button is created using a .kv file and prints a message when clicked.
Python `
main.py
from kivy.app import App from kivy.uix.floatlayout import FloatLayout
class Main(FloatLayout): def click(self): print("Button clicked")
class Demo(App): def build(self): return Main()
Demo().run()
Python
demo.kv
`
**Output
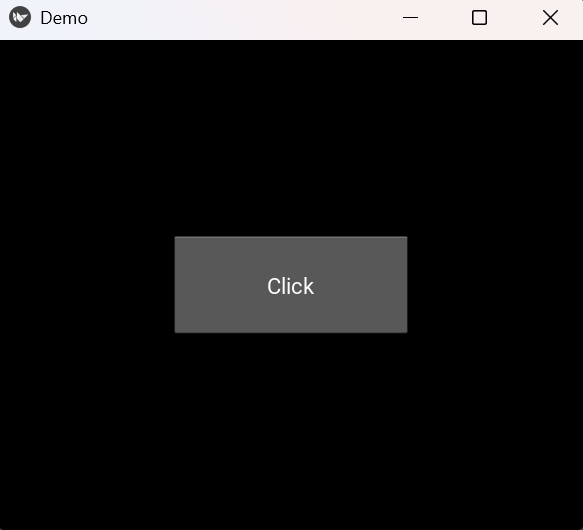
A button appears at the center. Clicking it prints "Button clicked".
**Explanation:
- "Button" creates the button and text: "Click" shows label
- "size_hint" sets size and "pos_hint" centers the button
- on_press: root.click() runs click()
- print("Button clicked") shows output
**Example 2: In this example, a colored button is displayed at the center of the screen.
Python `
main.py
from kivy.app import App from kivy.uix.floatlayout import FloatLayout
class Main(FloatLayout): pass
class Demo(App): def build(self): return Main()
Demo().run()
Python
demo.kv
`
**Output
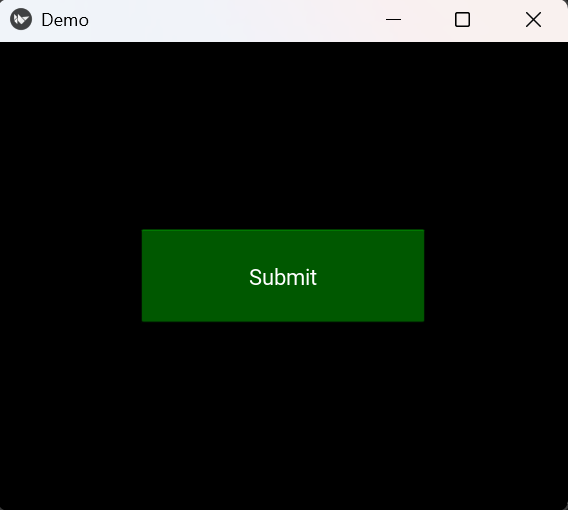
A green button labeled “Submit” appears exactly at the center.
**Explanation:
- background_color: 0,1,0,1 makes it green
- size_hint sets size and pos_hint centers the button
- return Main() displays it