How to Rename Your WordPress Blog? (original) (raw)
Last Updated : 23 Jul, 2025
Renaming your WordPress blog can be an exciting opportunity to refresh your brand, reach a new audience, or simply make a change for personal preference. Fortunately, WordPress makes this process simple. In this article, we'll go through the steps to rename your WordPress blog, including the best practices to ensure a smooth transition.
Why Rename Your WordPress Blog?
Before going into the technical steps, let’s explore some common reasons for renaming a WordPress blog:
- **Rebranding: Your blog’s focus or business strategy has evolved, and the current name no longer fits your goals.
- **SEO Improvements: A new name could better reflect the keywords you want to target, potentially boosting your search engine rankings.
- **Audience Engagement: A more appealing or relevant name might attract more visitors and improve your engagement rates.
- **Personal Preference: Sometimes, you might just want a fresh start with a new name that better reflects your current vision.
How to Rename Your WordPress Blog
There are two primary methods to rename your WordPress blog: through the WordPress Dashboard or the WordPress Customizer. Let’s take a look at each method in detail.
**Method 1: Using WordPress Dashboard
This method allows you to change your WordPress blog’s title and tagline directly from the Dashboard.
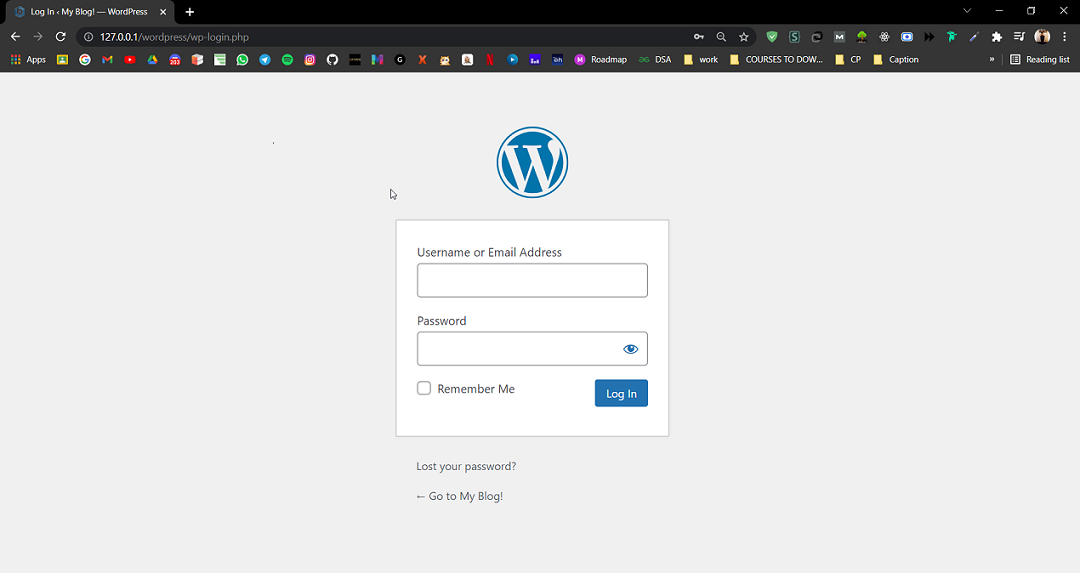
**Step 1. Go to the WordPress login panel and enter the username and password to log in to the WordPress Dashboard. You can access the login panel by adding /login at the end of your website URL.
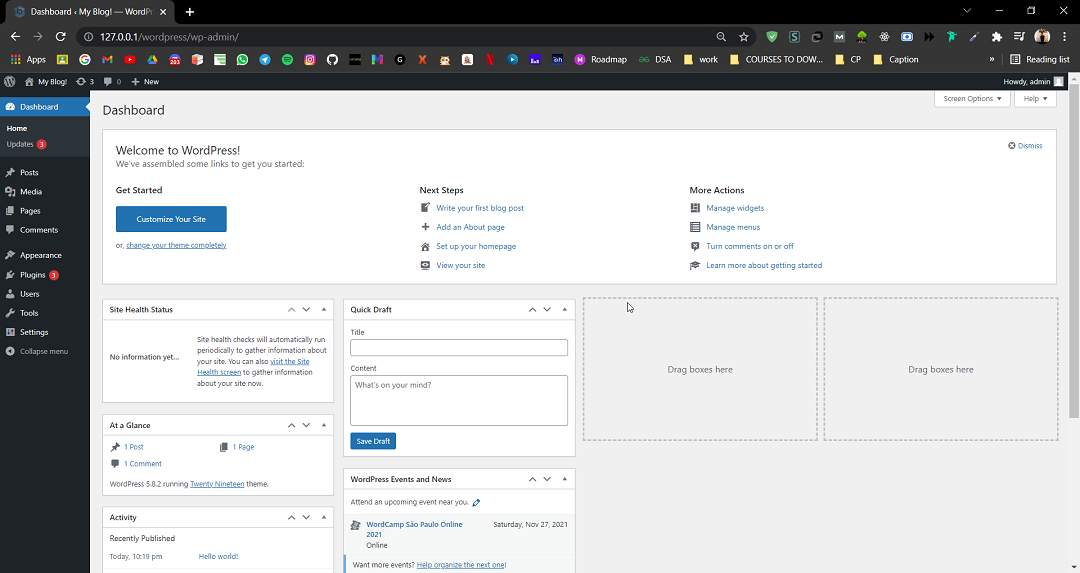
After login, you’ll see a similar dashboard like this:
**Step 2: Navigate to General Settings
- Once logged in, locate the left-hand sidebar on your Dashboard.
- Click on Settings, then select General.
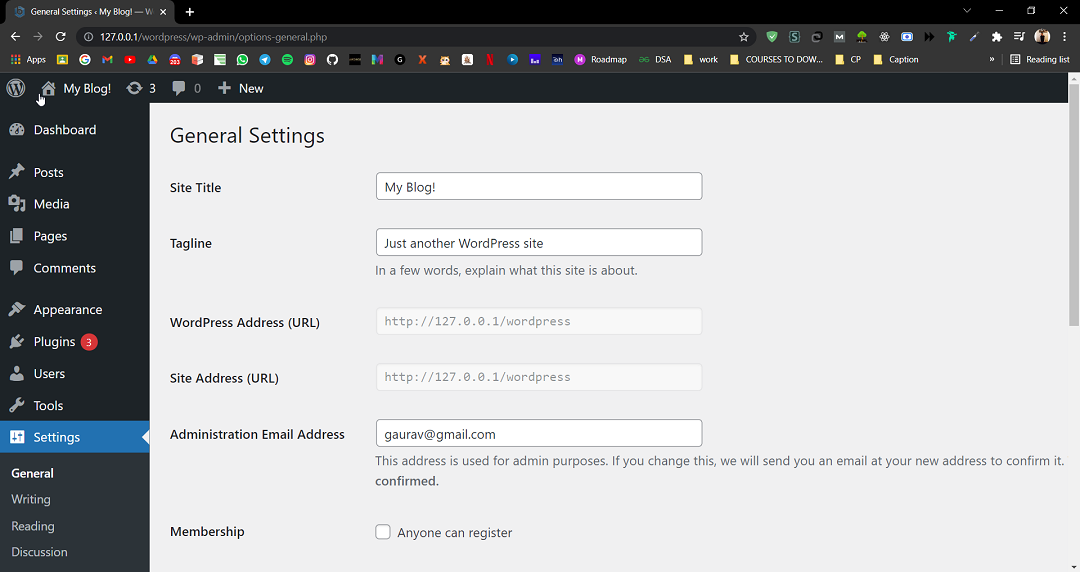
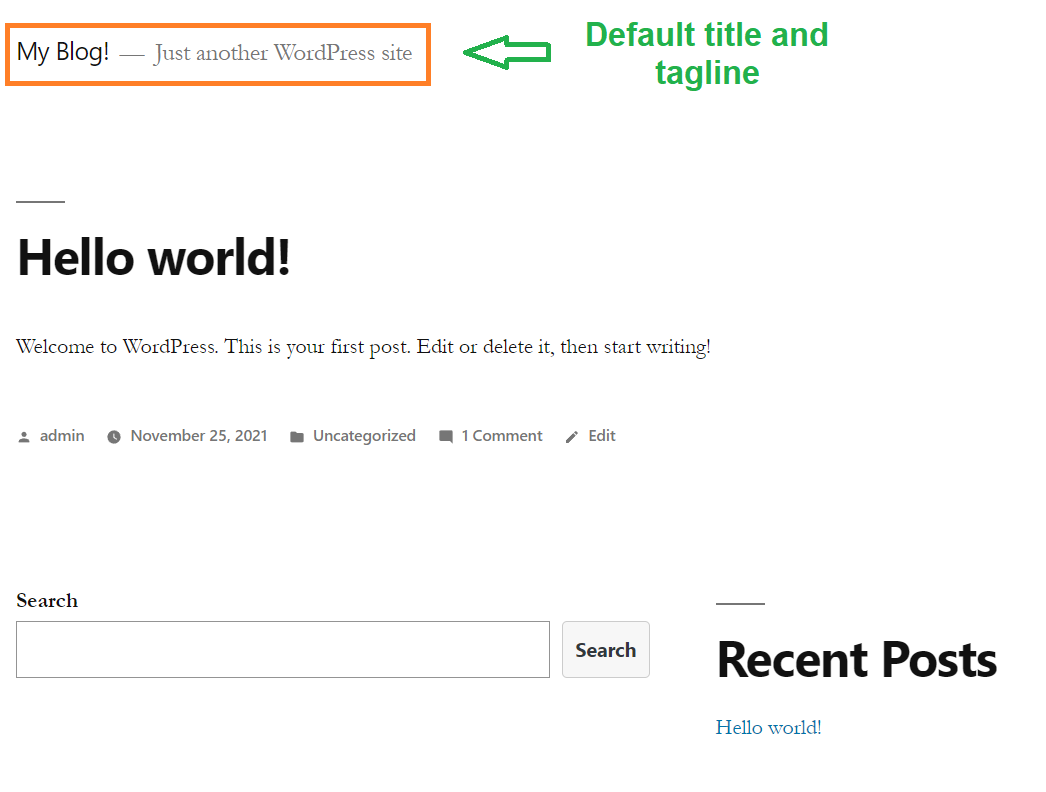
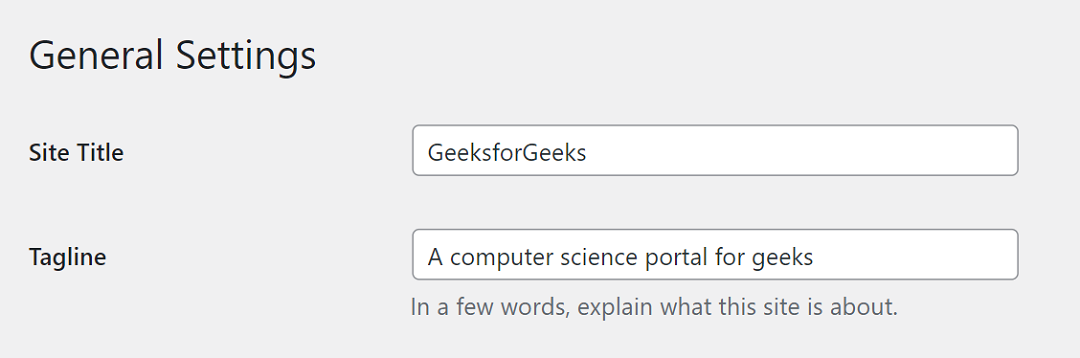
**Step 3: Change the Site Title and Tagline
- In the General Settings, you’ll find fields labeled Site Title and Tagline.
- Update these fields with your new blog name and tagline.
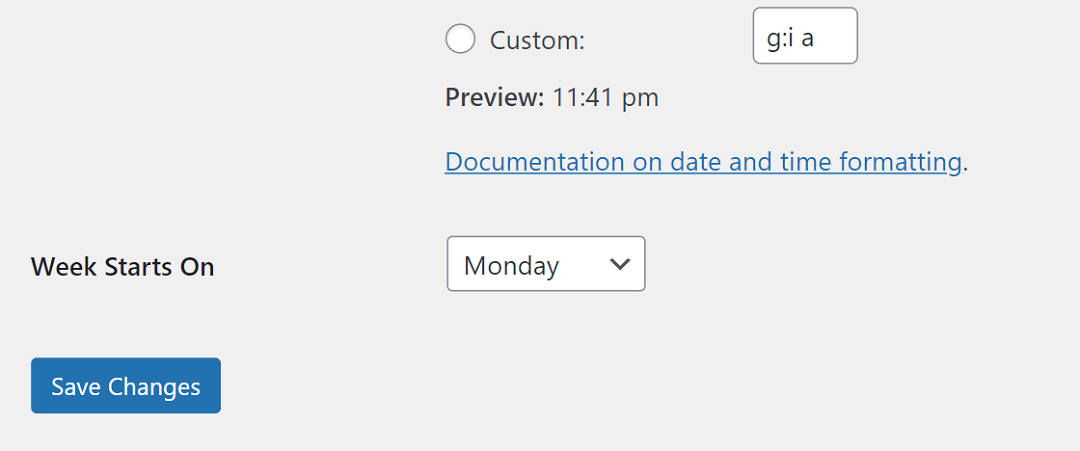
After changing the Site title and tagline, scroll to the bottom, there you’ll find a Save Changes button. Click on the button.
**Method 2: Using the WordPress Customizer
In this method, we are going to learn how we can change WordPress Blog’s title and tagline throughthe **Customize menu directly from the site.
**Step 1. Firstly, you must be logged in to the Dashboard. If not, simply follow the first step of the above method. You should see a similar dashboard like this:

**Step 2: In the very top left corner of the Dashboard you’ll find your site name, hover over that, and click on **Visit Site.
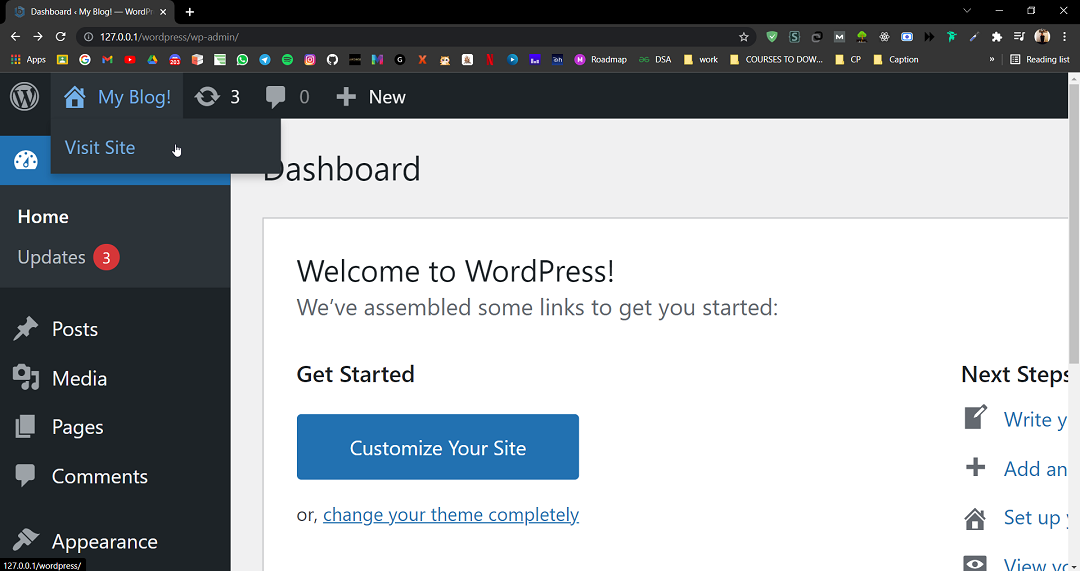
_It’ll open your WordPress blog as a website.
**Step 3: Click on **Customize button, from the top menu bar.
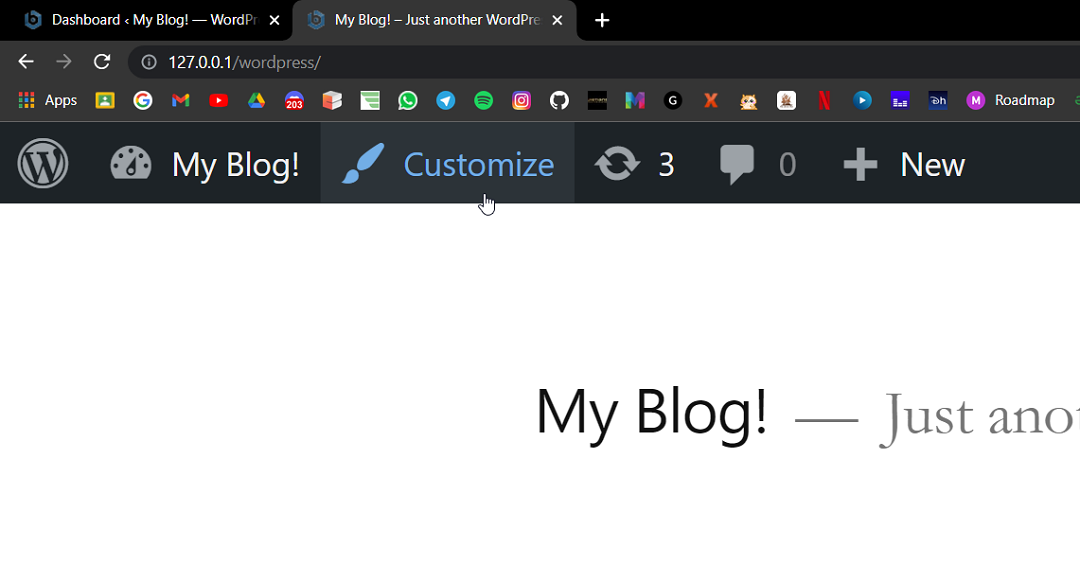
You’ll be redirected to the Customize section of your WordPress Blog, which should look like:
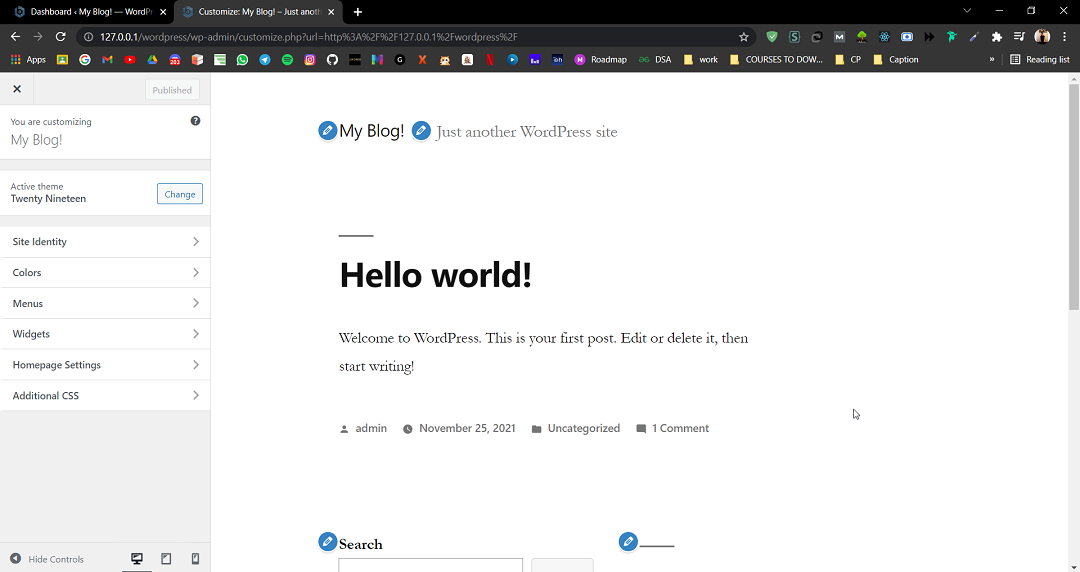
**Step 4: Click on the **Site Identity option from the left bar of the Customizing panel. There you’ll find an option to change the Site Title and Tagline.
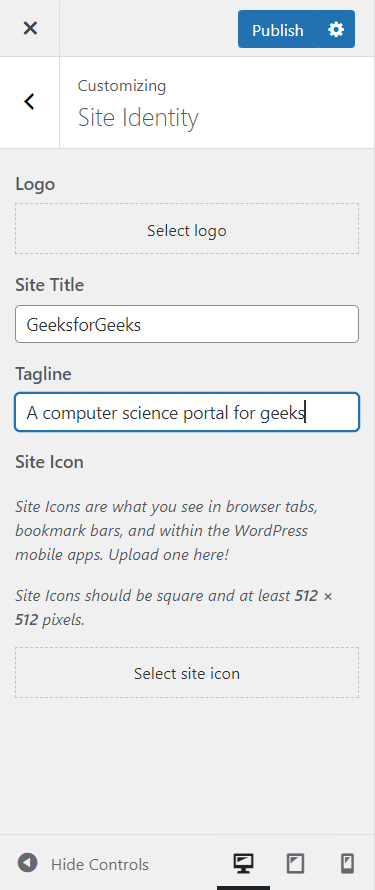
After changing the Site title and tagline, Click on **Publish to save changes and close the Customizing panel.
**Also Read:
Conclusion
Renaming your WordPress blog is a significant change that requires careful planning and execution. By following these steps, you can ensure a smooth transition with minimal disruption to your audience and SEO rankings. Remember to backup your site before making any changes and take the time to update all relevant links and inform your audience about the new name.